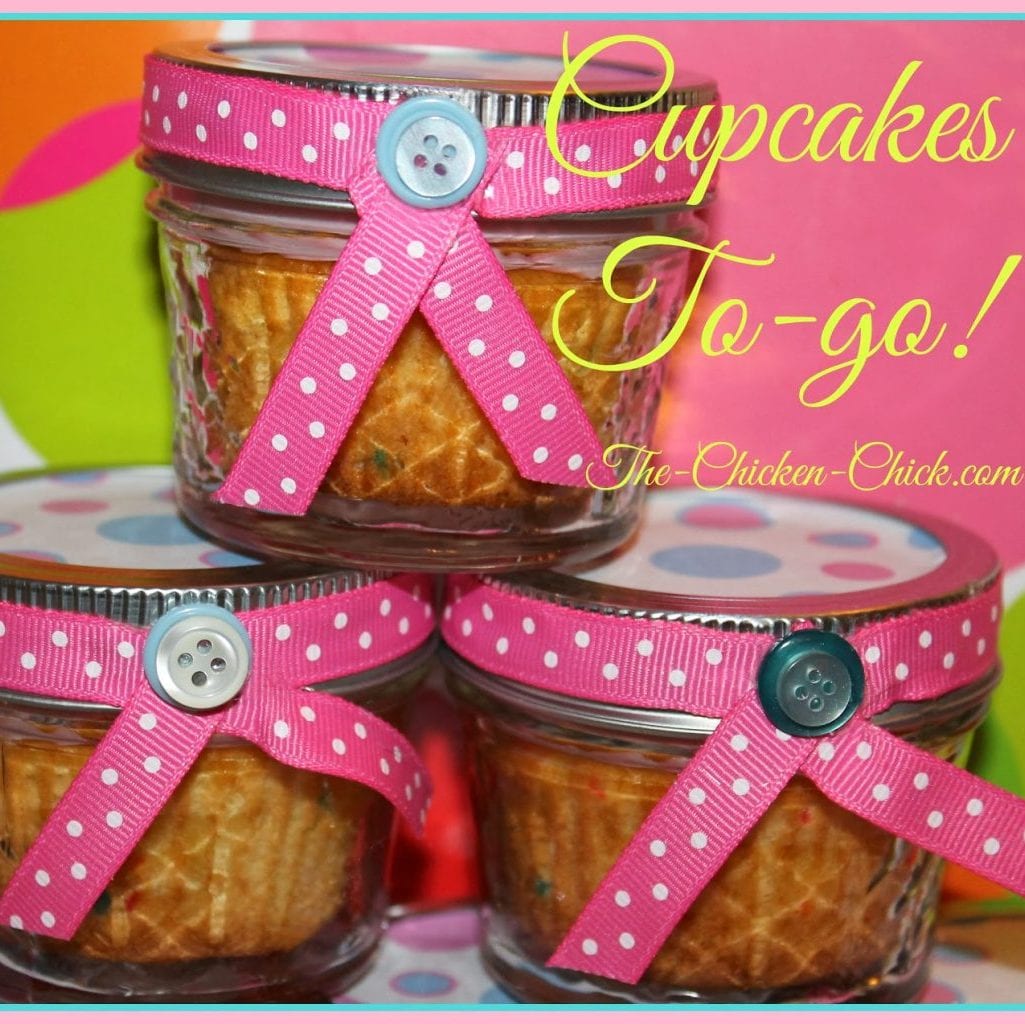
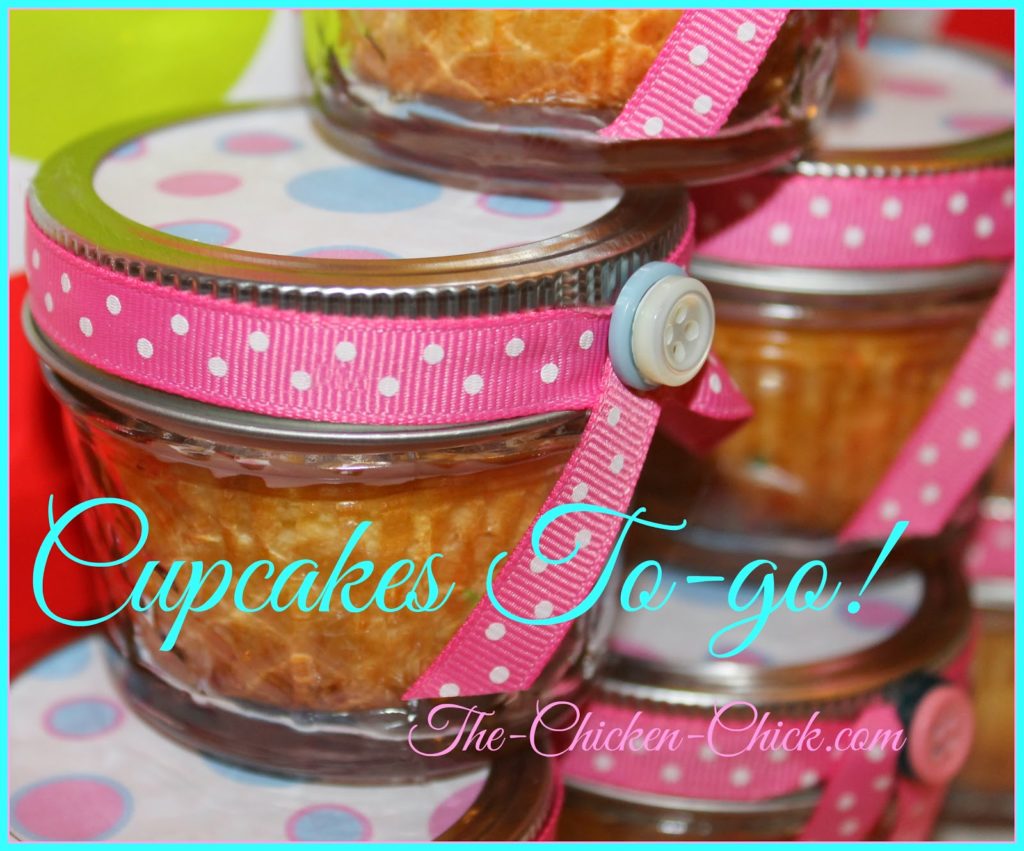
I recently shared a tutorial for the Candy Cake I made for my 6 year old daughter’s 6th birthday party, which was held at a spa for little girls. The reason I made the cake was because the spa does not permit food to be brought into the building due to liability concerns. The Candy Cake was fun to make and gave us the opportunity to sing the Birthday Song to her collectively, but it really didn’t satisfy my inner baker, so I make these cupcakes in Ball jars for the party guests to take home. I made the cupcakes a couple of days before the party and they were moist, fresh-tasting and delicious! These cupcakes assembled in canning jars would be fantastic for any number of events from weddings and anniversaries and Valentine’s Day to picnics and lunch boxes and they’re a breeze to whip up!
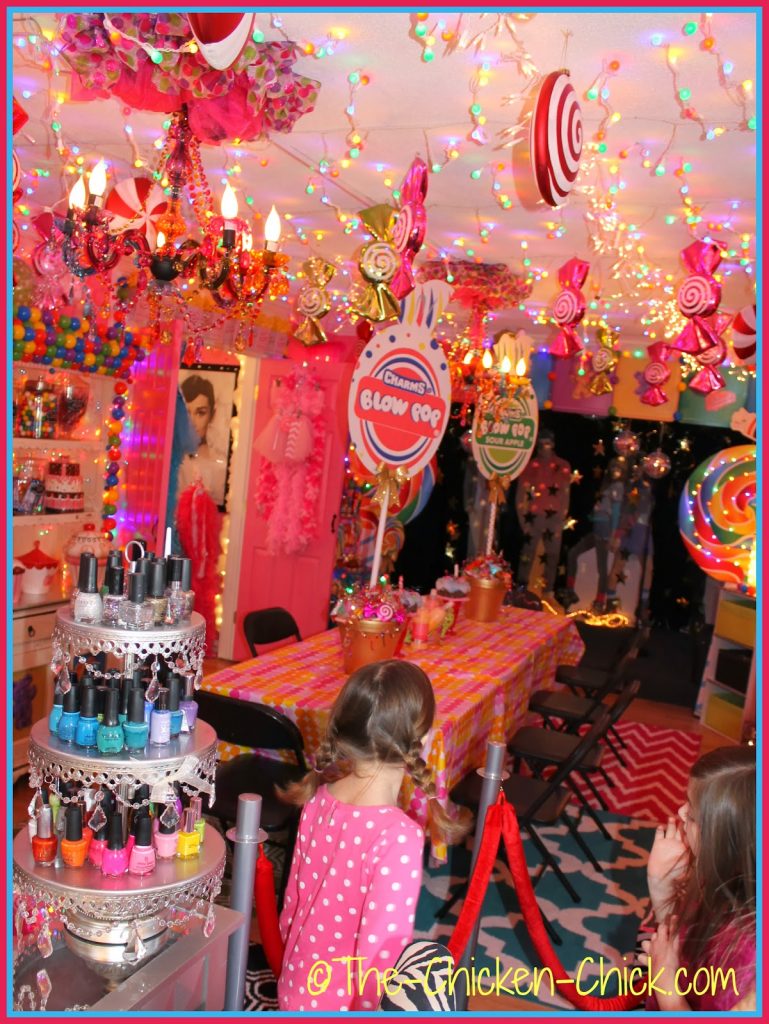
Is this spa not every little girl’s dream party?!
DIY CUPCAKES TO-GO!
SUPPLIES NEEDED
4 oz Ball canning jars, clean & dry
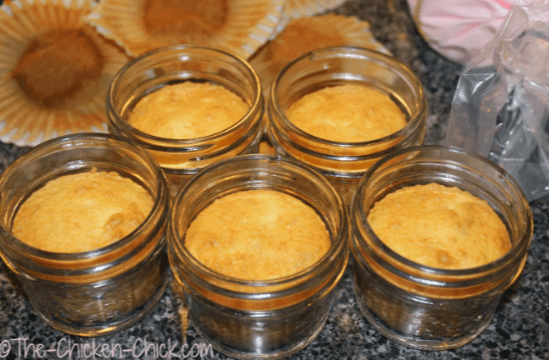
cupcakes (fill the batter no higher than half way in the cupcake tin before baking)
buttercream icing, tinted with food color of choice (any frosting will work, Wilton buttercream recipe can be found below)
1 disposable cake decorating bag
decorator sprinkles
Wilton decorating star tip (any size star tip)
3/8″ grosgrain ribbon
glue gun & glue sticks
colored buttons
Colored paper, any type (wrapping paper, scrapbook paper, etc). I used self-adhesive labels.
LET’S MAKE IT!
Trace the inside of a canning jar ring on the colored paper & cut out one circle for each cupcake.
Fit Ball jar lids with paper circles (use double-stick tape or a dab of hot glue)
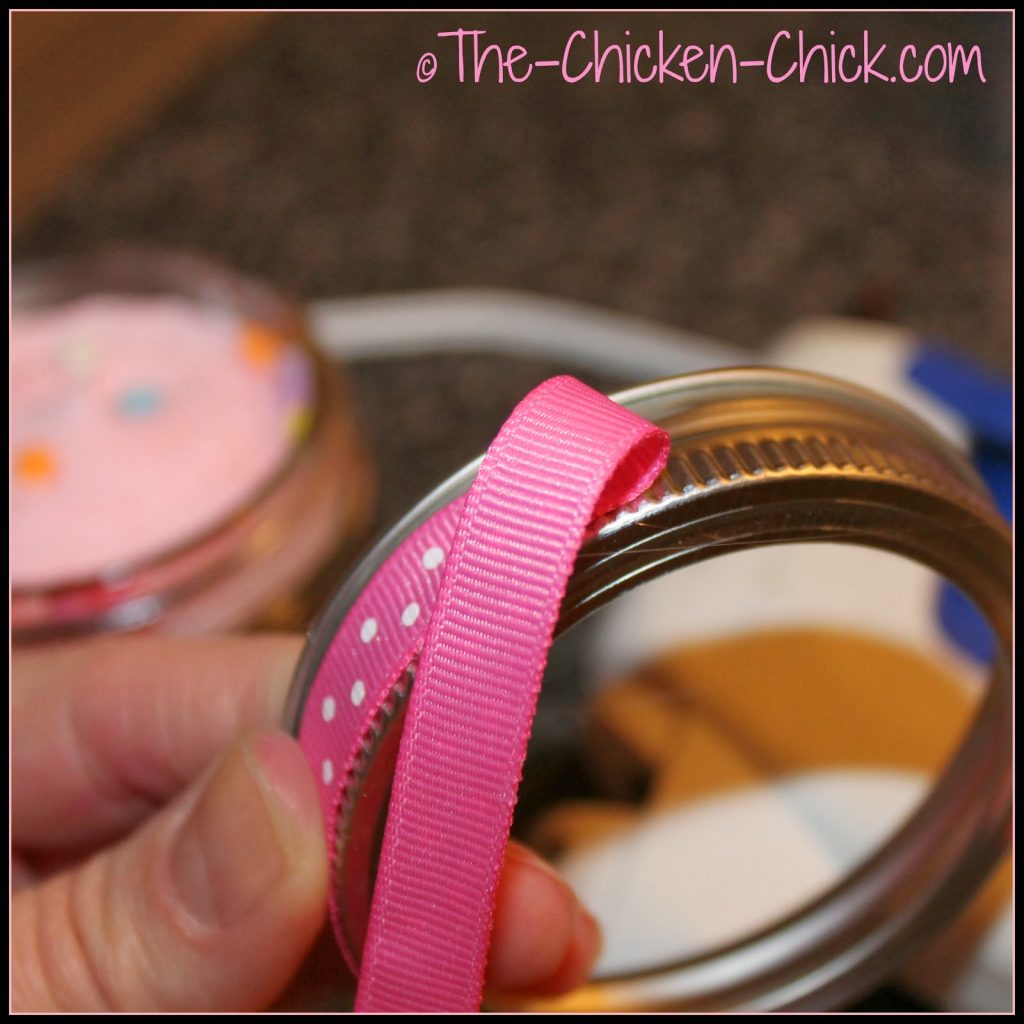
Hot glue ribbon to canning jar rings. Tie ends into a bow and hot glue buttons to front of bow.
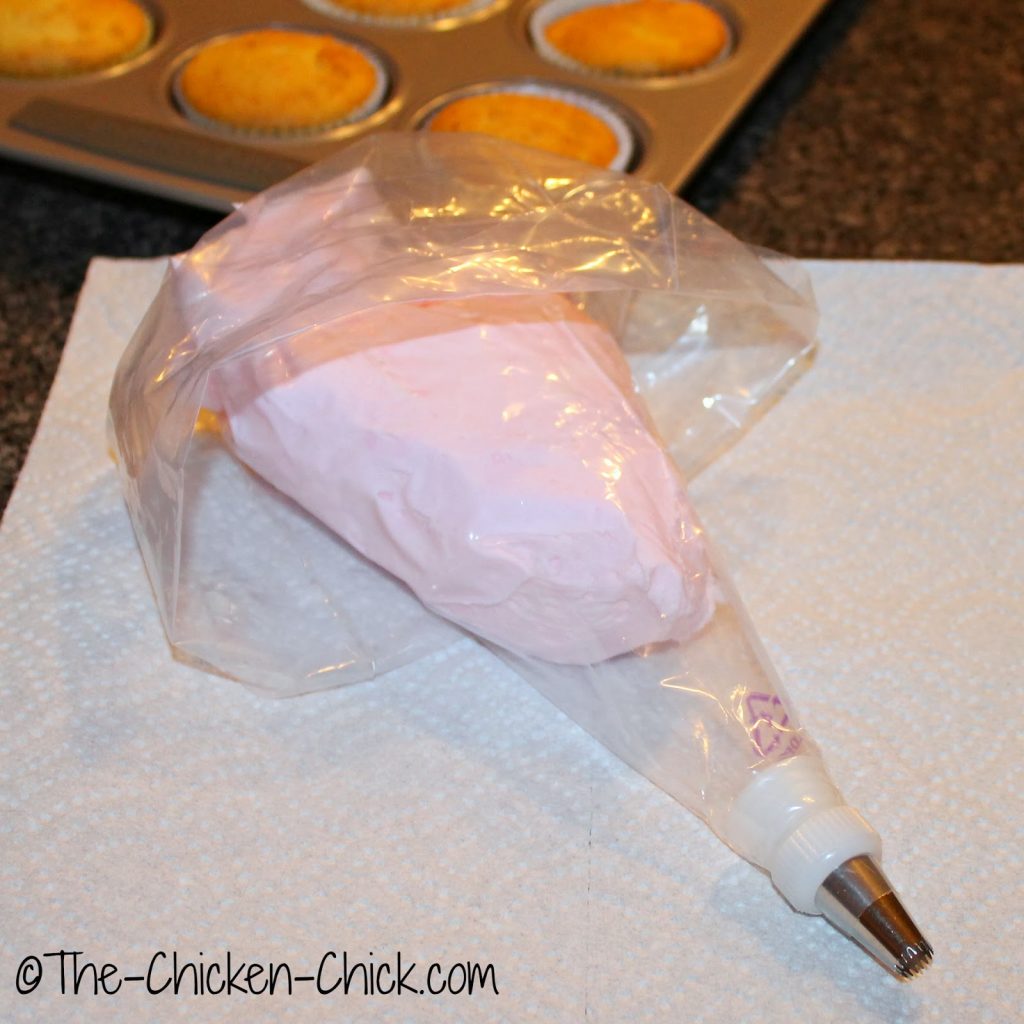
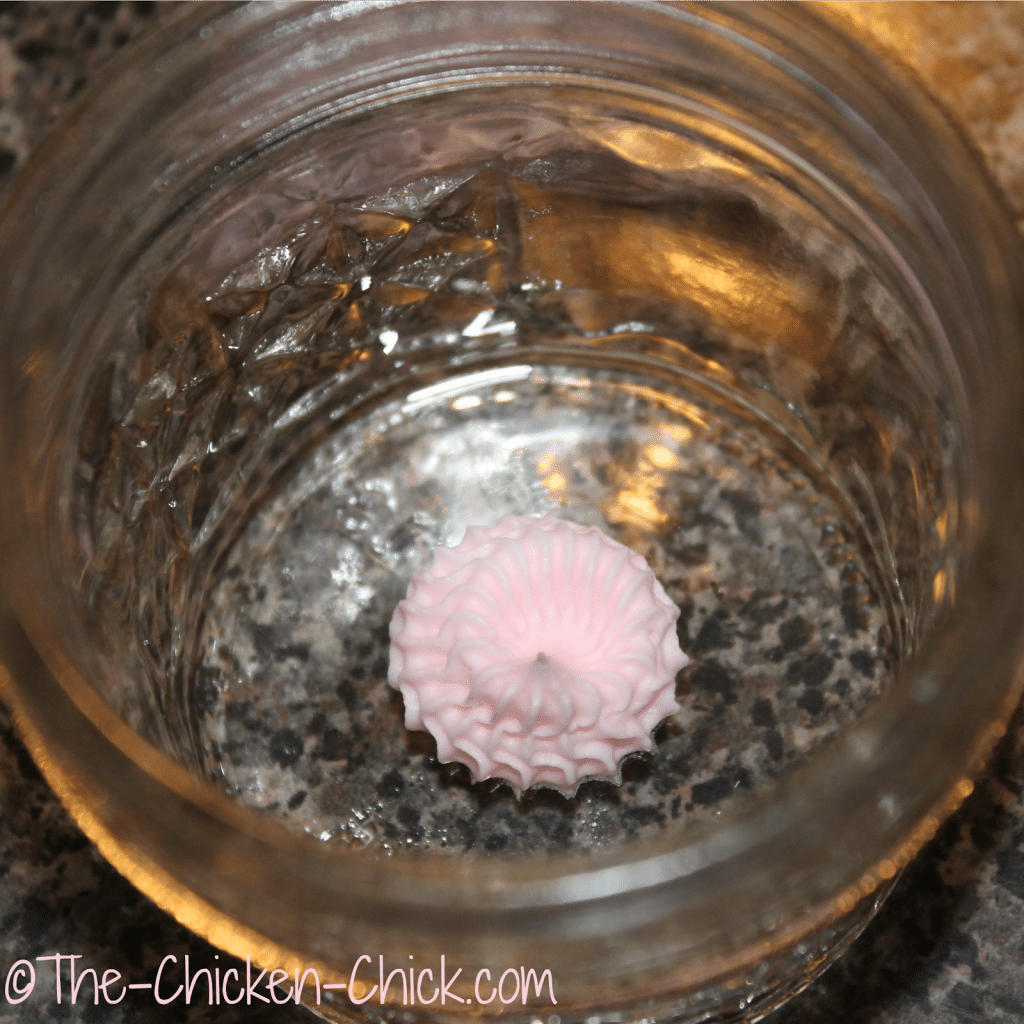
Fit decorating bag with star tip and fill with icing. Pipe a dab of frosting inside the bottom of a clean Ball jar.
Remove cupcakes from paper liners and press gently into Ball jar.
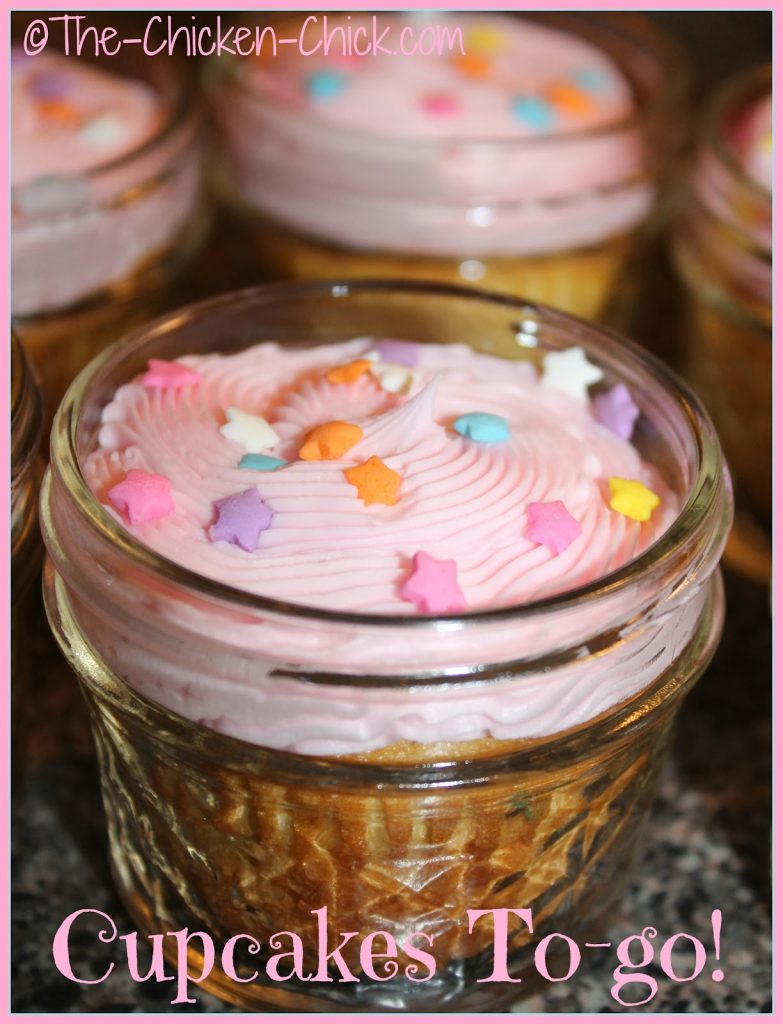
Pipe icing onto top of cupcakes, making sure frosting is no higher than the top lip of the jar.Decorate with cake sprinkles.
Insert jar lids into jar rings and fit onto cupcake jars.
WILTON BUTTERCREAM ICING
INGREDIENTS
Makes approximately 3 cups of icing. (Medium Consistency)
1/2 cup solid vegetable shortening
1/2 cup (1 stick) butter, softened
1 teaspoon clear vanilla extract
4 cups sifted confectioners’ sugar (approximately 1 lb.)
2 tablespoons milk
LET’S MAKE IT!
In large bowl, cream shortening and butter with electric mixer. Add vanilla. Gradually add sugar, one cup at a time, beating well on medium speed. Scrape sides and bottom of bowl often. When all sugar has been mixed in, icing will appear dry. Add milk and beat at medium speed until light and fluffy. Keep bowl covered with a damp cloth until ready to use.For best results, keep icing bowl in refrigerator when not in use. Refrigerated in an airtight container, this icing can be stored 2 weeks. Re-whip before using.
Kathy Shea Mormino
Affectionately known internationally as The Chicken Chick®, Kathy Shea Mormino shares a fun-loving, informative style to raising backyard chickens. …Read on


shop my SPONSORS
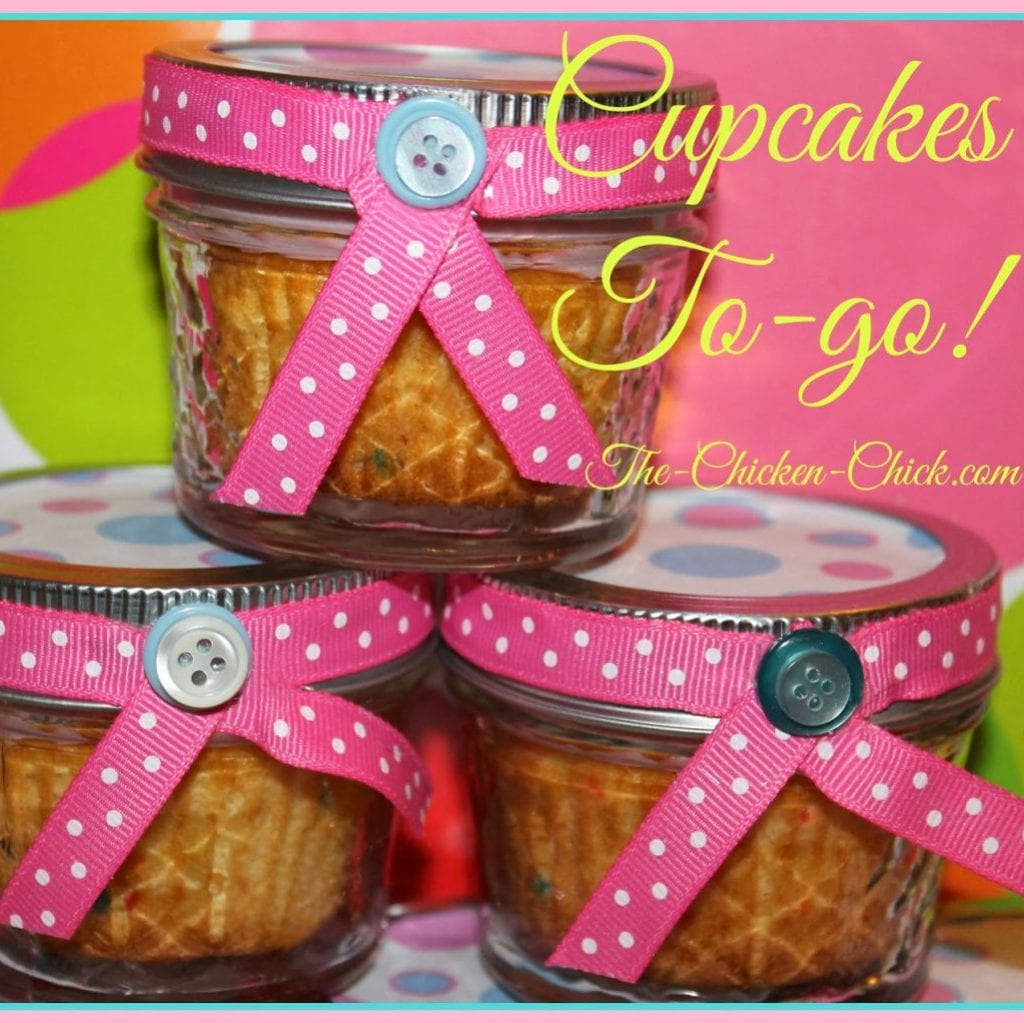
I recently shared a tutorial for the Candy Cake I made for my 6 year old daughter’s 6th birthday party, which was held at a spa for little girls. The reason I made the cake was because the spa does not permit food to be brought into the building due to liability concerns. The Candy Cake was fun to make and gave us the opportunity to sing the Birthday Song to her collectively, but it really didn’t satisfy my inner baker, so I make these cupcakes in Ball jars for the party guests to take home. I made the cupcakes a couple of days before the party and they were moist, fresh-tasting and delicious! These cupcakes assembled in canning jars would be fantastic for any number of events from weddings and anniversaries and Valentine’s Day to picnics and lunch boxes and they’re a breeze to whip up!
Is this spa not every little girl’s dream party?!
DIY CUPCAKES TO-GO!
SUPPLIES NEEDED
4 oz Ball canning jars, clean & dry
cupcakes (fill the batter no higher than half way in the cupcake tin before baking)
buttercream icing, tinted with food color of choice (any frosting will work, Wilton buttercream recipe can be found below)
1 disposable cake decorating bag
decorator sprinkles
Wilton decorating star tip (any size star tip)
3/8″ grosgrain ribbon
glue gun & glue sticks
colored buttons
Colored paper, any type (wrapping paper, scrapbook paper, etc). I used self-adhesive labels.
LET’S MAKE IT!
Trace the inside of a canning jar ring on the colored paper & cut out one circle for each cupcake.
Fit Ball jar lids with paper circles (use double-stick tape or a dab of hot glue)
Hot glue ribbon to canning jar rings. Tie ends into a bow and hot glue buttons to front of bow.
Fit decorating bag with star tip and fill with icing. Pipe a dab of frosting inside the bottom of a clean Ball jar.
Remove cupcakes from paper liners and press gently into Ball jar.
Pipe icing onto top of cupcakes, making sure frosting is no higher than the top lip of the jar.Decorate with cake sprinkles.
Insert jar lids into jar rings and fit onto cupcake jars.
WILTON BUTTERCREAM ICING
INGREDIENTS
Makes approximately 3 cups of icing. (Medium Consistency)
1/2 cup solid vegetable shortening
1/2 cup (1 stick) butter, softened
1 teaspoon clear vanilla extract
4 cups sifted confectioners’ sugar (approximately 1 lb.)
2 tablespoons milk
LET’S MAKE IT!
In large bowl, cream shortening and butter with electric mixer. Add vanilla. Gradually add sugar, one cup at a time, beating well on medium speed. Scrape sides and bottom of bowl often. When all sugar has been mixed in, icing will appear dry. Add milk and beat at medium speed until light and fluffy. Keep bowl covered with a damp cloth until ready to use.For best results, keep icing bowl in refrigerator when not in use. Refrigerated in an airtight container, this icing can be stored 2 weeks. Re-whip before using.













Thanks Cindy!
Awesome!
How awesome!! Thank you for sharing!!!
Awesome!
I know what I'm doing for my daughters 20th birthday tomorrow!!! :) :)