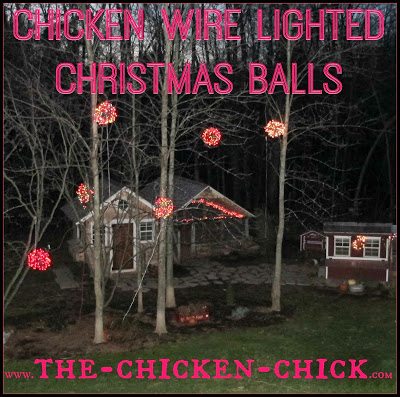
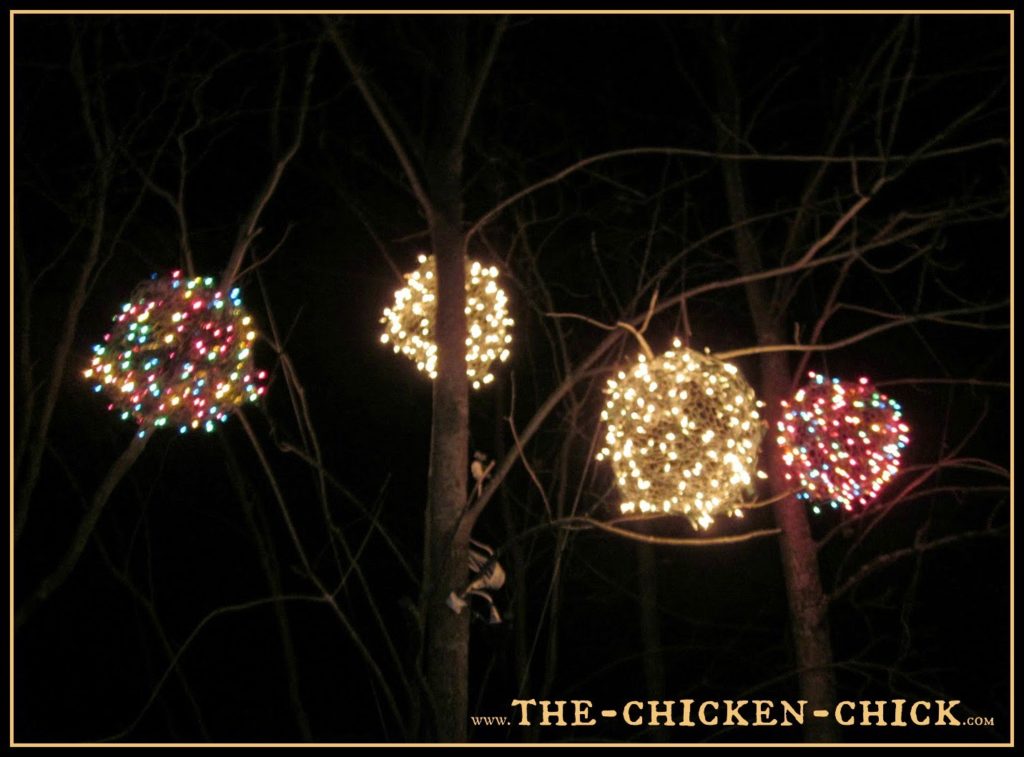
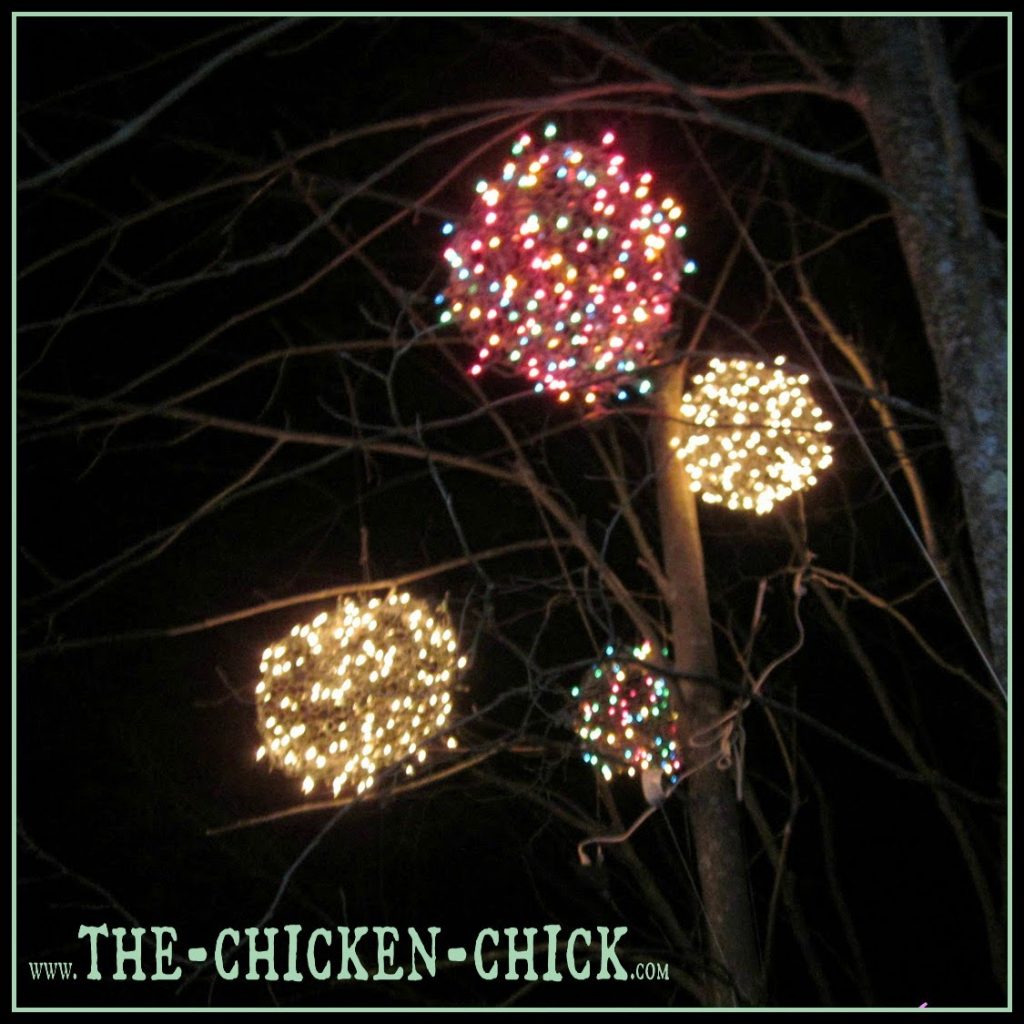
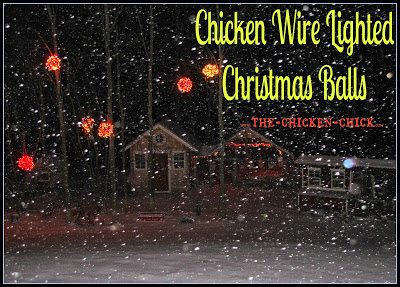
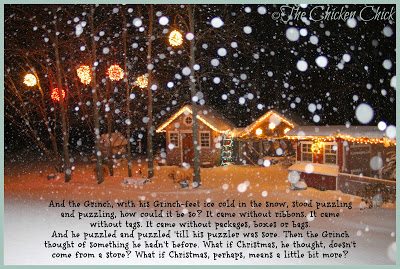
Lighted Christmas Balls made with chicken wire are a unique and festive decoration in any yard or chicken run. In Greensboro, North Carolina, they are so popular that making them as a community has become a major, annual fundraising event for the benefit of local charities. Many of their streets are lined with house after house of these outdoor lighted globes dancing from trees. Give passers-by in your neighborhood something to marvel at as the glowing orbs dangle from your unique Christmas trees.
For little more than a 20 minute time investment and approximately $3.00 per ball, a stunning, outdoor display can be created that will be the envy of the neighborhood! So grab your gloves and give Chicken Wire Christmas Balls a try!
SUPPLIES NEEDED
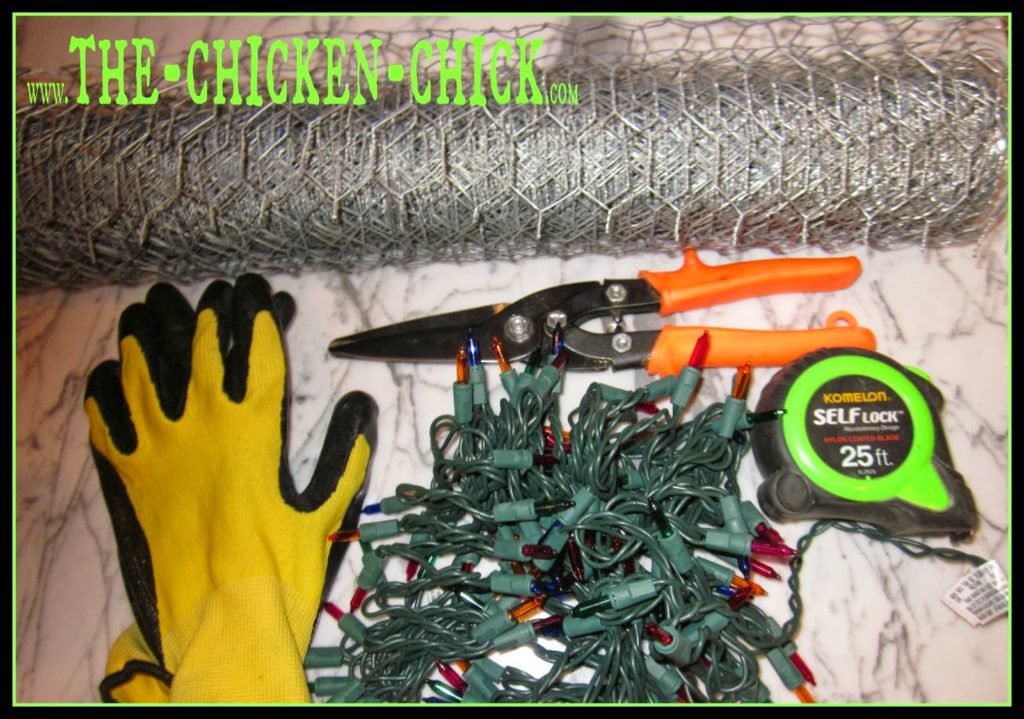
A 46 inch length of two foot chicken wire (1″ mesh)
A pair of work gloves
(2) strands of 100 count mini Christmas lights
Wire cutters & a tape measure
3 prong, outdoor adapters
Outdoor extension cords
LET’S MAKE IT!
Measure & cut a 46 inch length of wire from the 2′ roll.
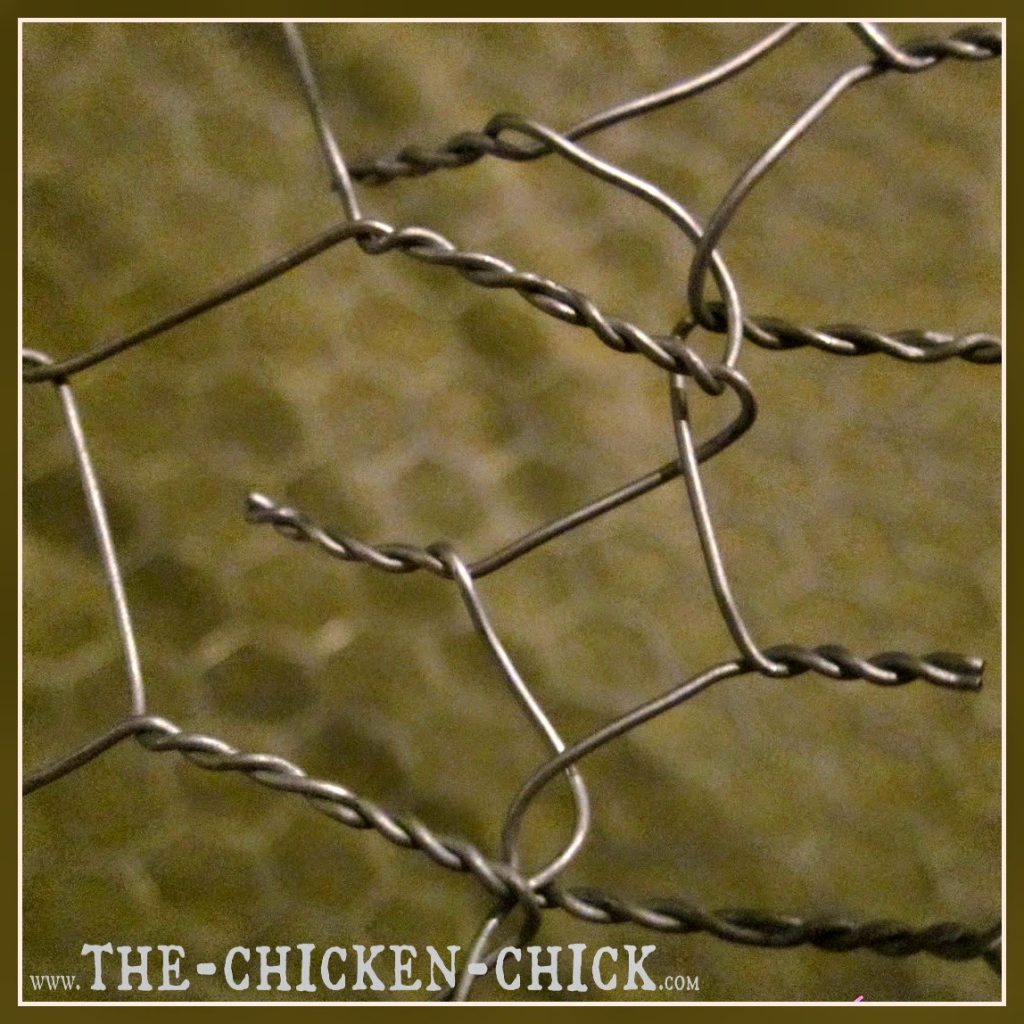
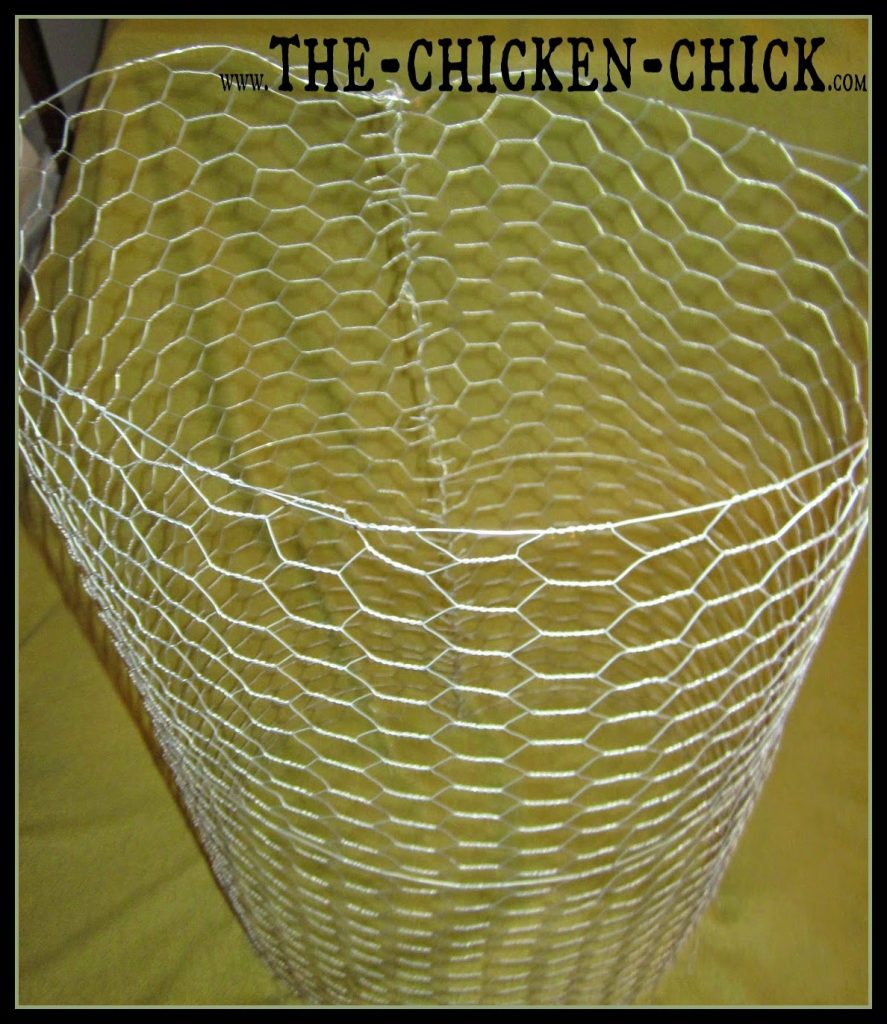
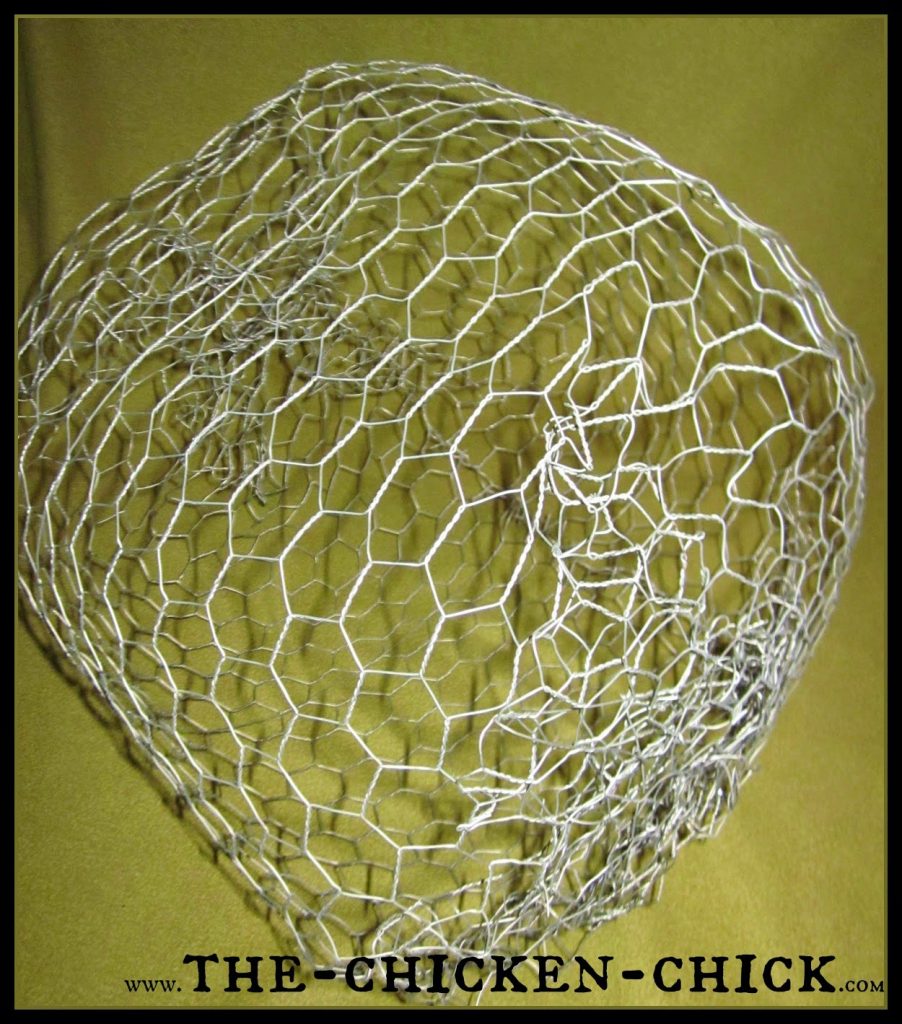
Form the cut ends into a cylinder and begin twisting the cut ends together.
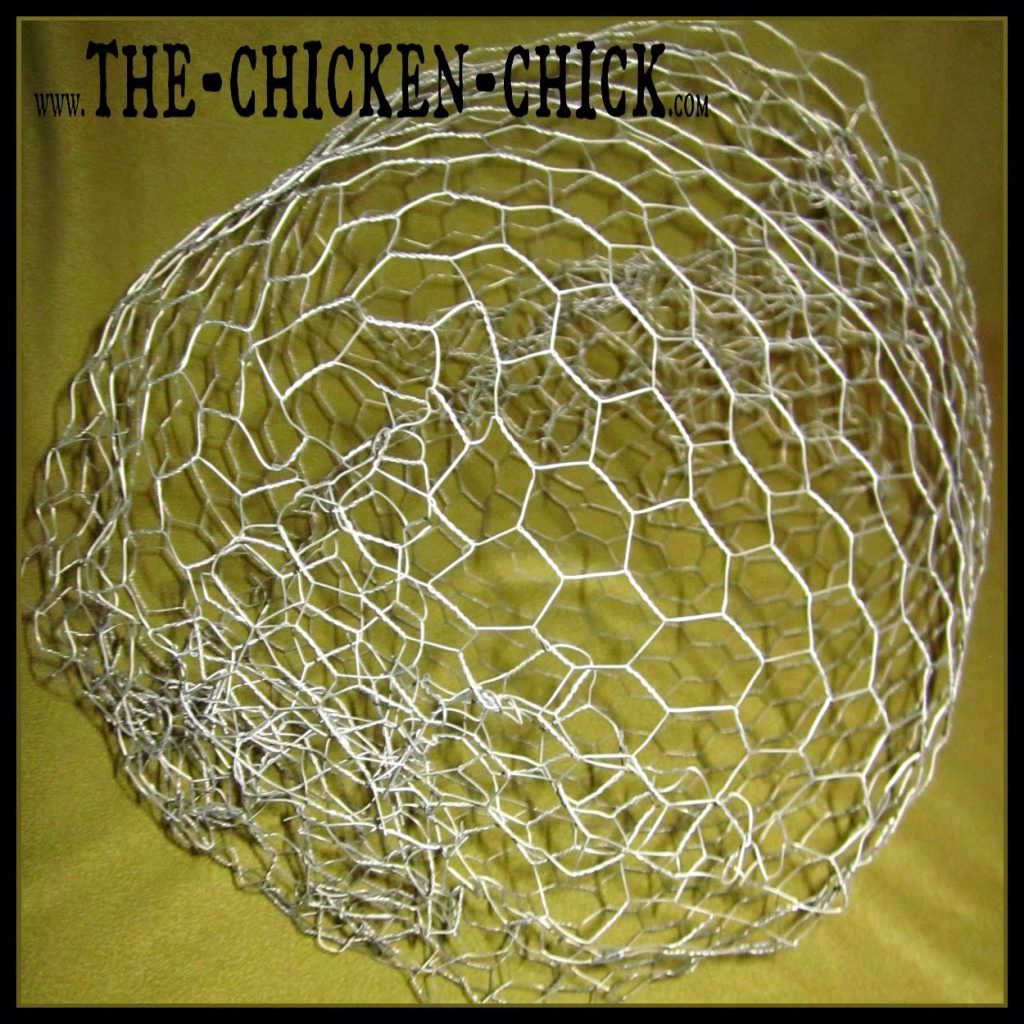
Next close both ends of the cylinder, one at a time. Avoid creating a square-ish end rather than round by overlapping and joining three or four segments as you go around the perimeter (versus joining just two segments as is the temptation). This is the only tricky part of the project.
Follow the same procedure on the other end and then begin molding the wire until it resembles a sphere.
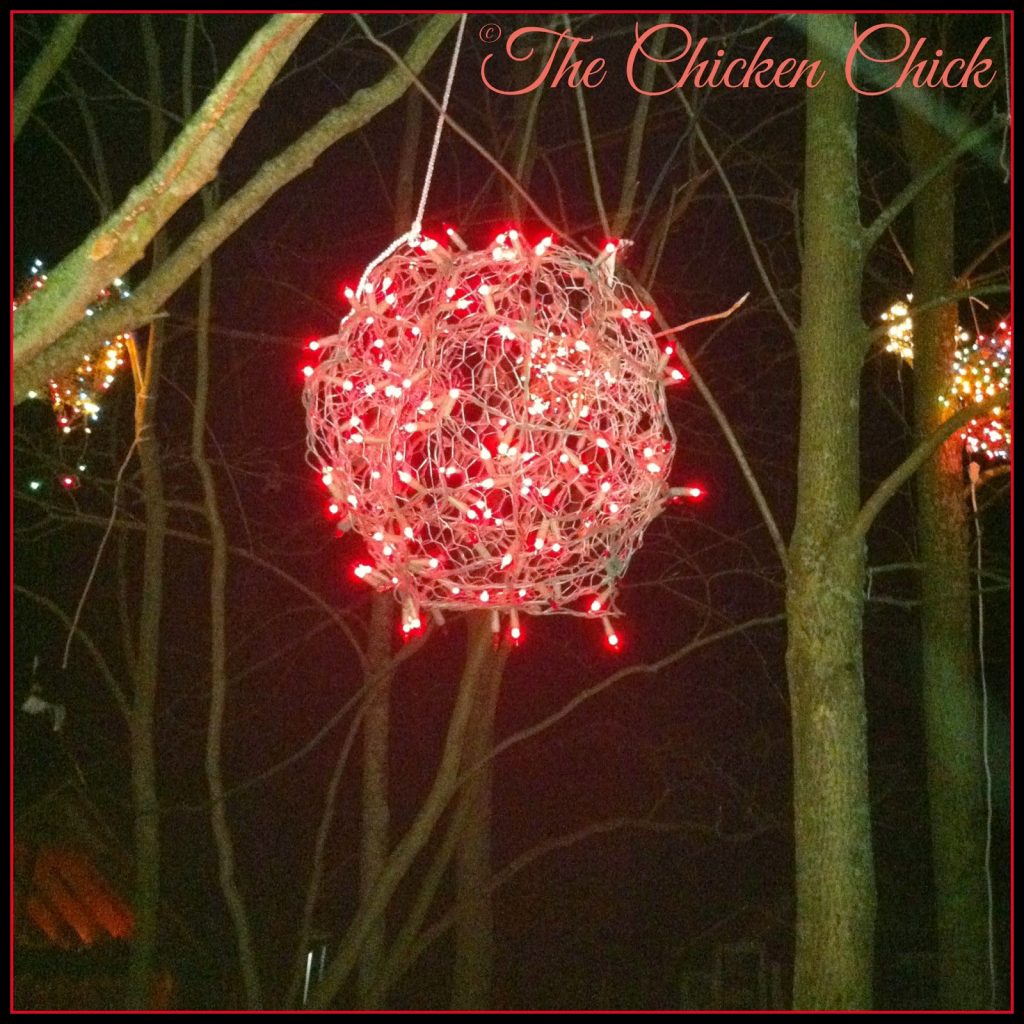
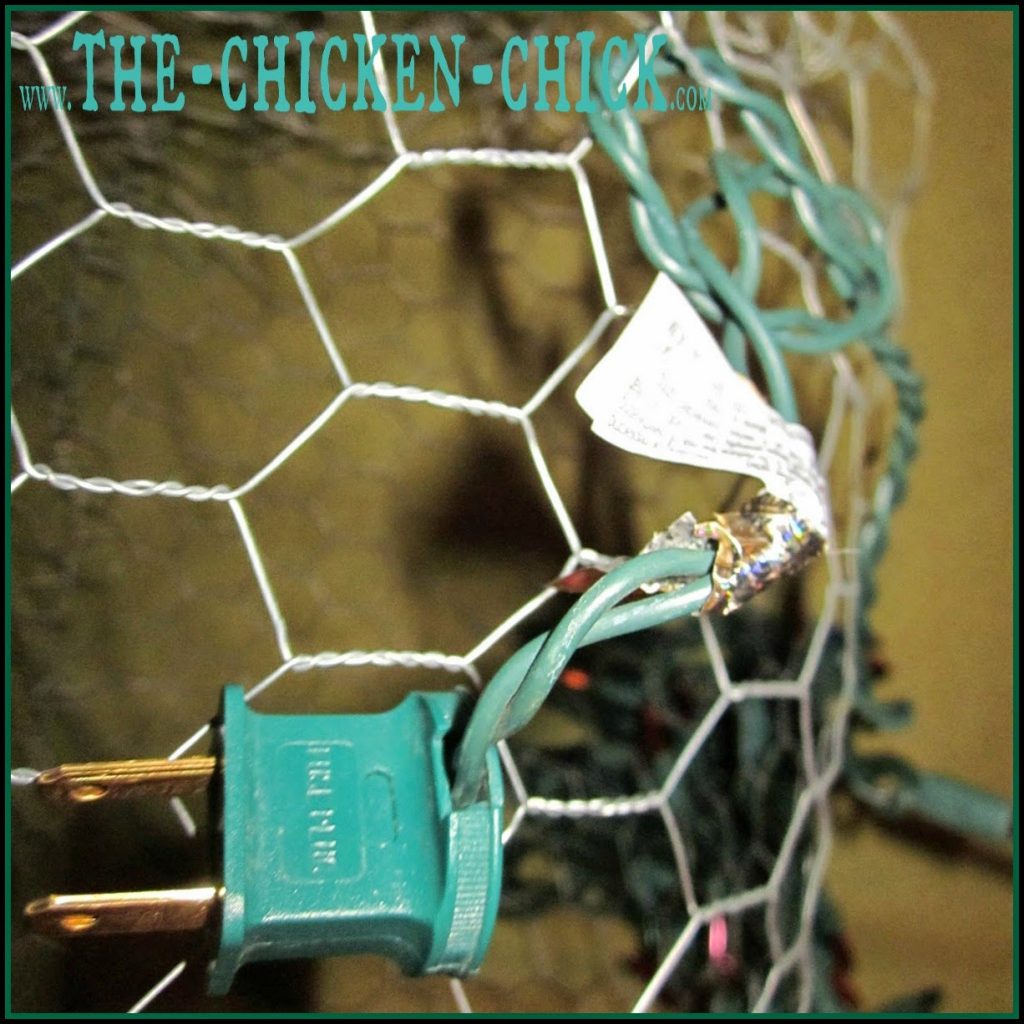
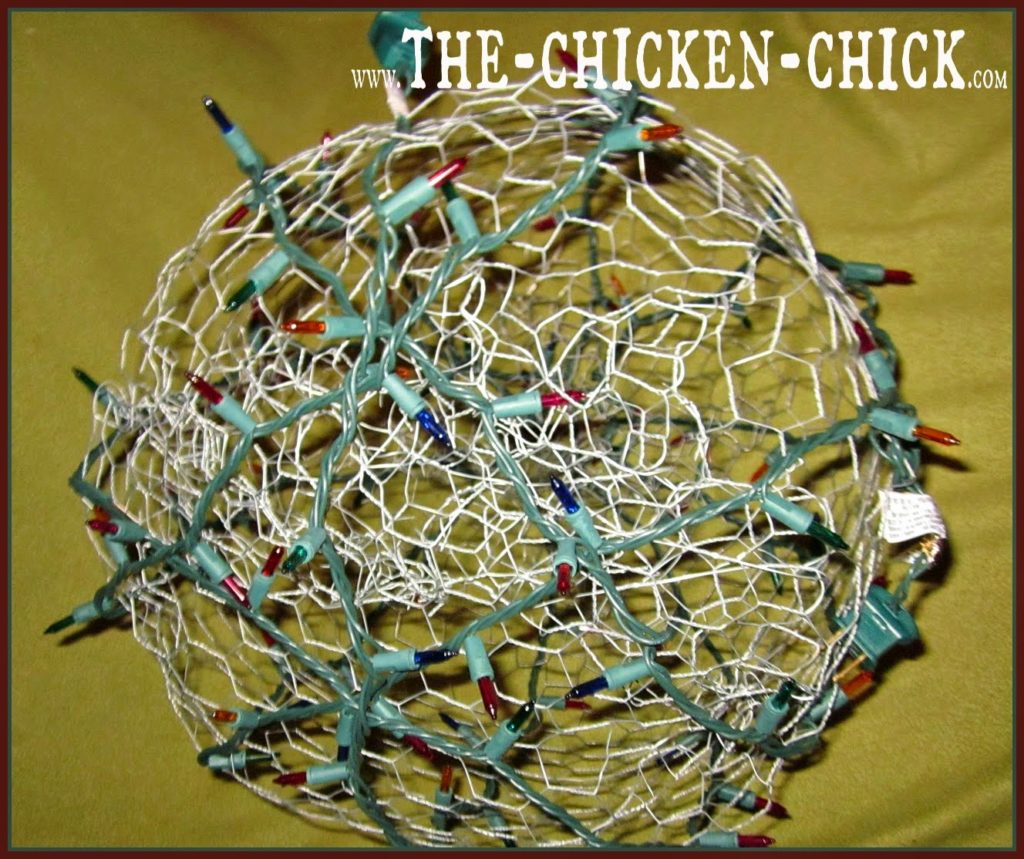
Loop the male end of the lights through the wire, secure it with a simple knot and wrap the lights around the ball as shown.
Plug the second strand into the female end of the first strand and finish stringing the lights around the ball. Tie off the female end of the lights to secure it in place.
That’s it! They’re ready to hang in trees! A three-prong adapter, several extension cords and some creativity will be involved in getting them attached and positioned in a tree.
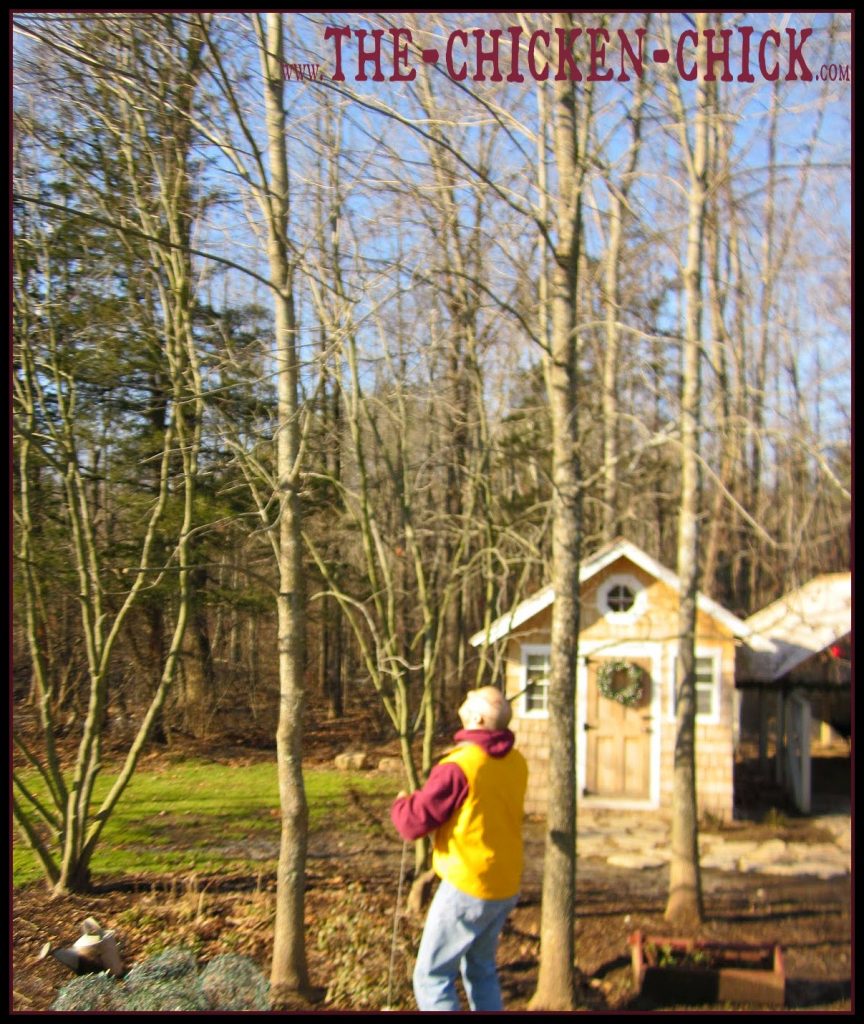
We secured a ball of heavy twine to the pop tab of a soup can and threw it up and over a limb. When the can came down, we detached the twine from the can and attached it to a lighted ball, then hoisted the ball up into the tree. Repeat with the remaining balls, connect to a power source and light! (that sounds a lot easier than it is.)
Kathy Shea Mormino
Affectionately known internationally as The Chicken Chick®, Kathy Shea Mormino shares a fun-loving, informative style to raising backyard chickens. …Read on


shop my SPONSORS
Lighted Christmas Balls made with chicken wire are a unique and festive decoration in any yard or chicken run. In Greensboro, North Carolina, they are so popular that making them as a community has become a major, annual fundraising event for the benefit of local charities. Many of their streets are lined with house after house of these outdoor lighted globes dancing from trees. Give passers-by in your neighborhood something to marvel at as the glowing orbs dangle from your unique Christmas trees.
For little more than a 20 minute time investment and approximately $3.00 per ball, a stunning, outdoor display can be created that will be the envy of the neighborhood! So grab your gloves and give Chicken Wire Christmas Balls a try!
SUPPLIES NEEDED
A 46 inch length of two foot chicken wire (1″ mesh)
A pair of work gloves
(2) strands of 100 count mini Christmas lights
Wire cutters & a tape measure
3 prong, outdoor adapters
Outdoor extension cords
LET’S MAKE IT!
Measure & cut a 46 inch length of wire from the 2′ roll.
Form the cut ends into a cylinder and begin twisting the cut ends together.
Next close both ends of the cylinder, one at a time. Avoid creating a square-ish end rather than round by overlapping and joining three or four segments as you go around the perimeter (versus joining just two segments as is the temptation). This is the only tricky part of the project.
Follow the same procedure on the other end and then begin molding the wire until it resembles a sphere.
Loop the male end of the lights through the wire, secure it with a simple knot and wrap the lights around the ball as shown.
Plug the second strand into the female end of the first strand and finish stringing the lights around the ball. Tie off the female end of the lights to secure it in place.
That’s it! They’re ready to hang in trees! A three-prong adapter, several extension cords and some creativity will be involved in getting them attached and positioned in a tree.
We secured a ball of heavy twine to the pop tab of a soup can and threw it up and over a limb. When the can came down, we detached the twine from the can and attached it to a lighted ball, then hoisted the ball up into the tree. Repeat with the remaining balls, connect to a power source and light! (that sounds a lot easier than it is.)








My neighbor up the road does his fairly large back yard with these, and it’s the highlight of the Xmas season for me!! I think it’s the most beautiful display I’ve ever seen <3 He has at least a dozen of them hanging high up in his many trees. Thank you for sharing this, I hope to start making some too!!
Thank you for sharing, Dawn!
Hi Kathy,
I just wanted to let you know that I am posting a link to your blog, in my blog (Dawning Genealogy also on blogger) for a piece I am doing on Christmas lights. I wanted to give my readers a way to learn how to make the chicken wire Christmas balls and see your photos too.
Take care,
Dawn K
Super cute idea! Thanks for linking up at Project Pin it! It's been been to the Project Pin-it board on Pinterest.
xoxo
Denyse