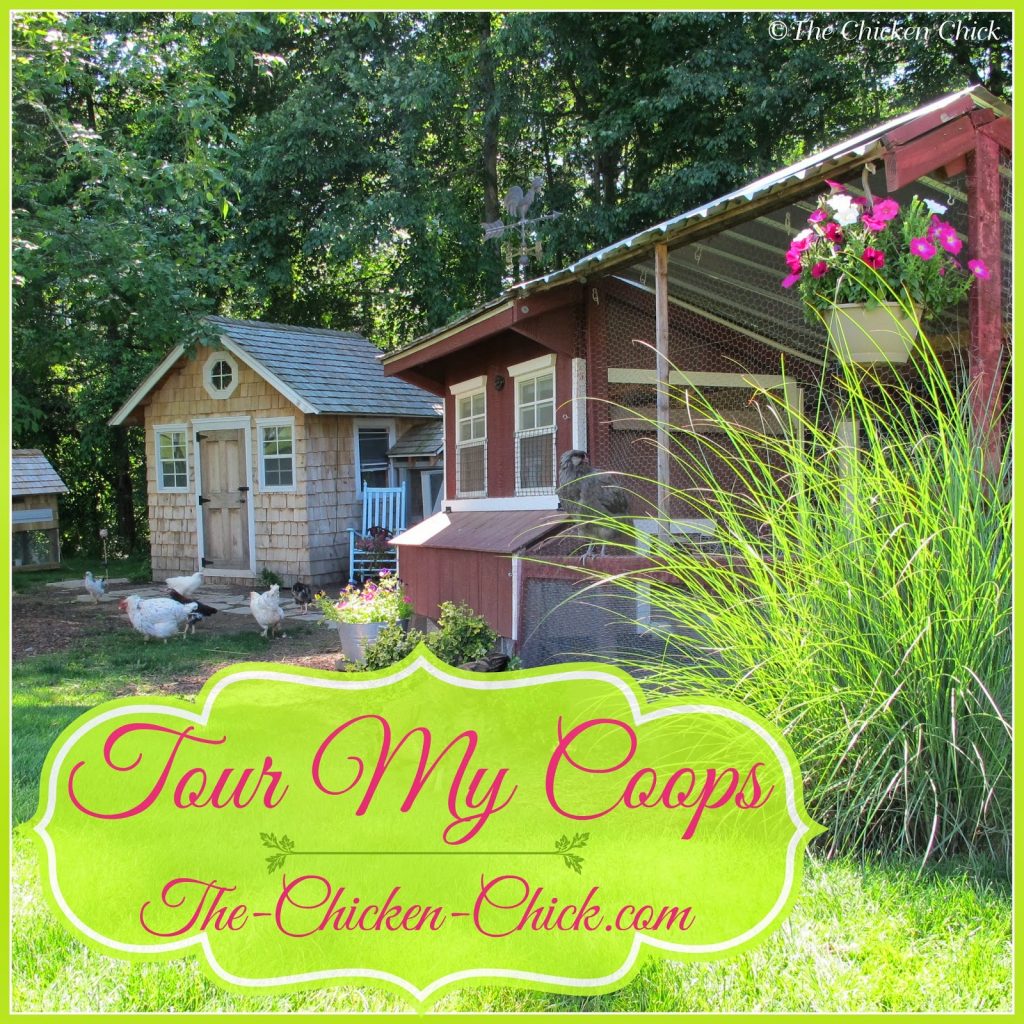
I enjoy seeing how chickens live on the other side of the proverbial fence and learning about the lengths to which their people will go to ensure their happiness and comfort. Coops from the small and simple to the large and ornate intrigue me and entertain me and move me to be creative with my own.
Regardless of the set-up I started with or the current arrangement in my backyard, I know that there will always be changes to it either out of necessity as my flock changes, or as the result of inspiration that moves me to alter the way things appear or function. I assume that at least a few other people share my voyeuristic obsession with coops and have created this pictorial tour of my coops to share with you. Thank you for visiting, I hope you enjoy the tour!
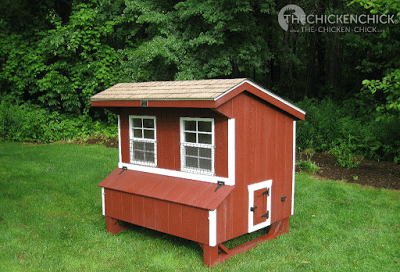
In the beginning, there was grass. Our first coop was a pre-fab , courtesy of the Pennsylvania Amish.
I asked the post office to call me the moment the chicks arrived. 6am it was. (note to self: be careful what you ask for!)
The new chicks were an Australorp, Barred Plymouth Rocks, Silkies, Easter Eggers, a Buff Orpington, and a White Plymouth Rock.
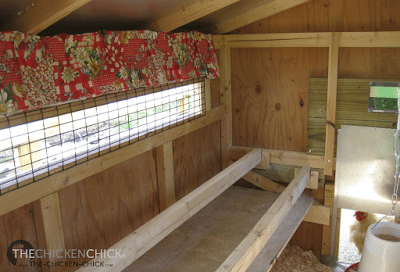
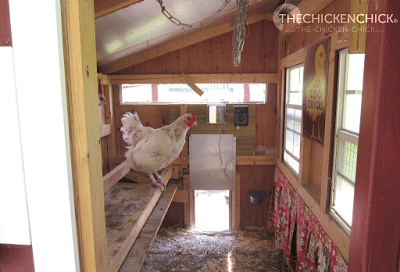
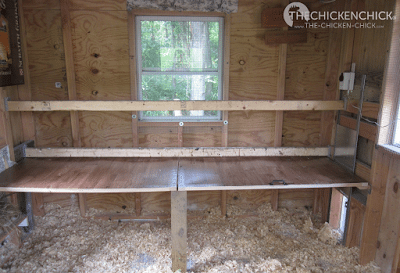
After many months of re-design and tweaking, this is the view from the “people door.” We raised the roosts to maximize floor space and added a droppings board to keep it as clean as possible. Both the roosts and droppings board are removable for cleaning.
The automatic pop door opener was one of the best Christmas gifts ever. Highly recommended, particularly for those not interested in beating the early bird to the worm.
We added windows for ventilation on the north and south sides of the coop in the summer of 2010, which was one of the hottest in New England history.
The nest boxes on the right have nest box curtains for the privacy and darkness that laying hens and broody hens appreciate.
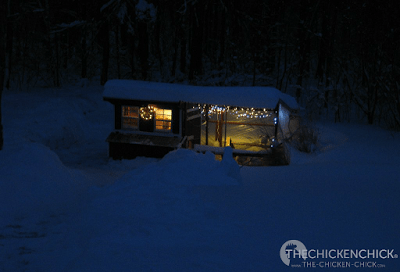
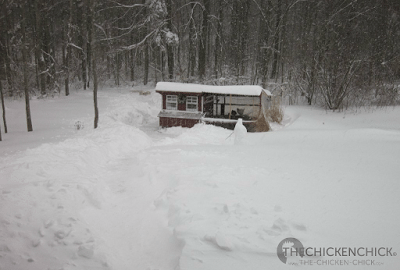
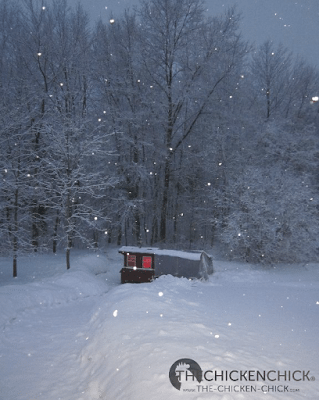
The winter of 2010 was unreasonably snowy. Pretty, but unbearably cold and snowy. Did I mention… snowy?
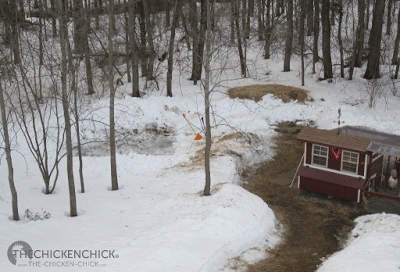
No longer pretty. Still snowy. In February, I dug the the clearing on the left for the new coop, willing winter to go away. It flatly refused.
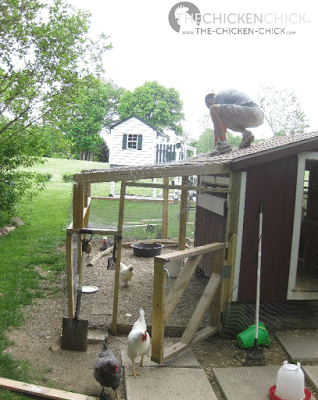
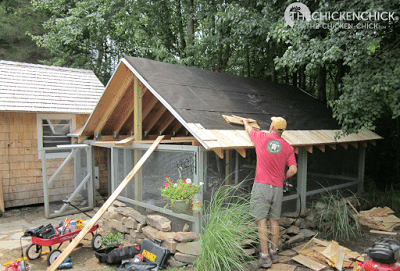
This is the south side of the coop. People door on right, run door in its initial, miniature size. After several near-concussions, it has been made taller. Husband adding corrugated plastic roof panels (which, thankfully, were operational prior to Winter Fest 2010, above).
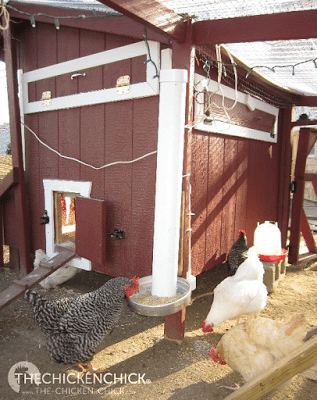
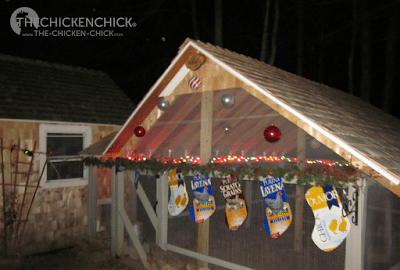
This is the PVC feeder that I built after learning to use a drill. I have since replaced the cake pan with a plastic corner litter pan. The Christmas lights were removed prior to Memorial Day (any longer and I could have just left them up!).
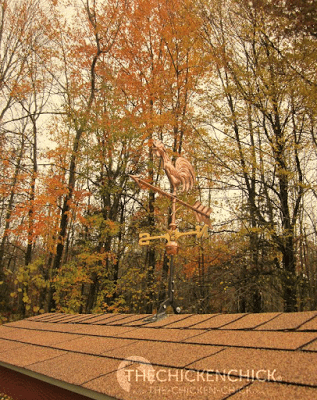
The copper weathervane was a gift from my husband for our seventh wedding anniversary. Did you know seven is the copper anniversary? True story.
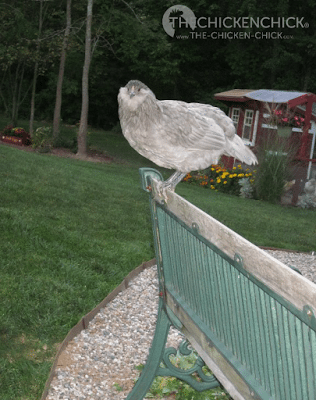
Clarice enjoying the view from the bench. I’d have been happier if her working end were facing the other direction.
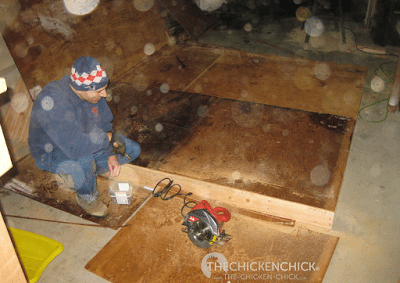
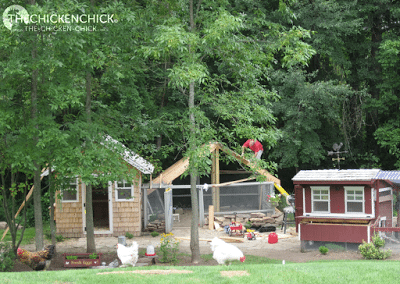
My husband built our second coop during the coldest, snowiest winter in the annals of New England meteorology. The project started in the garage where he built the floor, walls and roof joists.
Building a coop was a much more costly and time-consuming proposition than I had bargained for. I stopped tracking the actual cost after the initial planning stage as the numbers had already far exceeded the budget I originally envisioned. Clearly, my husband’s vision was different from mine, but I’m not complaining.
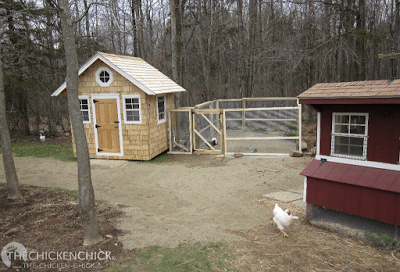
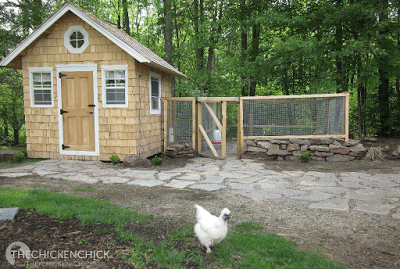
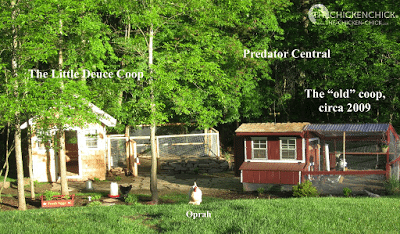
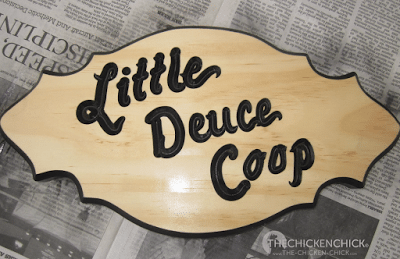
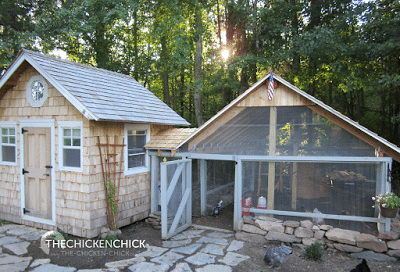
Presenting: “The Little Deuce Coop.” I asked for a Hoopdie and he gave me a Mercedes. That’s love.
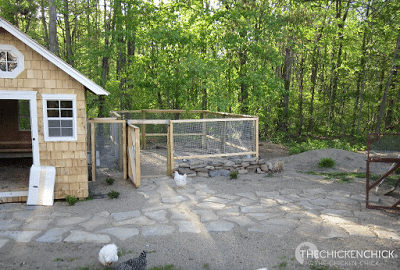
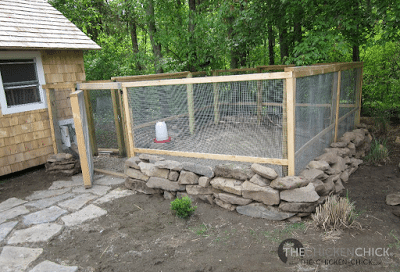
We spent a weekend digging rocks out of the woods behind the coops to build this rock wall. (it has been un-built and re-built at least twice since then)
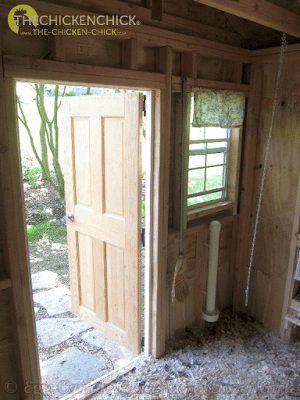
The Little Deuce Coop’s people door and oyster shell dispenser (below the window).
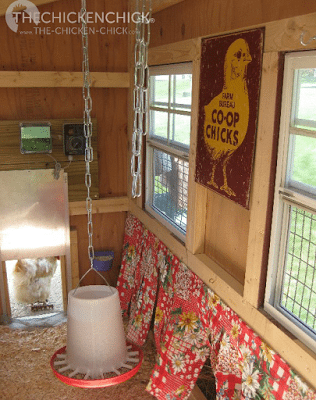
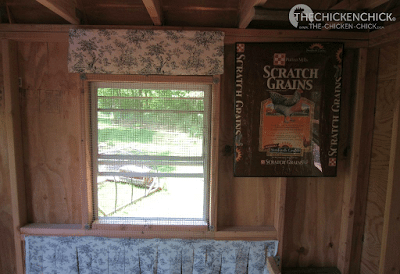
Nest boxes to the left of the people door. Feedbag artwork inspires the ladies. :)
I was thrilled with the performance of the droppings board in our first coop and was confident it would be as useful in the new coop. What I did not anticipate was that half of the chickens would roost in the rafters, defeating the entire purpose of the droppings board. Outwitted by chickens again.
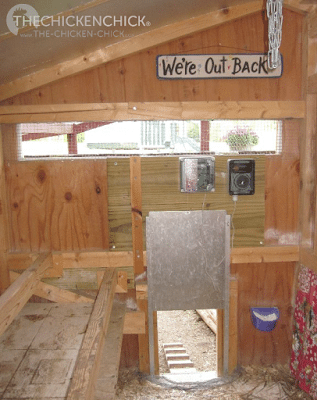
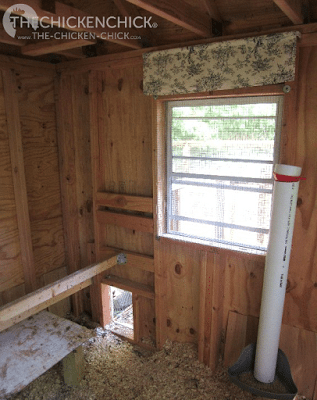
Pop door, awaiting automation. PVC Feeder alongside window. Cap on feeder is essential with rafter-roosters.
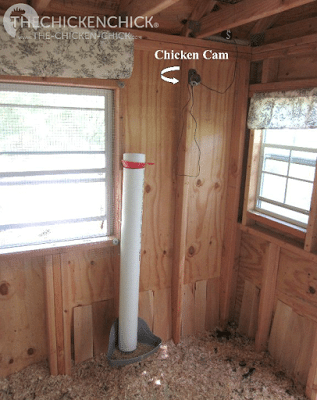
Chicken Cam. Gotta have one. I use the area to the right of the PVC feeder as brooder and grow-out space for chicks.
Windy, my crooked toe Blue Splash Marans, taking a break from the hard work of pecking and scratching.
Interior remodeling of our new coop. We installed an automatic pop door opener and raised the roosts and droppings boards because I wanted the floor space underneath it accessible.
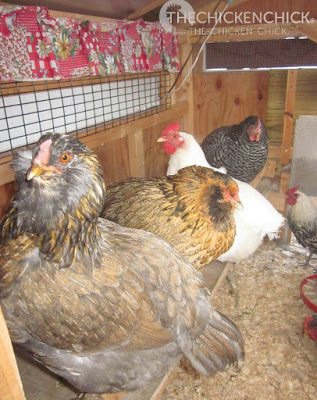
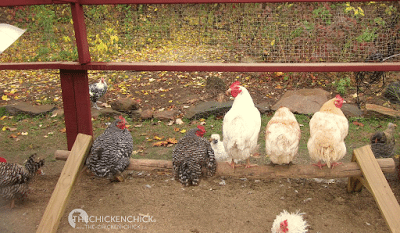
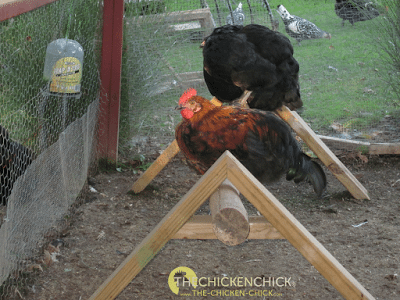
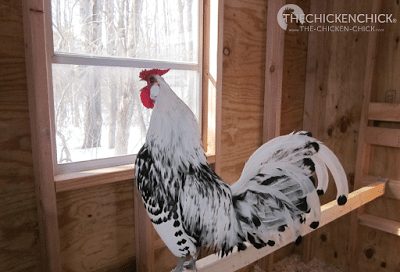
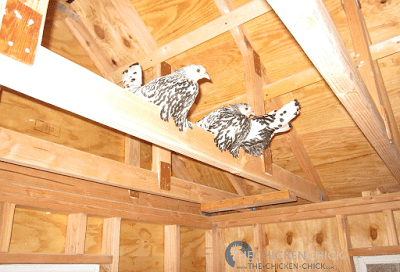
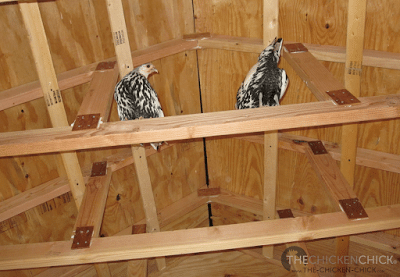
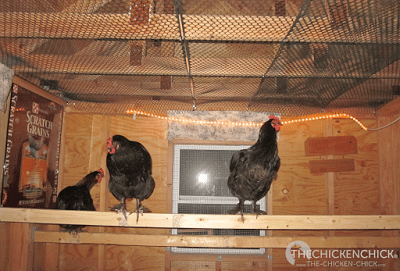
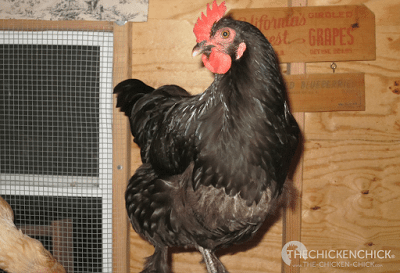
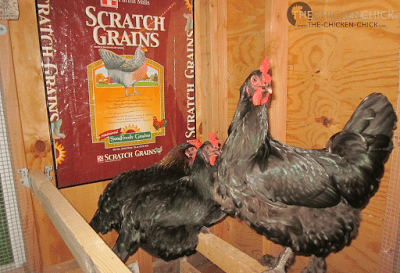
Silver Spangled Hamburgs enjoying the view from the rafters. But not for long, sorry ladies! As much as they loved it, I decided that rafters were not a good place for my heavy birds, particularly the Black Copper Marans. The sound of the landings from that height made me worry about bumblefoot and other injuries, so I decided we’d put plastic poultry netting on the rafters. The girlz were very unhappy about it for about a week. Very unhappy.
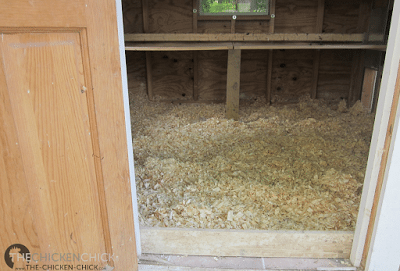
Pine shavings falling out of the doors is a pet peeve of mine, so kick-plates were installed at the thresholds.
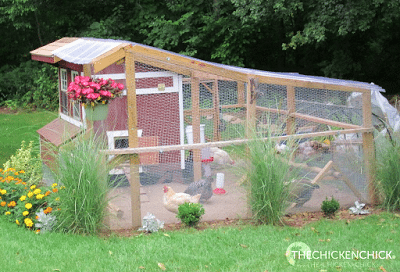
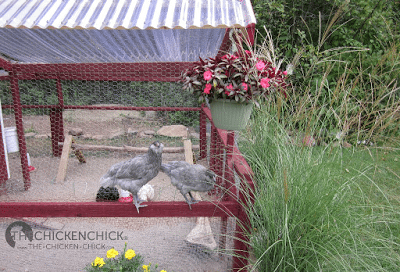
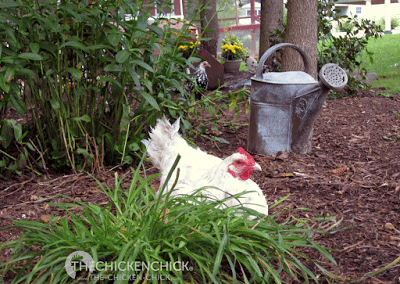
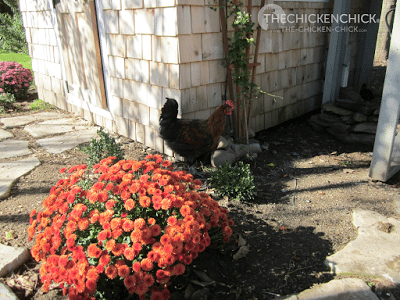
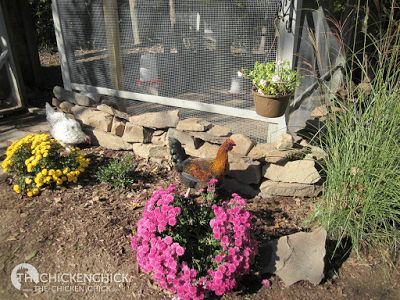
These mums were beautiful for about a week until the chickens took turns standing IN THEM. <sigh>
My coops are ongoing project as I find reasons to modify them every few months (whether they need it or not!).
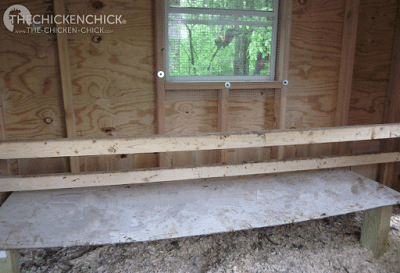
I wasn’t happy with the layout or height of the roosts and droppings boards so…back to the drawing board we went. The challenges were that the pop door on one side of the coop with a nest box on the opposite wall. We didn’t want to lose access to a nest box or hinder the operation of the automatic pop door opener. In the most recent set-up, the roosts were too high and that the chickens had to hop up onto the droppings board before getting up onto the roost, plus the droppings board was too close to the lowest roost, creating an environment in which the chickens’ fluffy butts could get dirty. Not acceptable.
Two and a half hours of adjustments later (in 30°F temperatures) and this is what we have. The hens can still access the nest box and exit the pop door. Mission accomplished.
4/7/12 This yard-sale find keeps the girlz entertained when the nest boxes are full or feed station is occupado.
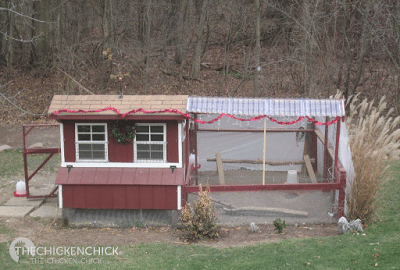
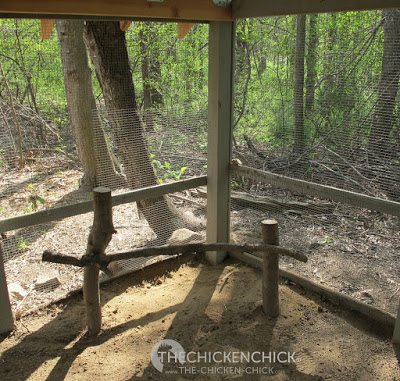
10/30/12 This pre-Halloween snowstorm left us without power for 8 days, wreaked havoc on the roof of the small run and took a toll on many of the trees throughout Connecticut and in our backyard.
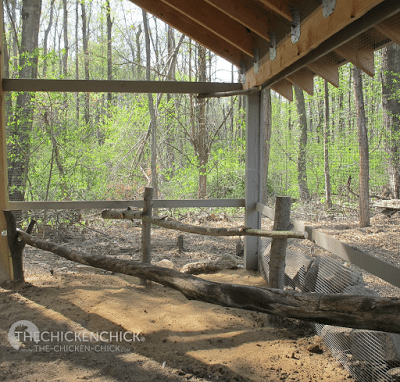
April 2012: We replaced the damaged roof and put some of the fallen limbs to good use in the run this spring. The plastic, corrugated roofing was replaced with metal.
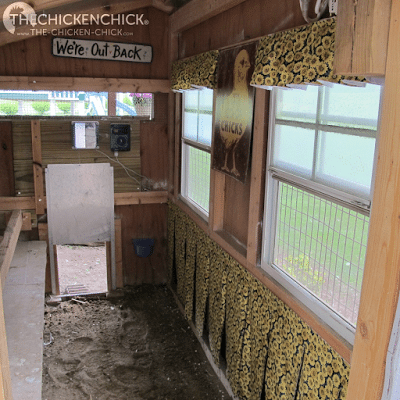
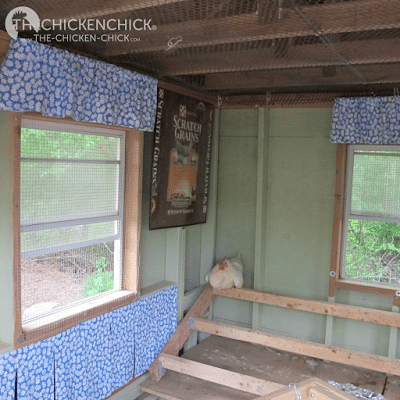
5/13/12 New Nest Box curtains hung in both coops! Thanks to Debbie Cade for her beautiful work!
Nest box curtains in the ‘Little Deuce Coop,’ more than just pretty, functional too!
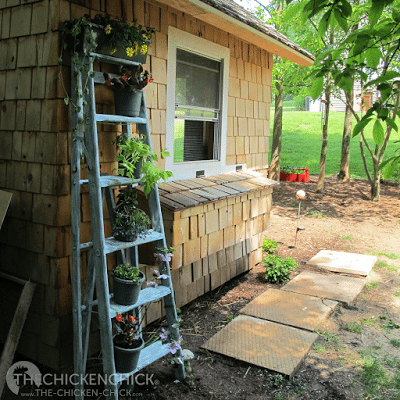
This ladder was a real find at our local landfill- I turned it into a planter for less than three bucks. Here’s how.
Spring 2012, we hatched Coturnix quail and built this quail coop to match the Little Deuce Coop.
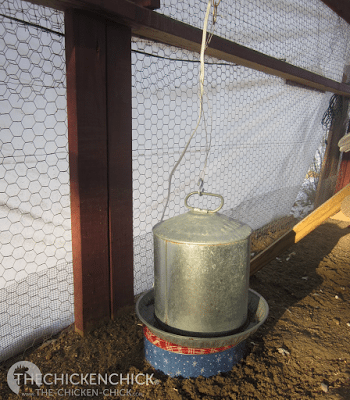
July 2012, we installed The Chicken Fountain in all three coops. They were life changing.
We did a little landscaping while addressing the problem with water flowing down the hill through the run.
August, 2013: It took three days to install tongue-in-groove wall-boards in The Little Deuce Coop. I wanted walls because it will make cleaning easier. I love the look!
Thanks for taking my Virtual Tour de Coop and check back for the inevitable revisions!
Kathy Shea Mormino
Affectionately known internationally as The Chicken Chick®, Kathy Shea Mormino shares a fun-loving, informative style to raising backyard chickens. …Read on


shop my SPONSORS
I enjoy seeing how chickens live on the other side of the proverbial fence and learning about the lengths to which their people will go to ensure their happiness and comfort. Coops from the small and simple to the large and ornate intrigue me and entertain me and move me to be creative with my own.
Regardless of the set-up I started with or the current arrangement in my backyard, I know that there will always be changes to it either out of necessity as my flock changes, or as the result of inspiration that moves me to alter the way things appear or function. I assume that at least a few other people share my voyeuristic obsession with coops and have created this pictorial tour of my coops to share with you. Thank you for visiting, I hope you enjoy the tour!
In the beginning, there was grass. Our first coop was a pre-fab , courtesy of the Pennsylvania Amish.
I asked the post office to call me the moment the chicks arrived. 6am it was. (note to self: be careful what you ask for!)
The new chicks were an Australorp, Barred Plymouth Rocks, Silkies, Easter Eggers, a Buff Orpington, and a White Plymouth Rock.
After many months of re-design and tweaking, this is the view from the “people door.” We raised the roosts to maximize floor space and added a droppings board to keep it as clean as possible. Both the roosts and droppings board are removable for cleaning.
The automatic pop door opener was one of the best Christmas gifts ever. Highly recommended, particularly for those not interested in beating the early bird to the worm.
We added windows for ventilation on the north and south sides of the coop in the summer of 2010, which was one of the hottest in New England history.
The nest boxes on the right have nest box curtains for the privacy and darkness that laying hens and broody hens appreciate.
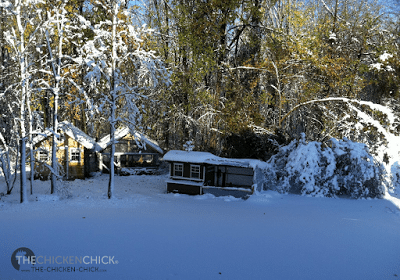
The winter of 2010 was unreasonably snowy. Pretty, but unbearably cold and snowy. Did I mention… snowy?
No longer pretty. Still snowy. In February, I dug the the clearing on the left for the new coop, willing winter to go away. It flatly refused.
This is the south side of the coop. People door on right, run door in its initial, miniature size. After several near-concussions, it has been made taller. Husband adding corrugated plastic roof panels (which, thankfully, were operational prior to Winter Fest 2010, above).
This is the PVC feeder that I built after learning to use a drill. I have since replaced the cake pan with a plastic corner litter pan. The Christmas lights were removed prior to Memorial Day (any longer and I could have just left them up!).
The copper weathervane was a gift from my husband for our seventh wedding anniversary. Did you know seven is the copper anniversary? True story.
Clarice enjoying the view from the bench. I’d have been happier if her working end were facing the other direction.
My husband built our second coop during the coldest, snowiest winter in the annals of New England meteorology. The project started in the garage where he built the floor, walls and roof joists.
Building a coop was a much more costly and time-consuming proposition than I had bargained for. I stopped tracking the actual cost after the initial planning stage as the numbers had already far exceeded the budget I originally envisioned. Clearly, my husband’s vision was different from mine, but I’m not complaining.
Presenting: “The Little Deuce Coop.” I asked for a Hoopdie and he gave me a Mercedes. That’s love.
We spent a weekend digging rocks out of the woods behind the coops to build this rock wall. (it has been un-built and re-built at least twice since then)
The Little Deuce Coop’s people door and oyster shell dispenser (below the window).
Nest boxes to the left of the people door. Feedbag artwork inspires the ladies. :)
I was thrilled with the performance of the droppings board in our first coop and was confident it would be as useful in the new coop. What I did not anticipate was that half of the chickens would roost in the rafters, defeating the entire purpose of the droppings board. Outwitted by chickens again.
Pop door, awaiting automation. PVC Feeder alongside window. Cap on feeder is essential with rafter-roosters.
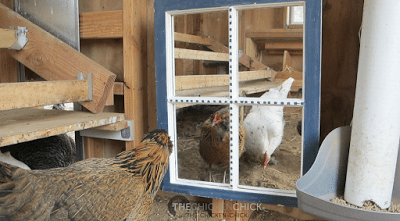
Chicken Cam. Gotta have one. I use the area to the right of the PVC feeder as brooder and grow-out space for chicks.
Windy, my crooked toe Blue Splash Marans, taking a break from the hard work of pecking and scratching.
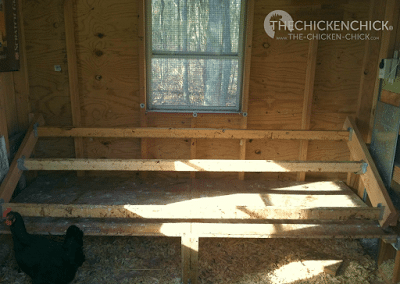
Interior remodeling of our new coop. We installed an automatic pop door opener and raised the roosts and droppings boards because I wanted the floor space underneath it accessible.
Silver Spangled Hamburgs enjoying the view from the rafters. But not for long, sorry ladies! As much as they loved it, I decided that rafters were not a good place for my heavy birds, particularly the Black Copper Marans. The sound of the landings from that height made me worry about bumblefoot and other injuries, so I decided we’d put plastic poultry netting on the rafters. The girlz were very unhappy about it for about a week. Very unhappy.
Pine shavings falling out of the doors is a pet peeve of mine, so kick-plates were installed at the thresholds.
These mums were beautiful for about a week until the chickens took turns standing IN THEM. <sigh>
My coops are ongoing project as I find reasons to modify them every few months (whether they need it or not!).
I wasn’t happy with the layout or height of the roosts and droppings boards so…back to the drawing board we went. The challenges were that the pop door on one side of the coop with a nest box on the opposite wall. We didn’t want to lose access to a nest box or hinder the operation of the automatic pop door opener. In the most recent set-up, the roosts were too high and that the chickens had to hop up onto the droppings board before getting up onto the roost, plus the droppings board was too close to the lowest roost, creating an environment in which the chickens’ fluffy butts could get dirty. Not acceptable.
Two and a half hours of adjustments later (in 30°F temperatures) and this is what we have. The hens can still access the nest box and exit the pop door. Mission accomplished.
4/7/12 This yard-sale find keeps the girlz entertained when the nest boxes are full or feed station is occupado.
10/30/12 This pre-Halloween snowstorm left us without power for 8 days, wreaked havoc on the roof of the small run and took a toll on many of the trees throughout Connecticut and in our backyard.
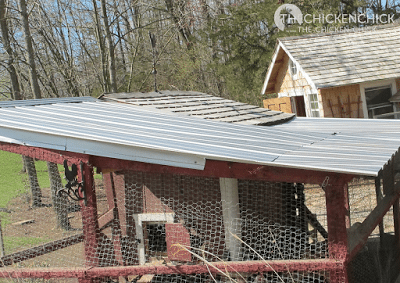
April 2012: We replaced the damaged roof and put some of the fallen limbs to good use in the run this spring. The plastic, corrugated roofing was replaced with metal.
5/13/12 New Nest Box curtains hung in both coops! Thanks to Debbie Cade for her beautiful work!
Nest box curtains in the ‘Little Deuce Coop,’ more than just pretty, functional too!
This ladder was a real find at our local landfill- I turned it into a planter for less than three bucks. Here’s how.
Spring 2012, we hatched Coturnix quail and built this quail coop to match the Little Deuce Coop.
July 2012, we installed The Chicken Fountain in all three coops. They were life changing.
We did a little landscaping while addressing the problem with water flowing down the hill through the run.
August, 2013: It took three days to install tongue-in-groove wall-boards in The Little Deuce Coop. I wanted walls because it will make cleaning easier. I love the look!
Thanks for taking my Virtual Tour de Coop and check back for the inevitable revisions!


















I’m inspired by your creativity, imagination and sense of humor. All of your coops and surrounding landscape are stunning! I am getting so many ideas for mine thank you!