I read everything I could get my hands on before my first chicks arrived, only to learn ultimately that caring for baby chicks is not complicated after all. All chicks need to thrive is a caring chicken keeper with safe, warm housing, the proper food and clean water.
Baby chicks grow at an astonishing rate, an important consideration to bear in mind when planning a brooder set-up.
BE PREPARED
It’s important to prepare before chicks arrive. Having housing set up and supplies on-hand makes for a stress-free, enjoyable experience for everyone. Their immediate needs will be water and heat (food, a little later).
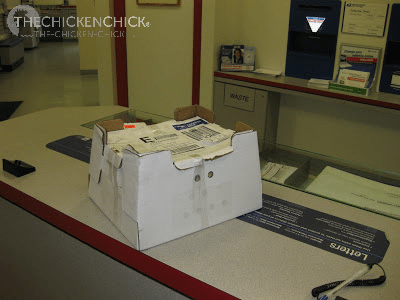
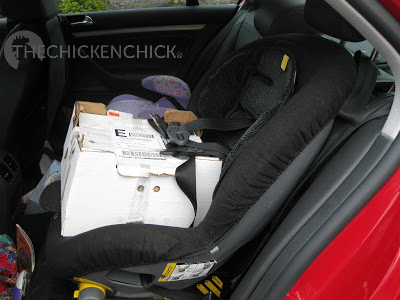
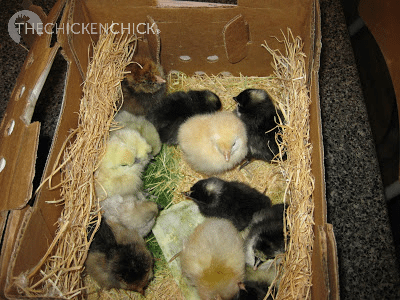
My first chicks arrived by mail. Mailing chicks is possible because the last thing a chick does before hatching is absorb the egg yolk into its abdomen through it’s navel. This first meal supplies nutrition to the chick for up to 3 days. Shipping is hard on chicks, some do not survive the trip. It’s a good idea to open the box at the post office to verify their condition. It’s better not to open the shipping box in front of small children.
BROODER
A brooder is an enclosure that serves as the chicks’ home until they are ready to be moved to the coop.
BROODER TYPE
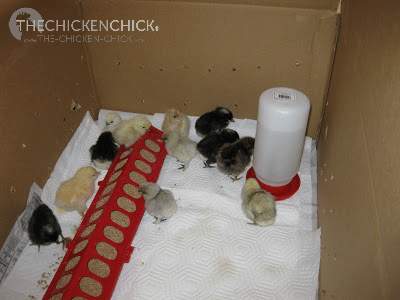
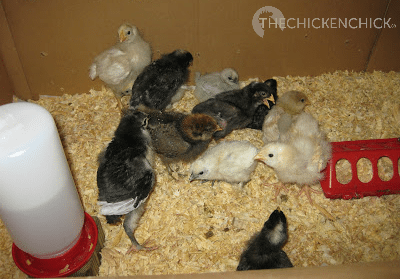
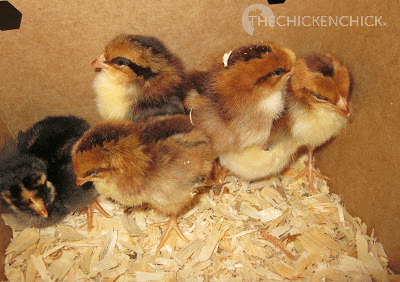
The options are limited to your imagination. I prefer puppy playpens or strong cardboard boxes, both of which can be added onto to increase living space as chicks grow.
All brooders should be capable of being covered to keep chicks inside and unwanted guests such as well-intentioned family pets out. Even very young chicks can escape from an uncovered brooder. I rest a spare piece of hardware cloth on top of my brooders beginning in week two. While this is adequate to keep chicks from escaping, a more secure method would be needed to keep pets out.
This is a Happy Hen Treats Deluxe Chick Corral that I bought online. It’s has a wonderful, lightweight design, easy set up and break-down and has a handy L shaped arm for hanging things such as poultry nipple waterers.
Plan on 2 square feet per chick, which will seem excessive initially, but they grow at an unbelievable rate . It’s important that they have adequate space available to avoid problems that result from overcrowding, such as picking and cannibalism.
BROODER LOCATION
The brooder must be in a draft-free location with access to electricity to supply a safe source of warmth. Ideally, the brooder will be located in a room with a window to allow chicks the benefit of natural day/night conditions.
BROODER LITTER
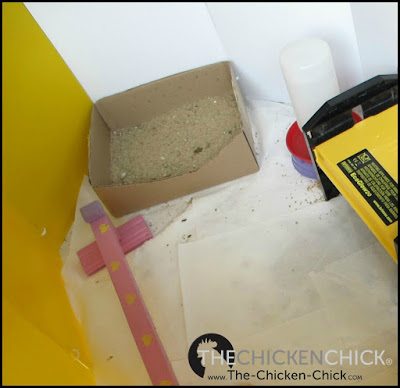
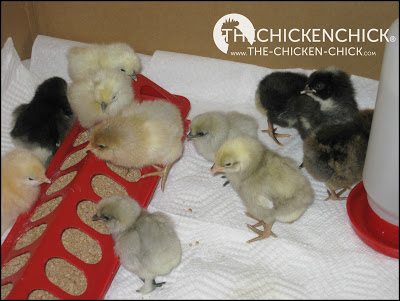
Chicks require a flooring surface that is safe for walking on and absorbent. I recommend paper towels over puppy training pads for the first 2-3 days.
The puppy pad keeps the brooder protected from water spills and the paper towels provide traction for stable footing. Paper towels should be changed frequently. Newspaper should never be used as flooring; it is not absorbent, which can expose the chicks to conditions ripe for disease, and newspaper is very slippery, which can cause spraddle leg.
The most common litter for chicks is pine shavings. I don’t use any litter for the first couple of days because it’s easier for chicks to identify food sprinkled on paper towels and I want them to be able to see the feed easily and eat it, not the litter. Sand is an excellent and economical alternative to pine shavings. I have used sand in my brooders with great success for years. I wrote about the pros and cons of sand in the brooder here.
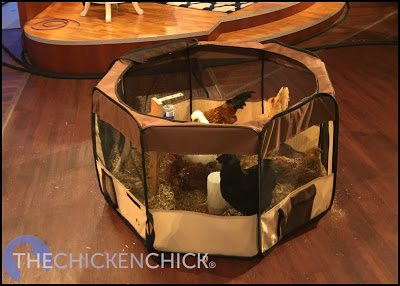
This puppy playpen makes a fantastic brooder for baby chicks. In this photo, 6 of my adult chickens traveled with me to film a television show, but the playpen is an excellent brooder space for chicks too. The top zips closed to keep flying peeps inside. I do not recommend using a heat lamp at all, but especially not with a cardboard box or canvas playpen.
WATER
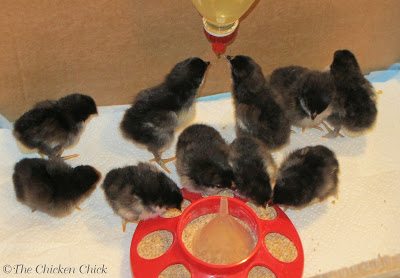
Chicks require access to clean water at all times. Upon arrival, it’s helpful to quickly, gently dip each chick’s beak into the water to encourage them to drink.
If chicks had a rough trip and look wilted, a vitamin/electrolyte solution can give them a boost for a day or two- no more
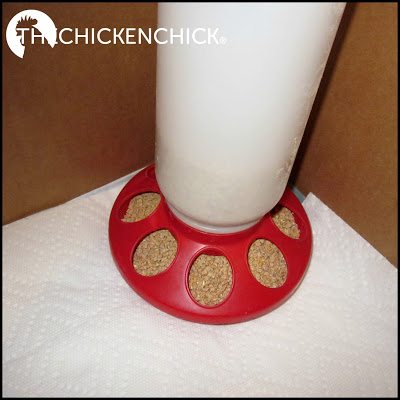
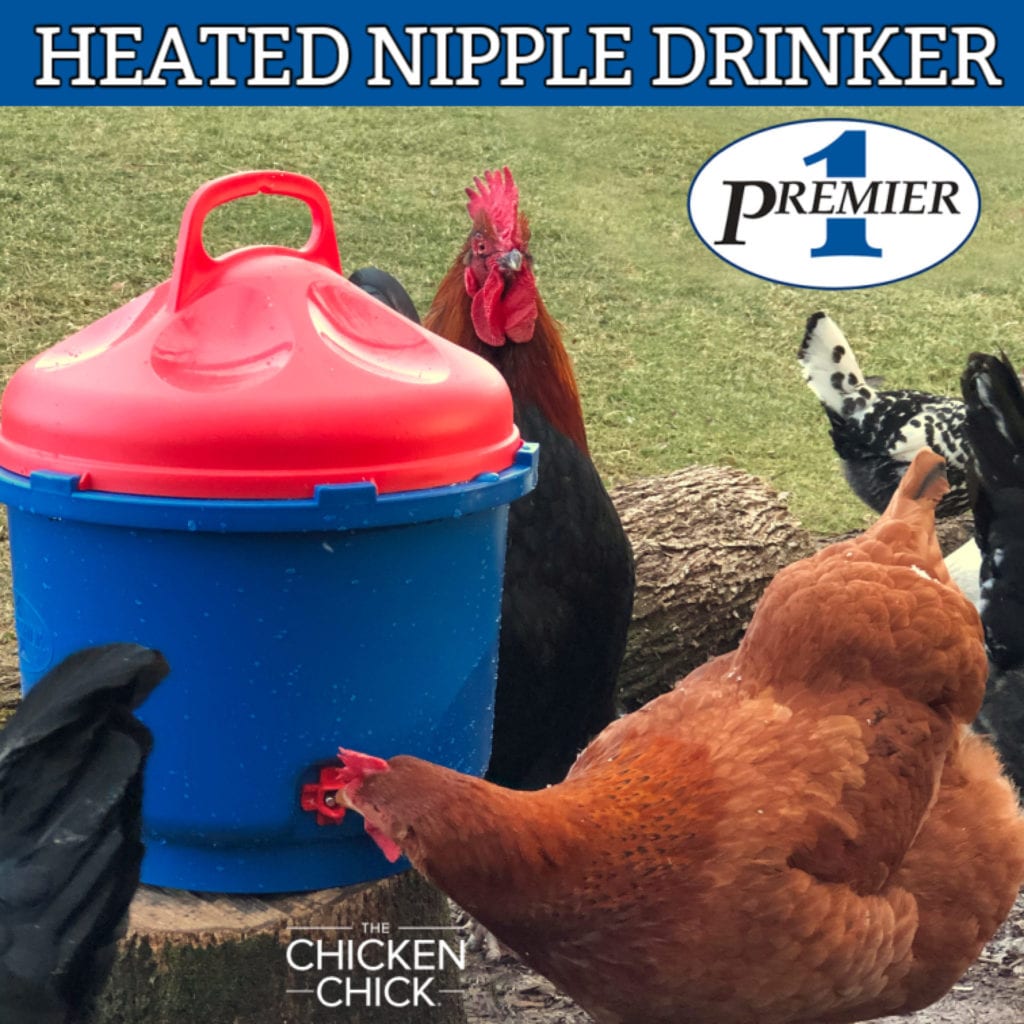
To avoid the risk of drowning, it’s best to use a traditional waterer or poultry nipple waterer versus a shallow dish or bowl. Elevating the waterer will help keep shavings out of it but it must be changed regularly, particularly if they have pooped in it- and they will! Coccidiosis, which is spread in droppings, breeds quickly in wet, warm conditions and can very quickly kill baby chicks. Use of a poultry nipple waterer eliminates all concerns about dirty water.
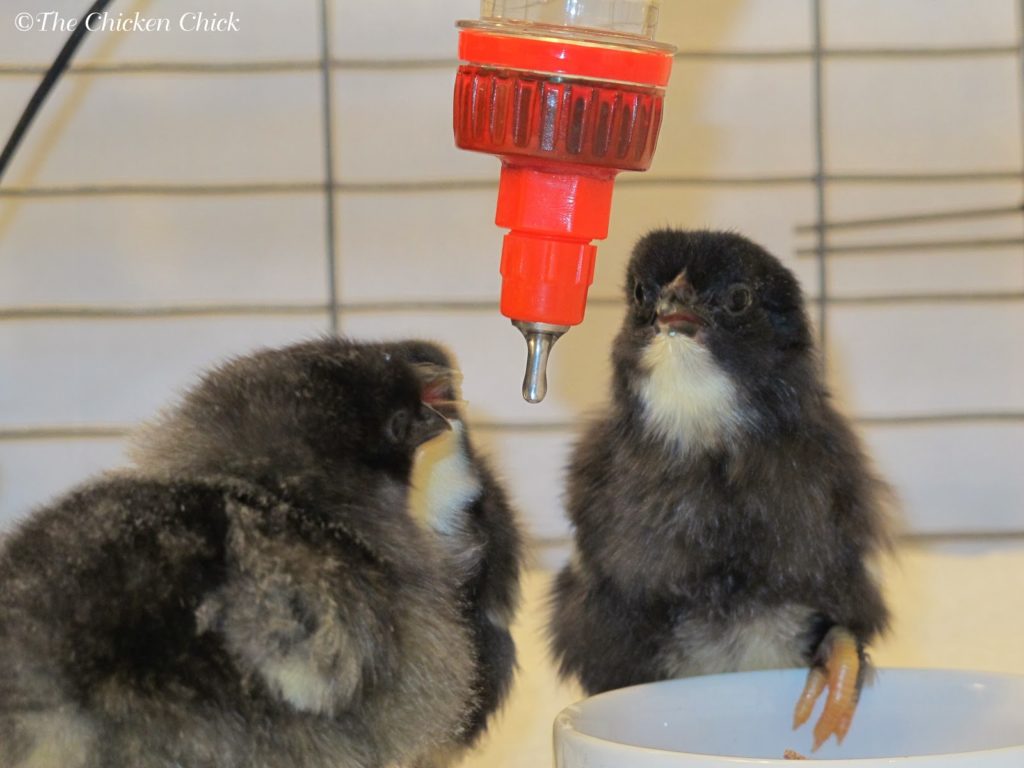
Poultry nipple waterers deliver clean water to chicks consistently, which makes them a healthier choice than traditional chick waterers.
A hardware cloth riser helps keep water clean.
FEED
Chicks should have access to starter feed at all times, which comes in medicated and unmedicated varieties. Starter feed is nutritionally complete and specially prepared to be easily digested by chicks without grit. They do not require access to grit if their diet consists solely of starter feed, but if they are given treats, grit is necessary to aid in digestion.
Medicated starter feed contains amprolium, which protects chicks from developing coccidiosis, a common and deadly intestinal parasite that is spread in fecal matter. Chicks that have received the coccidiosis vaccine should not be fed medicated starter, as the amprolium will render the vaccine useless and the chicks vulnerable to the disease. When purchasing ‘vaccinated’ chicks, it’s important to know which vaccines they received.
When conditions become overcrowded, filthy, wet and warm from traditional heat lamps, coccidiosis can thrive. These types of unhealthy conditions are significantly less likely to occur with pet chickens than they are with commercial poultry operations, but backyard chicken keepers should be vigilant nonetheless. Chicks slowly build up a natural immunity to the organisms that cause coccidiosis with or without medicated starter. Allowing chicks to build up an immunity in clean, dry conditions will serve them well when they are ready to head out to the big kid coop.
HEAT
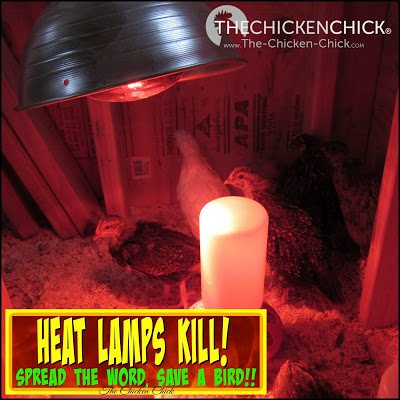
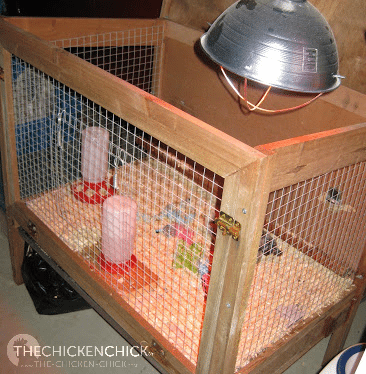
A heat lamp with a red, 250 watt bulb is the most commonly used heat source, but it’s also the most dangerous, most expensive to operate, most disruptive, and least healthy option for baby chicks. Heat lamps are the worst idea in the history of chicken care. Placing a 500°F surface in a confined area with highly-flammable wood shavings, feathers, water and living creatures is a disaster waiting to happen. I strongly encourage the use of a radiant heating option.
We are all taught “The Formula” for brooding baby chicks with a heat lamp: 90-95° F for the first week of life, decreasing by five degrees each week thereafter, but experience and mother hens have shown me that The Formula calls for too much constant heat for much too long. I strongly encourage the use of safe heating options such as radiant heat plates. Even placing the brooder in a bathroom with the room’s thermostat cranked up for a few days is a better option than a heat lamp. Radical suggestion? Maybe, but it won’t kill your family, your chickens or burn down your home. Let’s raise chicks, but let’s do it safely.
Brood very young chicks inside where temperatures are at least 60°F. Very little supplemental heat will be required to get chicks comfortable in a room that is 60-70°F, particularly after the first three days after hatching.
Watch and listen to baby chicks: if they are cheeping unhappily in the brooder or are huddled together while awake, they are cold, stressed or lost. Adjust the brooder size, location or room temperature accordingly. There is no need for a thermometer, just common sense. Noisy chicks are unhappy chicks.
Safety first. There are much safer alternatives to heat lamps– please consider them. If that means putting an oil-filled space heater in a small bathroom for the first few days after bringing 2 day old chicks home, do that. Aim to provide only as much warmth as they indicate is needed by their behavior. (see videos of happy and unhappy chicks HERE)
Happy chicks are quiet chicks. Content chicks will be dispersed throughout the brooder, happily going about their business. When they are too warm, they may pant and stay far away from the heat source. When they huddle together underneath the heat source or cheep noisily, they are not warm enough. When they huddle together away from the heat source, there is a draft coming from the opposite end of the brooder. Check for drafts and make any necessary adjustments.
HEAT LAMP ALTERNATIVES
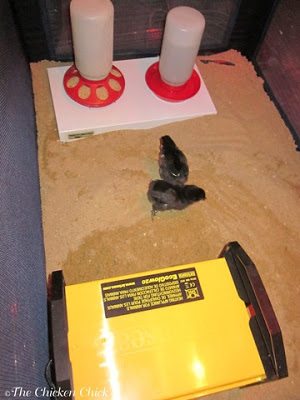
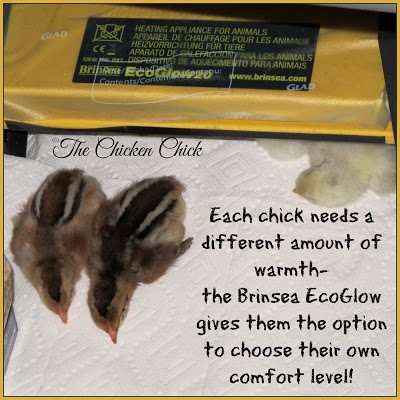
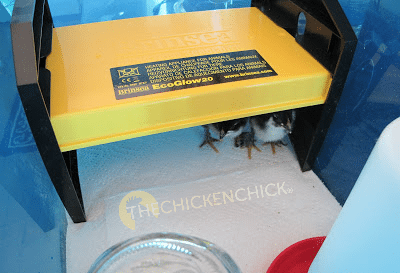
There are much safer alternatives to heat lamps and I highly encourage chicken-keepers to consider them. I have written about the potential hazards of heat lamps and a safe alternative in this article. I own several EcoGlow brooders and will never use a heat lamp again. The EcoGlow is infinitely safer and more energy efficient than a heat lamp and performs more like a mother hen. The chicks spend remarkably little time underneath the EcoGlow after the first few days, which indicates to me that chicks are routinely overheated with traditional heat lamps, the warmth of which they cannot fully escape. The EcoGlow must be used in a space with an ambient temperature of 50°F, but beyond that, there is NO NEED to measure the brooder temperature with a thermometer. The chicks will use the EcoGlow when necessary.
I cannot stress enough that the priority in keeping chicks warm should be safety Heat lamp parts can loosen, chicks can fly and knock into them, lamps can fall, get knocked over and swing into flammable objects; they can also shatter from a single drop of water. If using a heat lamp, secure it in several different ways, anticipating the failure of any one and keep it clear of anything flammable.
THINGS TO WATCH OUT FOR AND GUARD AGAINST
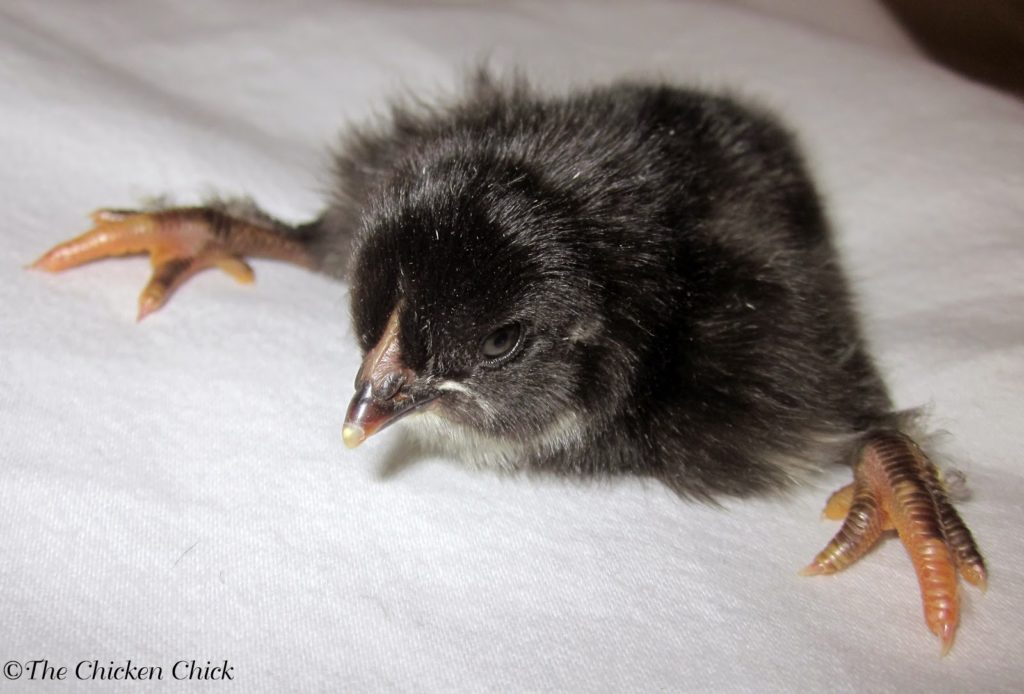
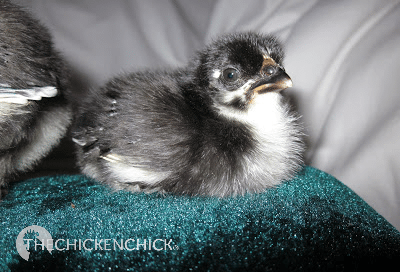
This day old chick hatched with spraddle leg, also known as splayed leg. Two of the five most common conditions to watch for in baby chicks are spraddle leg and pasty butt. The other three can be found here.
Spraddle leg
Also known as splayed leg, is a deformity of the legs, characterized by feet pointing to the side, instead of forward, making walking difficult, if not impossible. The most common cause is slippery brooder flooring. The deformity can be permanent if unaddressed and is easily fixed, I discuss how to fix spraddle leg here.
Pasty Butt
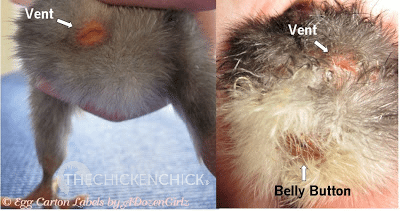
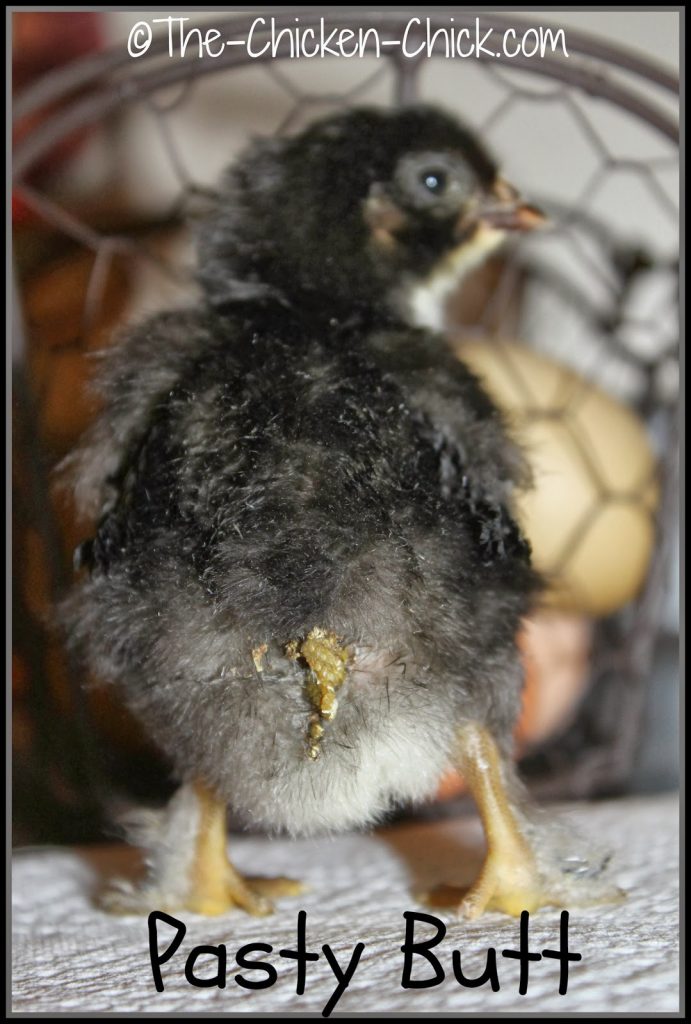
Also known as pasted vent is a condition where loose droppings stick to the down surrounding a chick’s vent, building up to form a blockage that can be fatal unless removed. Pasty butt can be caused by stress from shipping, being overheated, too cold or from something they have eaten. All chicks should be checked for pasty butt upon arrival. If droppings are caked onto the vent area, they can be loosened with a dip in warm water or a damp washcloth or paper towel and gently removed, being careful not to pull as the skin can tear. After cleaning and drying the vent area, the application of petroleum jelly or triple antibiotic ointment can prevent the droppings from sticking to the down.
If several chicks develop pasty butt after a few days in the brooder, it may be too hot and the temperature should be adjusted. According to The Chicken Health Handbook, to remedy pasty butt, feed scrambled eggs with some of their starter feed and if it clears things up, switch brands of feed after that. Always provide grit to baby chicks when supplementing their diet with any food other than starter ration. Grit can be sand, a clump of weeds with the root ball/dirt attached or grit that is sold in the feed store near the poultry feed bags and online.
Warmth, a clean brooder, fresh water and proper feed is all chicks require to thrive. Enjoy your baby chicks and keep those cameras handy!
Kathy Shea Mormino
Affectionately known internationally as The Chicken Chick®, Kathy Shea Mormino shares a fun-loving, informative style to raising backyard chickens. …Read on


shop my SPONSORS
I read everything I could get my hands on before my first chicks arrived, only to learn ultimately that caring for baby chicks is not complicated after all. All chicks need to thrive is a caring chicken keeper with safe, warm housing, the proper food and clean water.
Baby chicks grow at an astonishing rate, an important consideration to bear in mind when planning a brooder set-up.
BE PREPARED
It’s important to prepare before chicks arrive. Having housing set up and supplies on-hand makes for a stress-free, enjoyable experience for everyone. Their immediate needs will be water and heat (food, a little later).
My first chicks arrived by mail. Mailing chicks is possible because the last thing a chick does before hatching is absorb the egg yolk into its abdomen through it’s navel. This first meal supplies nutrition to the chick for up to 3 days. Shipping is hard on chicks, some do not survive the trip. It’s a good idea to open the box at the post office to verify their condition. It’s better not to open the shipping box in front of small children.
BROODER
A brooder is an enclosure that serves as the chicks’ home until they are ready to be moved to the coop.
BROODER TYPE
The options are limited to your imagination. I prefer puppy playpens or strong cardboard boxes, both of which can be added onto to increase living space as chicks grow.
All brooders should be capable of being covered to keep chicks inside and unwanted guests such as well-intentioned family pets out. Even very young chicks can escape from an uncovered brooder. I rest a spare piece of hardware cloth on top of my brooders beginning in week two. While this is adequate to keep chicks from escaping, a more secure method would be needed to keep pets out.
This is a Happy Hen Treats Deluxe Chick Corral that I bought online. It’s has a wonderful, lightweight design, easy set up and break-down and has a handy L shaped arm for hanging things such as poultry nipple waterers.
Plan on 2 square feet per chick, which will seem excessive initially, but they grow at an unbelievable rate . It’s important that they have adequate space available to avoid problems that result from overcrowding, such as picking and cannibalism.
BROODER LOCATION
The brooder must be in a draft-free location with access to electricity to supply a safe source of warmth. Ideally, the brooder will be located in a room with a window to allow chicks the benefit of natural day/night conditions.
BROODER LITTER
Chicks require a flooring surface that is safe for walking on and absorbent. I recommend paper towels over puppy training pads for the first 2-3 days.
The puppy pad keeps the brooder protected from water spills and the paper towels provide traction for stable footing. Paper towels should be changed frequently. Newspaper should never be used as flooring; it is not absorbent, which can expose the chicks to conditions ripe for disease, and newspaper is very slippery, which can cause spraddle leg.
The most common litter for chicks is pine shavings. I don’t use any litter for the first couple of days because it’s easier for chicks to identify food sprinkled on paper towels and I want them to be able to see the feed easily and eat it, not the litter. Sand is an excellent and economical alternative to pine shavings. I have used sand in my brooders with great success for years. I wrote about the pros and cons of sand in the brooder here.
This puppy playpen makes a fantastic brooder for baby chicks. In this photo, 6 of my adult chickens traveled with me to film a television show, but the playpen is an excellent brooder space for chicks too. The top zips closed to keep flying peeps inside. I do not recommend using a heat lamp at all, but especially not with a cardboard box or canvas playpen.
WATER
Chicks require access to clean water at all times. Upon arrival, it’s helpful to quickly, gently dip each chick’s beak into the water to encourage them to drink.
If chicks had a rough trip and look wilted, a vitamin/electrolyte solution can give them a boost for a day or two- no more
To avoid the risk of drowning, it’s best to use a traditional waterer or poultry nipple waterer versus a shallow dish or bowl. Elevating the waterer will help keep shavings out of it but it must be changed regularly, particularly if they have pooped in it- and they will! Coccidiosis, which is spread in droppings, breeds quickly in wet, warm conditions and can very quickly kill baby chicks. Use of a poultry nipple waterer eliminates all concerns about dirty water.
Poultry nipple waterers deliver clean water to chicks consistently, which makes them a healthier choice than traditional chick waterers.
A hardware cloth riser helps keep water clean.
FEED
Chicks should have access to starter feed at all times, which comes in medicated and unmedicated varieties. Starter feed is nutritionally complete and specially prepared to be easily digested by chicks without grit. They do not require access to grit if their diet consists solely of starter feed, but if they are given treats, grit is necessary to aid in digestion.
Medicated starter feed contains amprolium, which protects chicks from developing coccidiosis, a common and deadly intestinal parasite that is spread in fecal matter. Chicks that have received the coccidiosis vaccine should not be fed medicated starter, as the amprolium will render the vaccine useless and the chicks vulnerable to the disease. When purchasing ‘vaccinated’ chicks, it’s important to know which vaccines they received.
When conditions become overcrowded, filthy, wet and warm from traditional heat lamps, coccidiosis can thrive. These types of unhealthy conditions are significantly less likely to occur with pet chickens than they are with commercial poultry operations, but backyard chicken keepers should be vigilant nonetheless. Chicks slowly build up a natural immunity to the organisms that cause coccidiosis with or without medicated starter. Allowing chicks to build up an immunity in clean, dry conditions will serve them well when they are ready to head out to the big kid coop.
HEAT
A heat lamp with a red, 250 watt bulb is the most commonly used heat source, but it’s also the most dangerous, most expensive to operate, most disruptive, and least healthy option for baby chicks. Heat lamps are the worst idea in the history of chicken care. Placing a 500°F surface in a confined area with highly-flammable wood shavings, feathers, water and living creatures is a disaster waiting to happen. I strongly encourage the use of a radiant heating option.
We are all taught “The Formula” for brooding baby chicks with a heat lamp: 90-95° F for the first week of life, decreasing by five degrees each week thereafter, but experience and mother hens have shown me that The Formula calls for too much constant heat for much too long. I strongly encourage the use of safe heating options such as radiant heat plates. Even placing the brooder in a bathroom with the room’s thermostat cranked up for a few days is a better option than a heat lamp. Radical suggestion? Maybe, but it won’t kill your family, your chickens or burn down your home. Let’s raise chicks, but let’s do it safely.
Brood very young chicks inside where temperatures are at least 60°F. Very little supplemental heat will be required to get chicks comfortable in a room that is 60-70°F, particularly after the first three days after hatching.
Watch and listen to baby chicks: if they are cheeping unhappily in the brooder or are huddled together while awake, they are cold, stressed or lost. Adjust the brooder size, location or room temperature accordingly. There is no need for a thermometer, just common sense. Noisy chicks are unhappy chicks.
Safety first. There are much safer alternatives to heat lamps– please consider them. If that means putting an oil-filled space heater in a small bathroom for the first few days after bringing 2 day old chicks home, do that. Aim to provide only as much warmth as they indicate is needed by their behavior. (see videos of happy and unhappy chicks HERE)
Happy chicks are quiet chicks. Content chicks will be dispersed throughout the brooder, happily going about their business. When they are too warm, they may pant and stay far away from the heat source. When they huddle together underneath the heat source or cheep noisily, they are not warm enough. When they huddle together away from the heat source, there is a draft coming from the opposite end of the brooder. Check for drafts and make any necessary adjustments.
HEAT LAMP ALTERNATIVES
There are much safer alternatives to heat lamps and I highly encourage chicken-keepers to consider them. I have written about the potential hazards of heat lamps and a safe alternative in this article. I own several EcoGlow brooders and will never use a heat lamp again. The EcoGlow is infinitely safer and more energy efficient than a heat lamp and performs more like a mother hen. The chicks spend remarkably little time underneath the EcoGlow after the first few days, which indicates to me that chicks are routinely overheated with traditional heat lamps, the warmth of which they cannot fully escape. The EcoGlow must be used in a space with an ambient temperature of 50°F, but beyond that, there is NO NEED to measure the brooder temperature with a thermometer. The chicks will use the EcoGlow when necessary.
I cannot stress enough that the priority in keeping chicks warm should be safety Heat lamp parts can loosen, chicks can fly and knock into them, lamps can fall, get knocked over and swing into flammable objects; they can also shatter from a single drop of water. If using a heat lamp, secure it in several different ways, anticipating the failure of any one and keep it clear of anything flammable.
THINGS TO WATCH OUT FOR AND GUARD AGAINST
This day old chick hatched with spraddle leg, also known as splayed leg. Two of the five most common conditions to watch for in baby chicks are spraddle leg and pasty butt. The other three can be found here.
Spraddle leg
Also known as splayed leg, is a deformity of the legs, characterized by feet pointing to the side, instead of forward, making walking difficult, if not impossible. The most common cause is slippery brooder flooring. The deformity can be permanent if unaddressed and is easily fixed, I discuss how to fix spraddle leg here.
Pasty Butt
Also known as pasted vent is a condition where loose droppings stick to the down surrounding a chick’s vent, building up to form a blockage that can be fatal unless removed. Pasty butt can be caused by stress from shipping, being overheated, too cold or from something they have eaten. All chicks should be checked for pasty butt upon arrival. If droppings are caked onto the vent area, they can be loosened with a dip in warm water or a damp washcloth or paper towel and gently removed, being careful not to pull as the skin can tear. After cleaning and drying the vent area, the application of petroleum jelly or triple antibiotic ointment can prevent the droppings from sticking to the down.
If several chicks develop pasty butt after a few days in the brooder, it may be too hot and the temperature should be adjusted. According to The Chicken Health Handbook, to remedy pasty butt, feed scrambled eggs with some of their starter feed and if it clears things up, switch brands of feed after that. Always provide grit to baby chicks when supplementing their diet with any food other than starter ration. Grit can be sand, a clump of weeds with the root ball/dirt attached or grit that is sold in the feed store near the poultry feed bags and online.
Warmth, a clean brooder, fresh water and proper feed is all chicks require to thrive. Enjoy your baby chicks and keep those cameras handy!

















Love your Blog. So much information. Will be adding you to my Favorites! Thanks much.
Thanks so much, it's nice to have you with me!
I have learned so much from Egg Carton Labels by ADozenGirlz and now here is a book that will complete my education. I hope I am selected for the giveaway – the 4 Ednas will be all the better for it! Thanks for the opportunity.
I agree and what a fun way to learn.
Thanks so much Debra and Spanky. :)
I just got 2 chicks that had pasty butt. Can it also be because they have not drank enough? One did not want to drink, even with a dropper, and died last night. Her bum had been getting better & I thought we were in the clear.
Molli, I'm very sorry to hear about the little one. As long as you are clearing the pasty butt so that they can't get blocked up, they should be in the clear as far as that condition goes. Sometimes the stress from shipping can be too much for chicks who might otherwise have been able to survive without the long, rough ride. Even some hatched at home with no travel involved just don't make it. There's no way of knowing what may have been going on with the one who died, it could have been anything. Just continue to keep… Read more »
After reading this post last week, I did 4 things…1) cleaned their bottoms to get rid of pasty butt. Almost all of them had it and I had NO idea that I should clean it off. 2) I switched to the infrared light 3) I switched to the medicated chick feed. Only after asking if my chicks had been treated prior. 4) I removed the newspaper bedding and replaced it with pine shavings. I REALLY appreciate all your effort. I've learned SO much! THANK YOU!
I'm so happy to know that this helped you and your chicks, Joei! Thanks for letting me know. :)
What fabulous information. I am a nervous wreck! I will be keeping my laptop on, this page loaded and sitting right next to my brooder. Thank you. P.S. Do you have a 24 hr Hotline? LOL
You'll do just fine! They are a joy, truly. Feel free to subscribe to my blog via email so you don't miss anything.
You are welcome to ask any questions on my Facebook page at any time! You can also email me at service@CustomEggCartonLabels.com but I check my FB page more often than email.
Enjoy your new babies!!