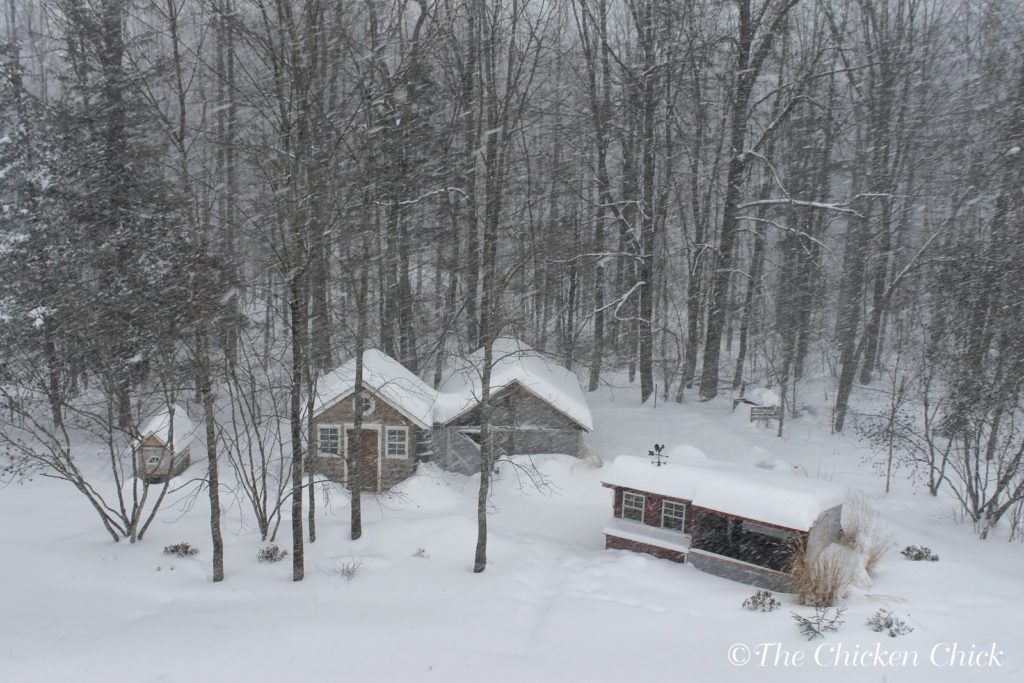
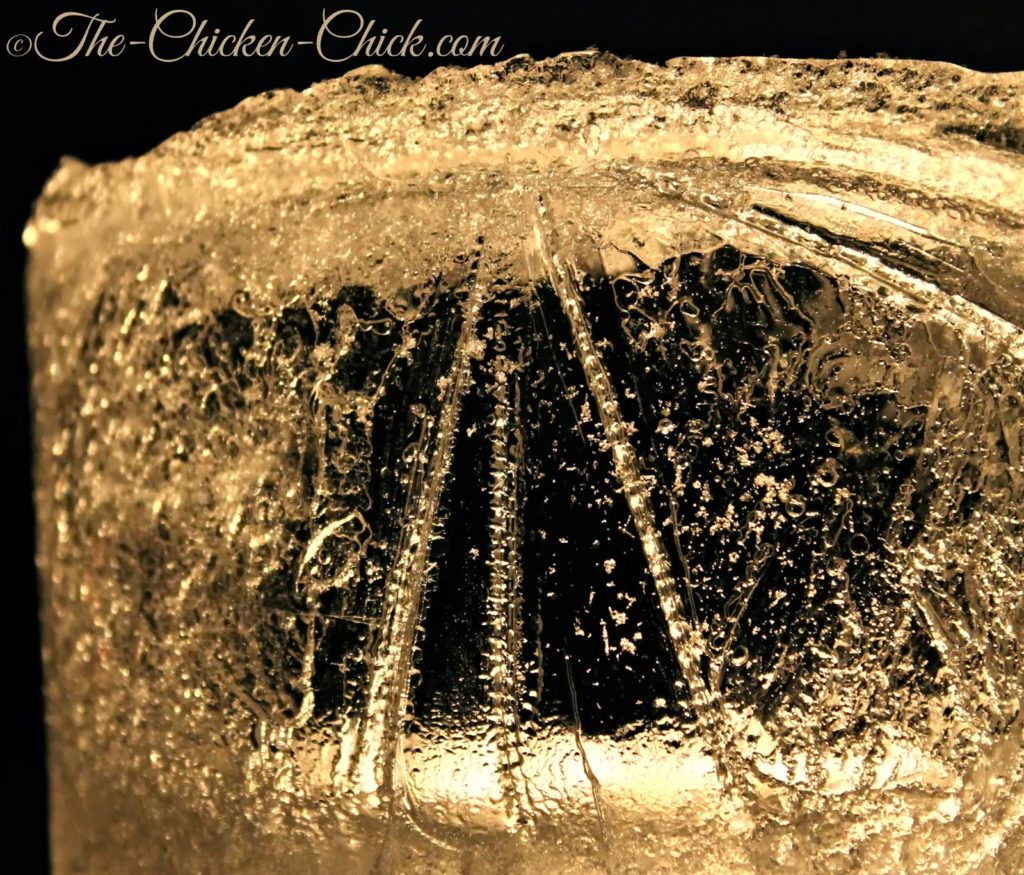
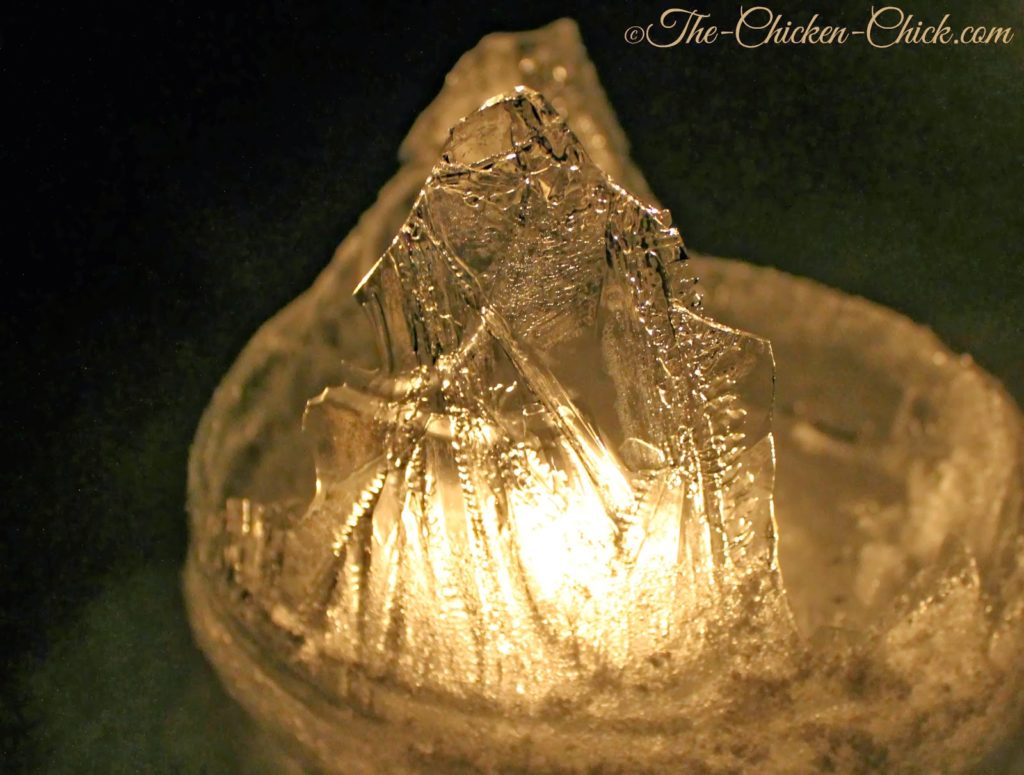
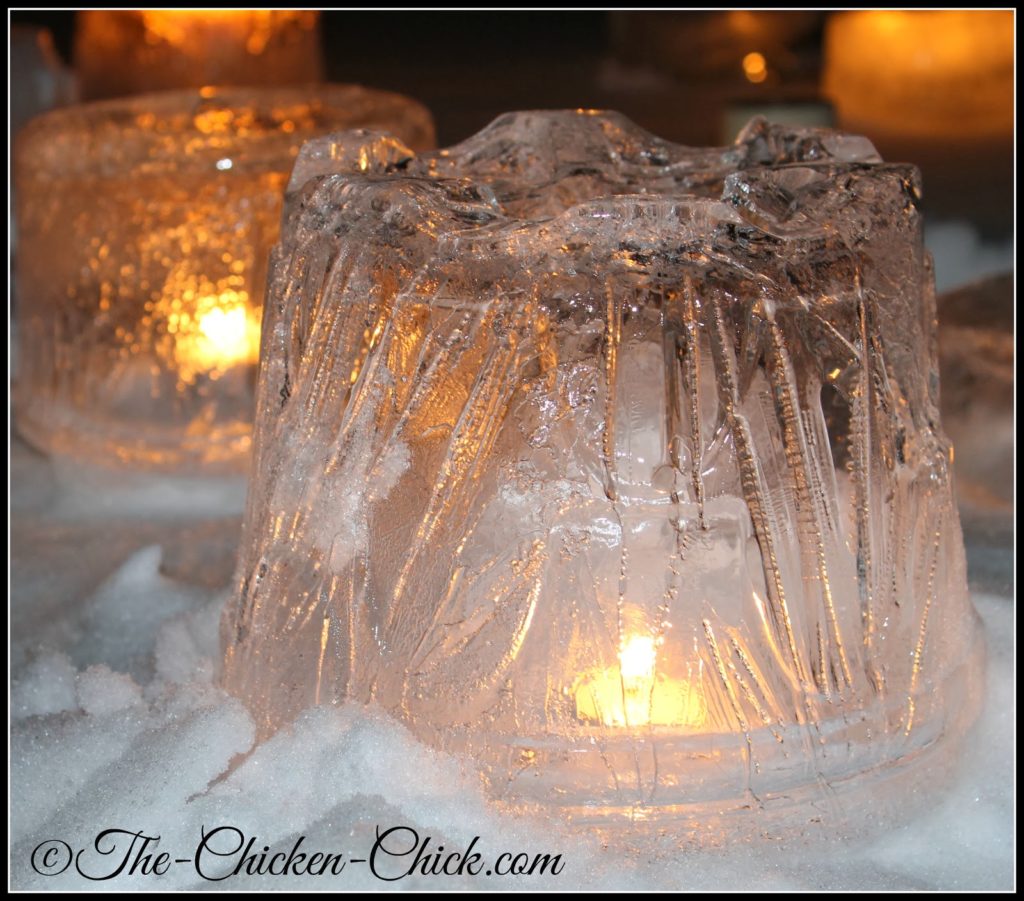
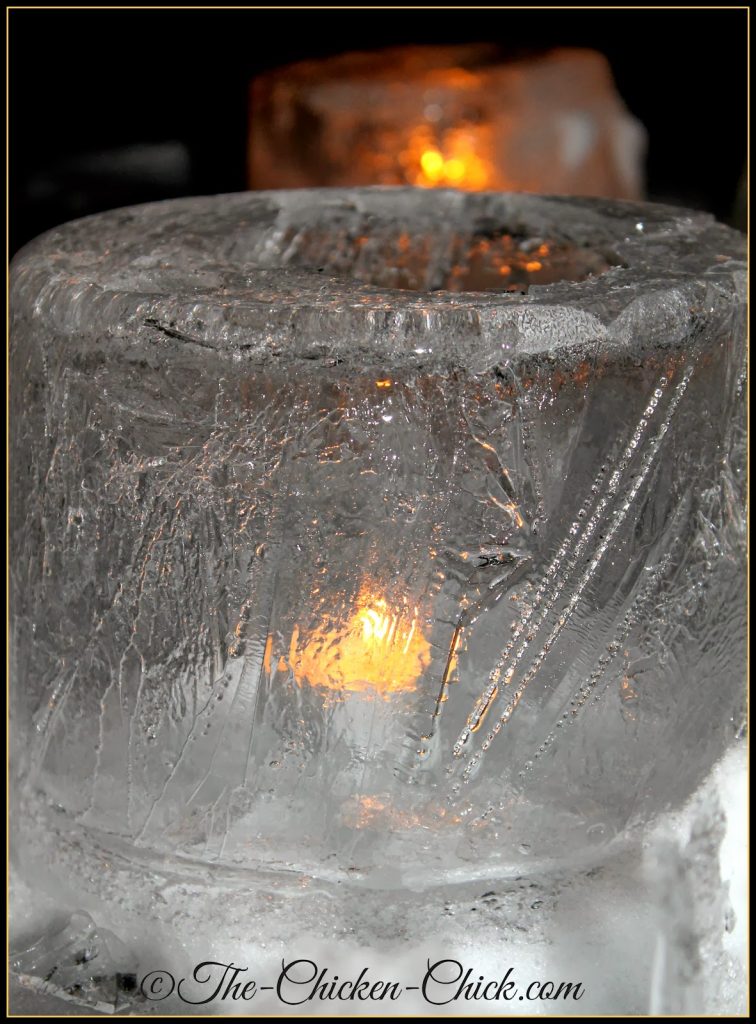
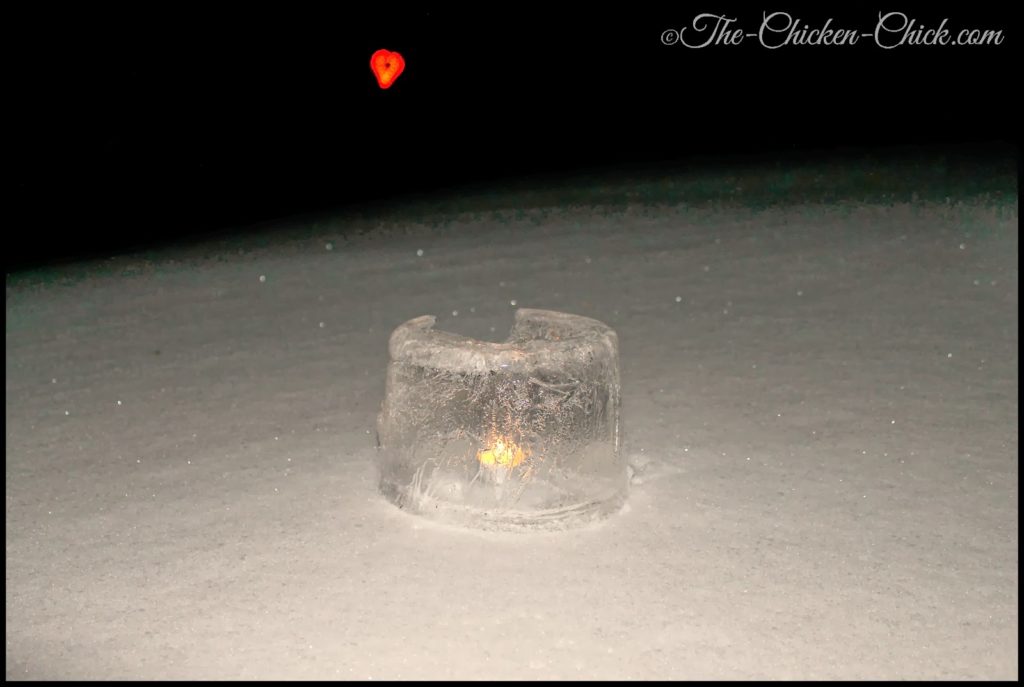
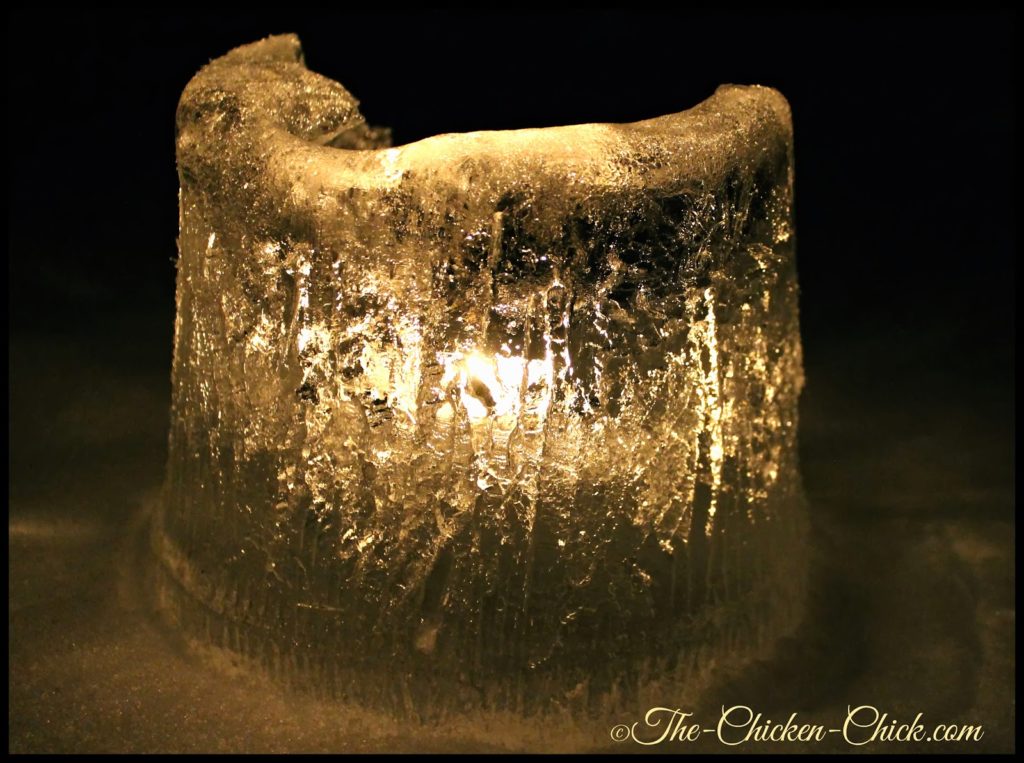
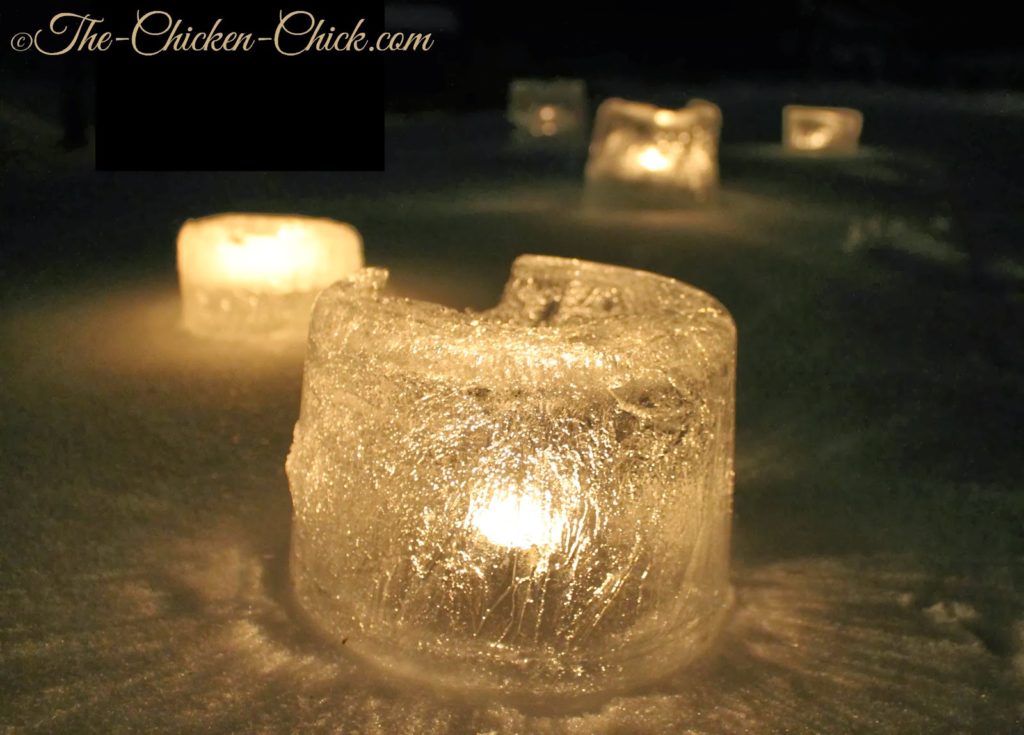
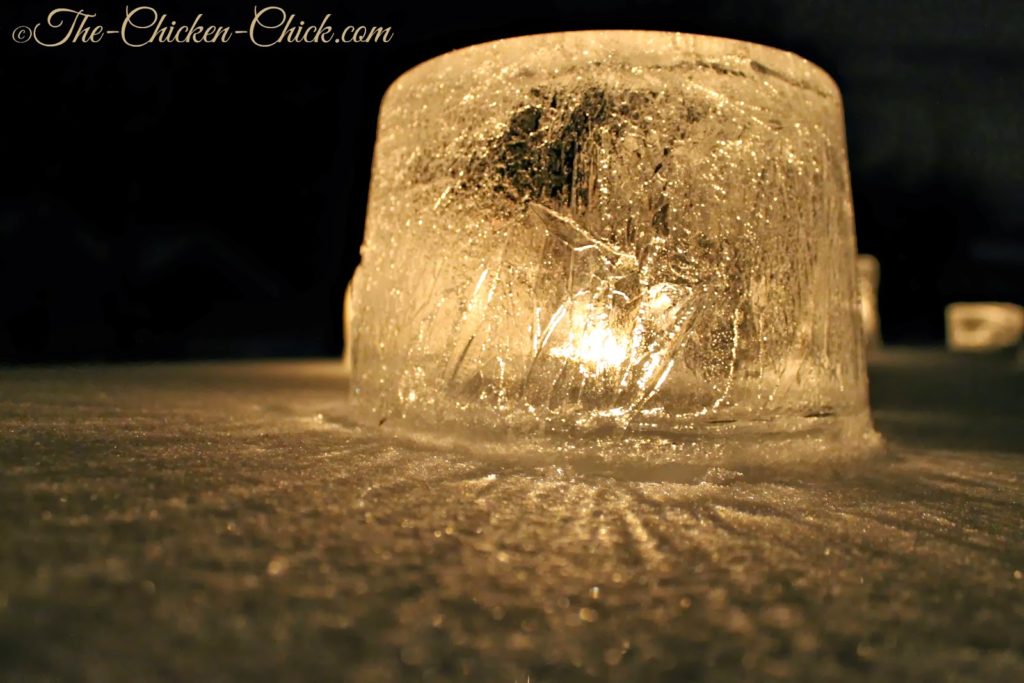
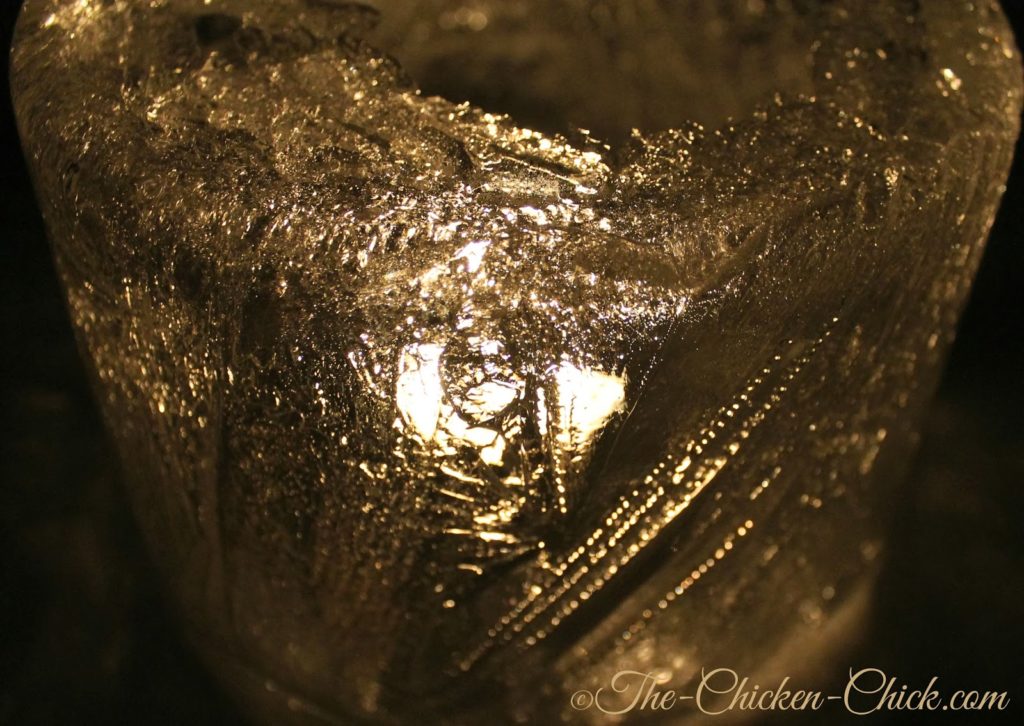
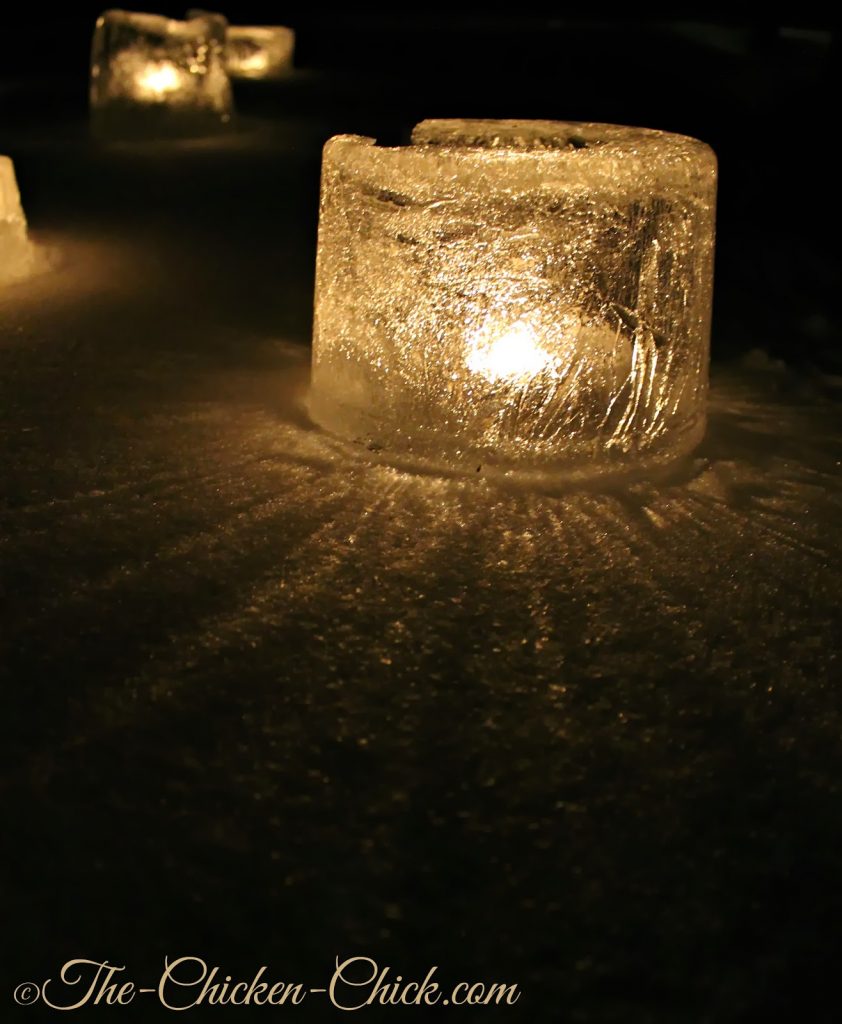
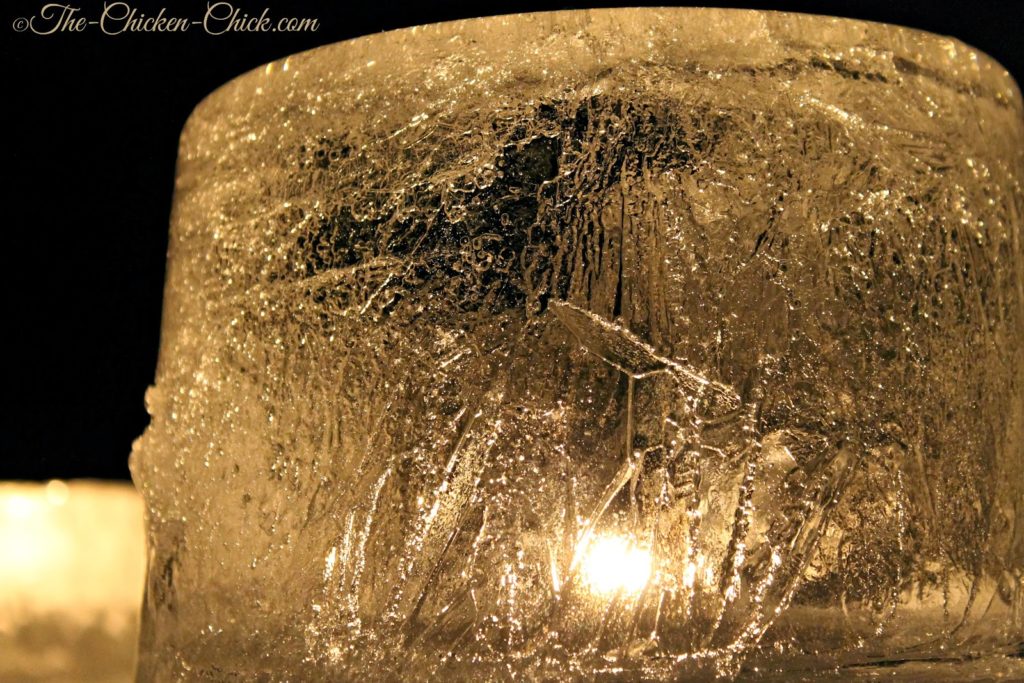
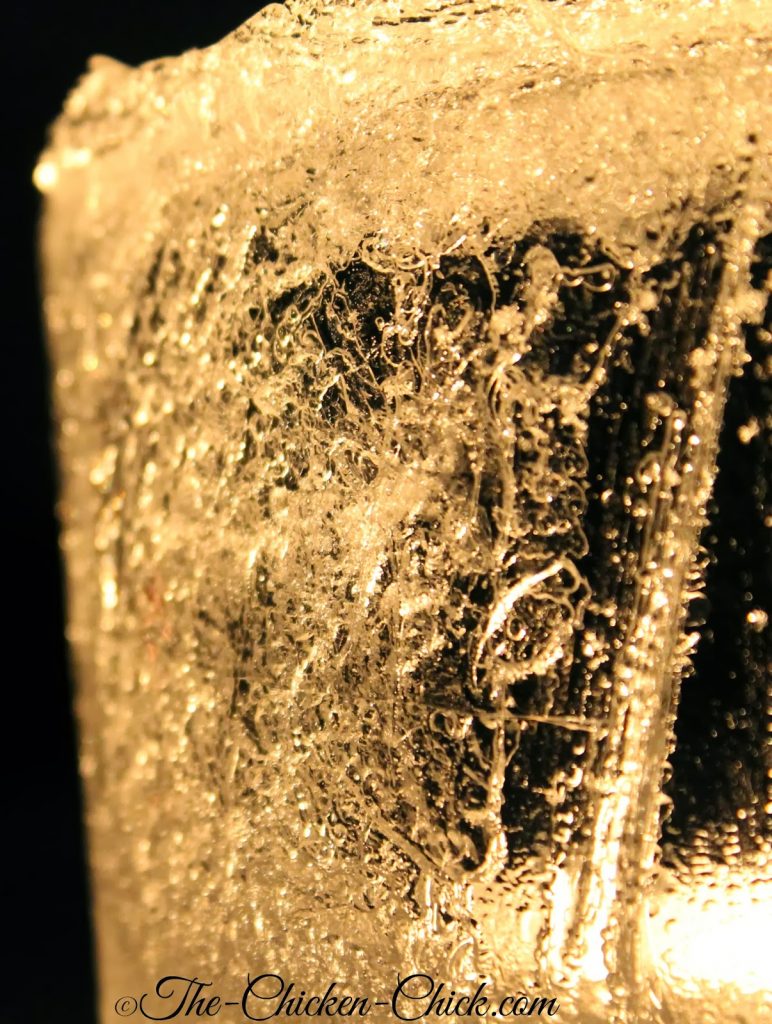
It has been a very long, bitterly cold winter here in New England, so I decided to take advantage of the insanely low temperatures to make some ice lanterns. The technique for making ice lanterns is simple and the effect- breathtaking. Forgive me for the volume of photos, I was completely captivated by the beauty of these ice lanterns and couldn’t help myself.
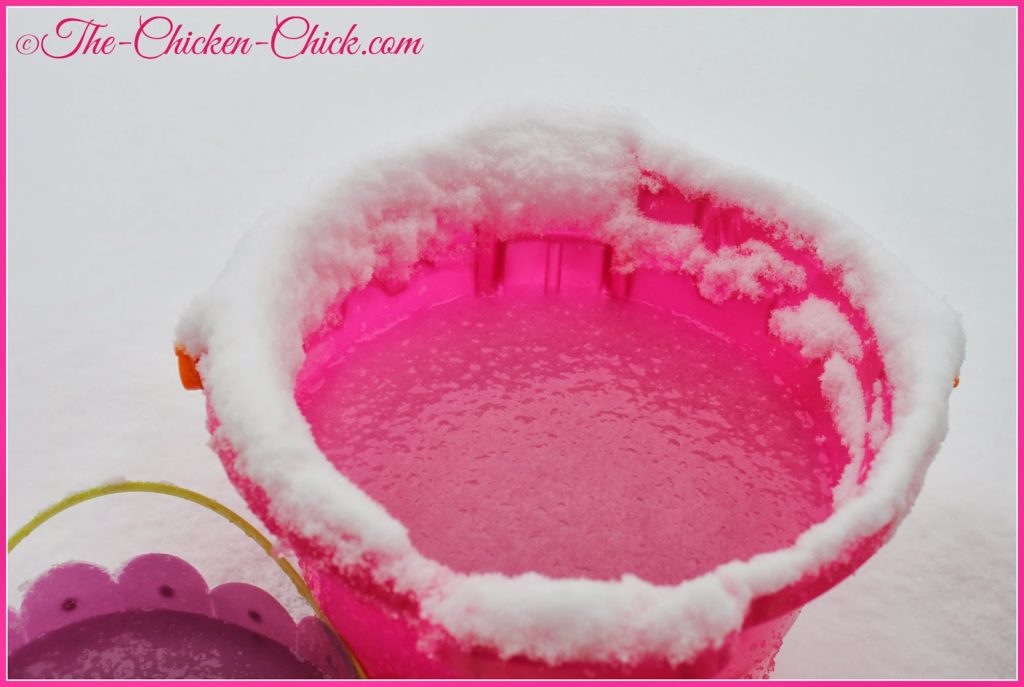
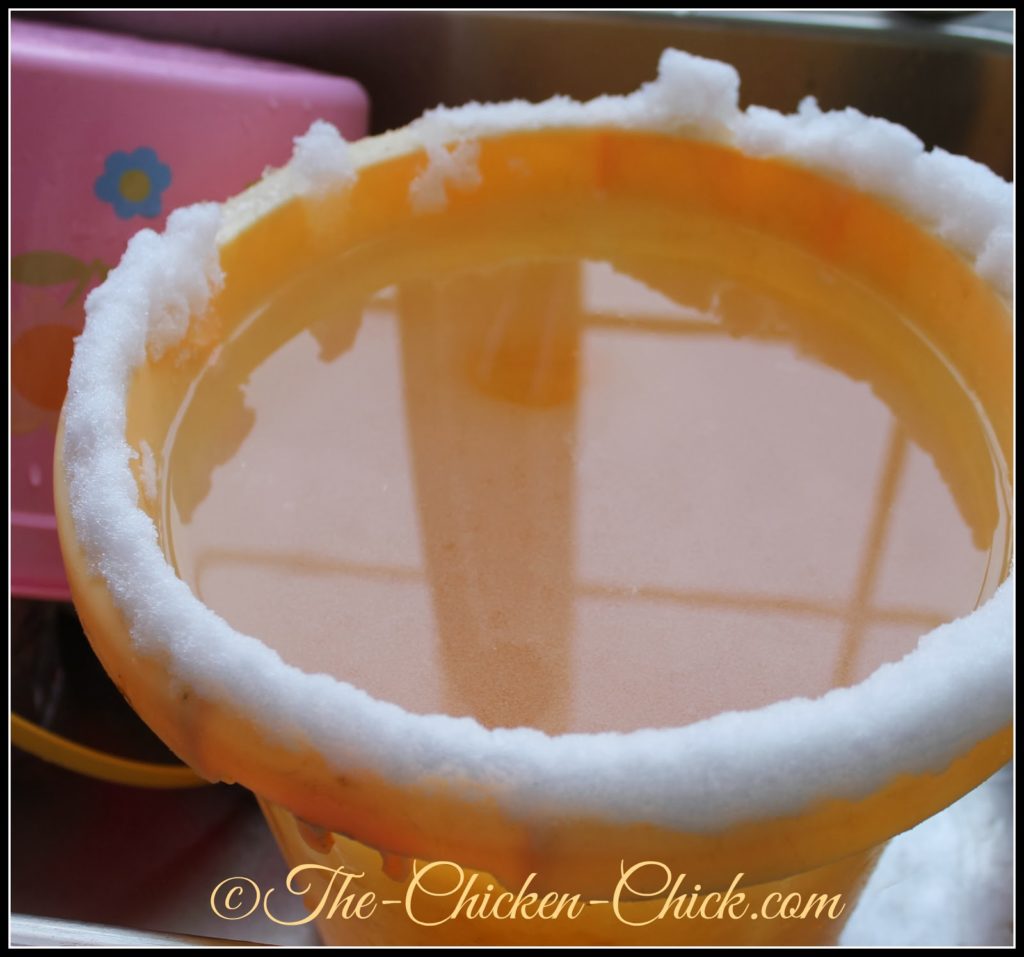
So…wait until the weather is super cold and everyone is suffering from Seasonal Affective Disorder, then break out the beach pails and fill them with water, leaving a few inches of space at the top for expansion. Then, wait. Obviously, the colder it is, the faster the water will freeze, but we don’t want it to freeze all the way through, so it’s a little tricky to get the timing exactly right.
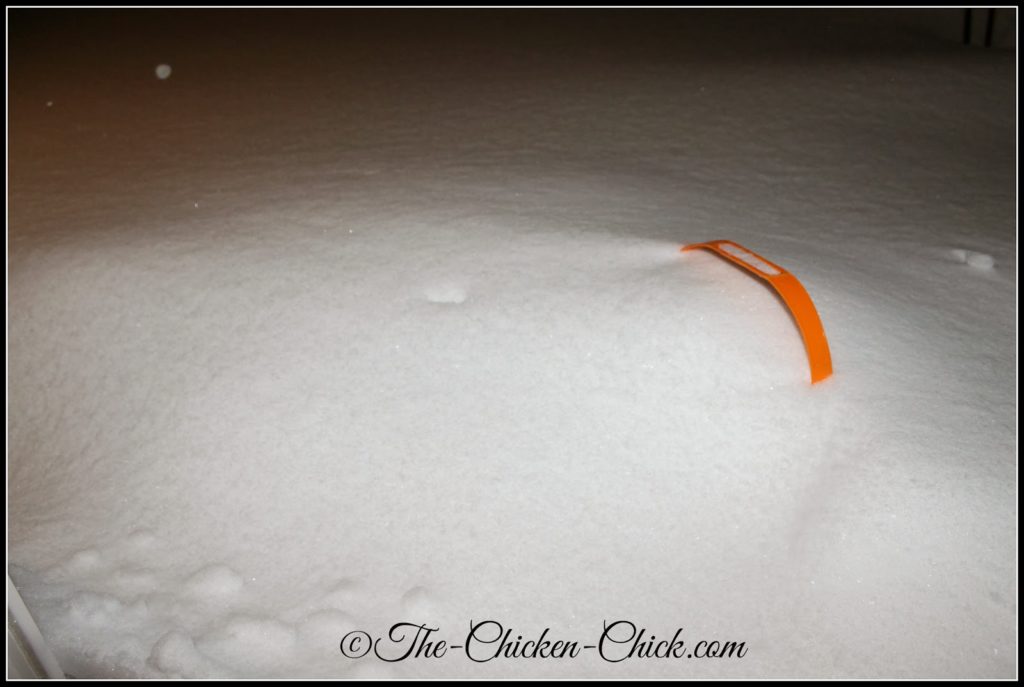
I forgot about the buckets outside- not only were they buried in snow, they froze to the deck.
The goal is to unmold the ice form before it freezes through- the inside should remain liquid. In temperatures below 20°F, I it took 12-24 hours of freezing to get the ice to the right thickness. When ready, bring the buckets inside and run a little warm water along the outside, remove the ice and allow the water inside the ice to drain out. Put it back out in the cold until ready to light it.
The first batch of lanterns I unmolded froze to the deck and broke when I tried to move them, but I thought these imperfect lanterns were as beautiful and unique as the ones that froze ‘correctly.’
I experimented with a variety of candles, including battery operated tea lights, but they just weren’t bright enough for me. I preferred regular tea lights with real fire.
This post was shared here: Adorned from Above, Bloom Designs, DIY Dreamer, Ducks ‘n a Row, Fluster Buster, Glamourous Affordable Life, I Gotta Create, Katherine’s Corner, Lamberts Lately, Pin Junkie, Sew Crafty Angel, We Made That
Kathy Shea Mormino
Affectionately known internationally as The Chicken Chick®, Kathy Shea Mormino shares a fun-loving, informative style to raising backyard chickens. …Read on


shop my SPONSORS
It has been a very long, bitterly cold winter here in New England, so I decided to take advantage of the insanely low temperatures to make some ice lanterns. The technique for making ice lanterns is simple and the effect- breathtaking. Forgive me for the volume of photos, I was completely captivated by the beauty of these ice lanterns and couldn’t help myself.
So…wait until the weather is super cold and everyone is suffering from Seasonal Affective Disorder, then break out the beach pails and fill them with water, leaving a few inches of space at the top for expansion. Then, wait. Obviously, the colder it is, the faster the water will freeze, but we don’t want it to freeze all the way through, so it’s a little tricky to get the timing exactly right.
I forgot about the buckets outside- not only were they buried in snow, they froze to the deck.
The goal is to unmold the ice form before it freezes through- the inside should remain liquid. In temperatures below 20°F, I it took 12-24 hours of freezing to get the ice to the right thickness. When ready, bring the buckets inside and run a little warm water along the outside, remove the ice and allow the water inside the ice to drain out. Put it back out in the cold until ready to light it.
The first batch of lanterns I unmolded froze to the deck and broke when I tried to move them, but I thought these imperfect lanterns were as beautiful and unique as the ones that froze ‘correctly.’
I experimented with a variety of candles, including battery operated tea lights, but they just weren’t bright enough for me. I preferred regular tea lights with real fire.
This post was shared here: Adorned from Above, Bloom Designs, DIY Dreamer, Ducks ‘n a Row, Fluster Buster, Glamourous Affordable Life, I Gotta Create, Katherine’s Corner, Lamberts Lately, Pin Junkie, Sew Crafty Angel, We Made That












those are pretty but that would mean that I have to go outside to make them, and its too cold for that!
We made some similar lanterns just added food coloring to add a splash of color!
I need a new incubator BAD! Fingers crossed!!
this would be great to have
This is a perfect solution to the complicated brooder process, great giveaway!
Thank you and props for Fleming Outdoors!
Cheers, Avis