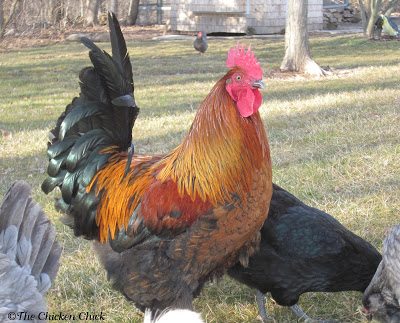
The rooster dilemma… Before I committed to incubating eggs, there was one topic that required serious consideration: roosters. In any given clutch of eggs, an average of 50% can be expected to be roosters (sometimes more, sometimes less, it’s a gamble). While using the roosters for meat birds is an option for some, it is not for us. Fortunately, I have many options near and far; I have re-homed roosters to North Carolina, Ohio, Pennsylvania and many within my home state of Connecticut. It is always smart to have a plan for roosters that cannot be kept before eggs even hatch.
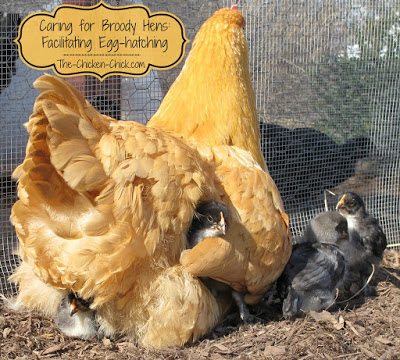
(St)eve was re-homed to Ohio with his daddy, Max, below.Hen vs Machine No discussion of hatching eggs would be complete without at least touching briefly on how a hen does it. (edited to add: I have written a much more extensive article about broodies hatching eggs, which can be found here.)
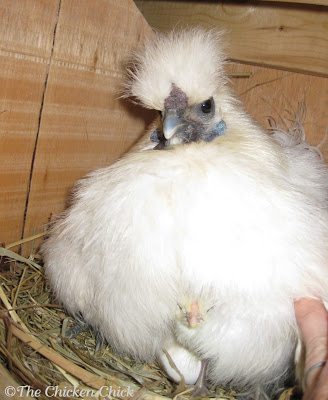
A hen determined to hatch chicks, also known as a broody, will collect a clutch of eggs on which she will sit for 21 days. The warmth and humidity of her body will keep the eggs at the ideal conditions for hatching. She will leave the eggs briefly once or twice per day to relieve herself, to find food and to drink, returning to sit stoically the remainder of the time. She will shift her weight around carefully in the nest, jostling the eggs gently as she does. This activity gently turns the eggs, keeping the contents from sticking to the side of the shell. After approximately 18 days of sitting on the eggs, she will not leave the nest at all until the eggs have hatched on approximately day 21. She then goes about the business of raising the chicks.
When I caught hatching fever in December, none of my new layers was broody, so the only option was to order an incubator if I wanted chicks at that time. With the rooster issue resolved, I next needed to settle the issue of incubator selection.
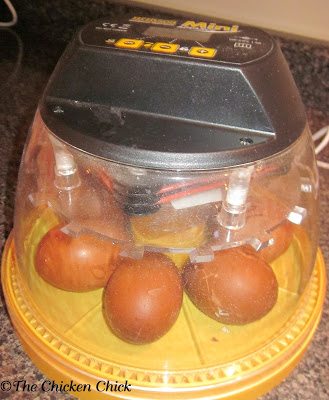
The primary functions of any incubator are the same as a broody hen’s: to keep the eggs warm, and to control the amount of humidity and airflow surrounding the eggs. There are countless incubator sizes and types from which to choose, so I started narrowing down my options based on my needs and preferences. I didn’t want to have to worry about calibrating temperature and humidity settings or that my hatch might fail due to unreliable equipment. I had no intention of building my own for those reasons and decided to purchase a Brinsea Mini Advance incubator.
The last consideration was egg-turning. Just as with a broody, the eggs must be turned to prevent the egg’s contents from sticking to the walls of the shell. Turning can be controlled automatically by some incubators but may be accomplished manually as well. Since I believed I would only be hatching small numbers of eggs, and that I didn’t want to spend more than $200, that narrowed down my choices even further.
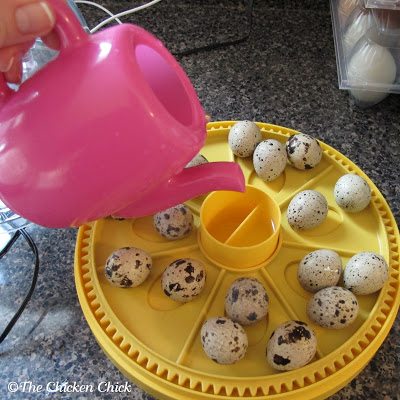
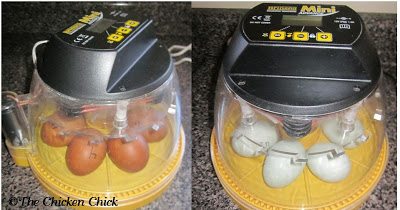
Bottom line: I wanted a reliable, proven, simple plug-and-play experience and based on all of the reviews, in conjunction with my preferences and budget, I chose The Brinsea Mini Advance incubator for my first (and second) incubators. What I like about my Mini Advance bators is that they are simple to use, have an automatic turner, keep a consistent temperature, have a digital display that reveals the actual temperature and turning mode and will sound an alert if the temperature fluctuates (due to a power-outage, for example). The only thing I have to do for the first 18 days is add a few teaspoons of water to the humidity well every few days. I can manage that.
Next…we talk eggs!
Hatch-along Part 1, Part 2, Part 3, Part 4, Part 5, Part 6, Part 7, Part 8
Kathy Shea Mormino
Affectionately known internationally as The Chicken Chick®, Kathy Shea Mormino shares a fun-loving, informative style to raising backyard chickens. …Read on


shop my SPONSORS
The rooster dilemma… Before I committed to incubating eggs, there was one topic that required serious consideration: roosters. In any given clutch of eggs, an average of 50% can be expected to be roosters (sometimes more, sometimes less, it’s a gamble). While using the roosters for meat birds is an option for some, it is not for us. Fortunately, I have many options near and far; I have re-homed roosters to North Carolina, Ohio, Pennsylvania and many within my home state of Connecticut. It is always smart to have a plan for roosters that cannot be kept before eggs even hatch.
(St)eve was re-homed to Ohio with his daddy, Max, below.Hen vs Machine No discussion of hatching eggs would be complete without at least touching briefly on how a hen does it. (edited to add: I have written a much more extensive article about broodies hatching eggs, which can be found here.)
A hen determined to hatch chicks, also known as a broody, will collect a clutch of eggs on which she will sit for 21 days. The warmth and humidity of her body will keep the eggs at the ideal conditions for hatching. She will leave the eggs briefly once or twice per day to relieve herself, to find food and to drink, returning to sit stoically the remainder of the time. She will shift her weight around carefully in the nest, jostling the eggs gently as she does. This activity gently turns the eggs, keeping the contents from sticking to the side of the shell. After approximately 18 days of sitting on the eggs, she will not leave the nest at all until the eggs have hatched on approximately day 21. She then goes about the business of raising the chicks.
When I caught hatching fever in December, none of my new layers was broody, so the only option was to order an incubator if I wanted chicks at that time. With the rooster issue resolved, I next needed to settle the issue of incubator selection.
The primary functions of any incubator are the same as a broody hen’s: to keep the eggs warm, and to control the amount of humidity and airflow surrounding the eggs. There are countless incubator sizes and types from which to choose, so I started narrowing down my options based on my needs and preferences. I didn’t want to have to worry about calibrating temperature and humidity settings or that my hatch might fail due to unreliable equipment. I had no intention of building my own for those reasons and decided to purchase a Brinsea Mini Advance incubator.
The last consideration was egg-turning. Just as with a broody, the eggs must be turned to prevent the egg’s contents from sticking to the walls of the shell. Turning can be controlled automatically by some incubators but may be accomplished manually as well. Since I believed I would only be hatching small numbers of eggs, and that I didn’t want to spend more than $200, that narrowed down my choices even further.
Bottom line: I wanted a reliable, proven, simple plug-and-play experience and based on all of the reviews, in conjunction with my preferences and budget, I chose The Brinsea Mini Advance incubator for my first (and second) incubators. What I like about my Mini Advance bators is that they are simple to use, have an automatic turner, keep a consistent temperature, have a digital display that reveals the actual temperature and turning mode and will sound an alert if the temperature fluctuates (due to a power-outage, for example). The only thing I have to do for the first 18 days is add a few teaspoons of water to the humidity well every few days. I can manage that.
Next…we talk eggs!
Hatch-along Part 1, Part 2, Part 3, Part 4, Part 5, Part 6, Part 7, Part 8













I can't wait to incubate my own eggs and watch the miracle of life….So excited to see it in real life!
I would love this!! I have a beautiful coop that is empty here in Ct. Due to a neighboor I had to give up my girls a few years ago. I am plaining to get some life back into the coop and would love to hatch my own.
I would love to win this! I live in Ellington ct a few years ago I had to give up my babies (do to a next door neighbor) :( I have an empty coop thats needs some life and I am planning on getting some more girls!
This would work great for all the little quail eggs I get. We end up just disposing of them since the hen won't sit on them.
I hope some hatch for you. There is nothing quite like watching a mother hen with her babies.