


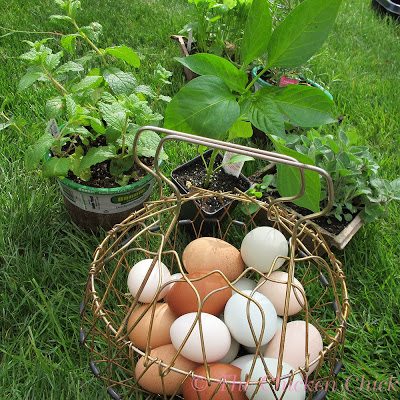
Hand-made, polymer clay garden markers are fun and simple to create and add a pop of unexpected color and whimsy to any garden. This is a great rainy day project to do with children and can be incorporated into a homeschooling science lesson on the effects of heat on polymer clay.
DIY GARDEN MARKERS
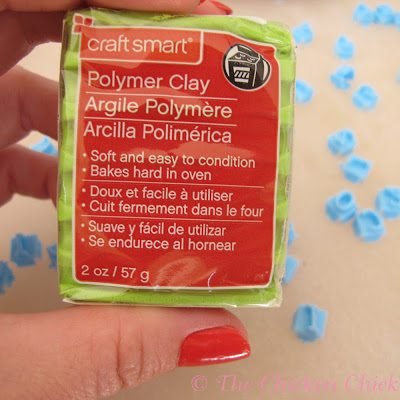
SUPPLIES NEEDED
Polymer Clay
Aluminum floral wire (I used copper color)
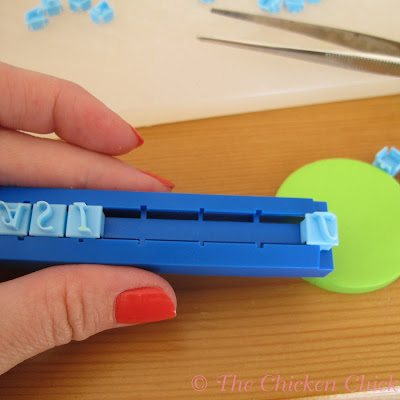
Clay text embossing set (or a skewer)
craft clay machine (optional)
cookie cutters (optional)
acrylic paint and clear acrylic spray (optional)
parchment paper lined baking sheet
oven preheated to 375° F (follow manufacturer’s temperature recommendation)
LET’S MAKE IT!
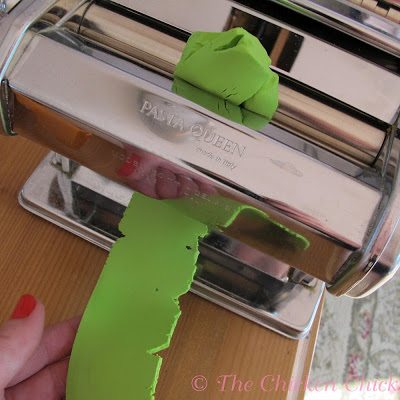
Polymer clay needs to be ‘conditioned’ or softened in order to make it easier work with and to align the molecules in the clay in order to create a strong, hard finished product. The clay can be conditioned by hand in the same way bread dough is kneaded or run through a pasta machine on the widest setting. Roll out, fold, repeat at least 20 times (the kids love this part).
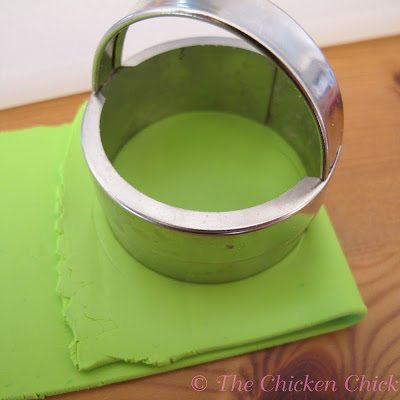
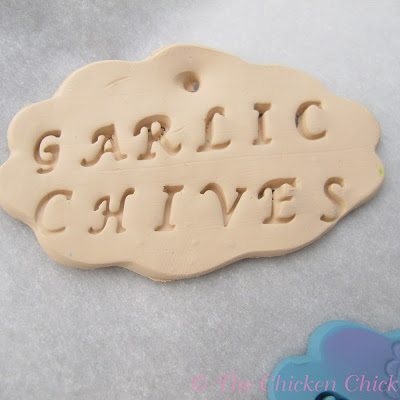
Roll out polymer clay to 1/8″-1/4″ thickness. Form the garden marker in any free-form shape or by using a cookie cutter.
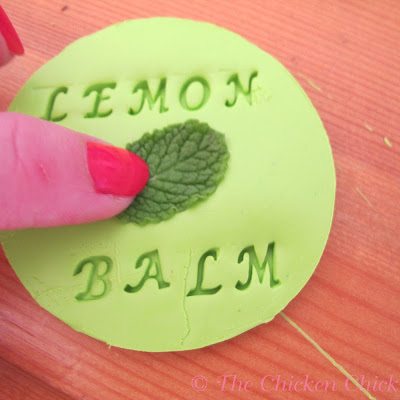
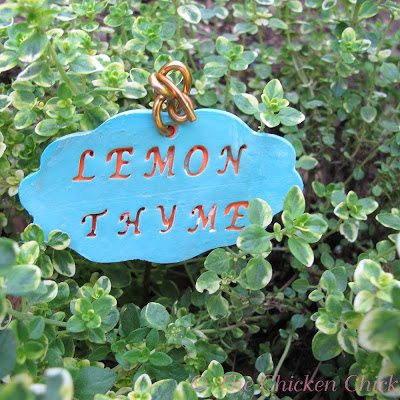
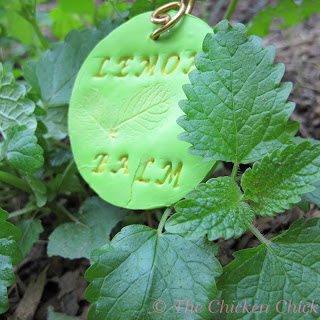
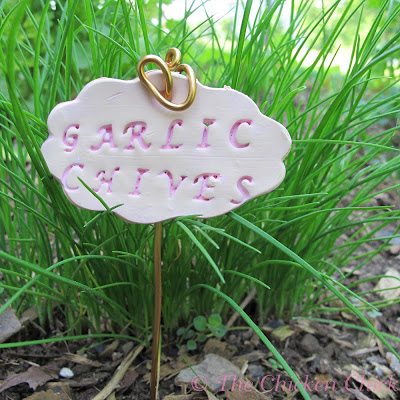
Imprint the the name of the herbs/plants on the clay with the embossing letters or the blunt end of a skewer.
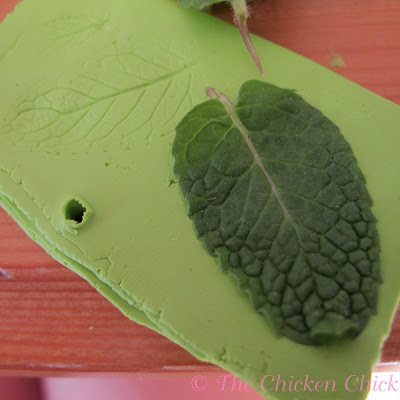
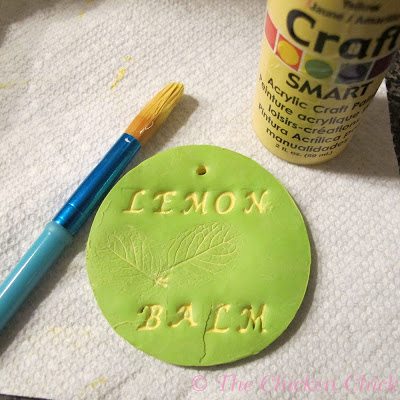
I pressed leaves from my herb garden into the clay for a fun effect.
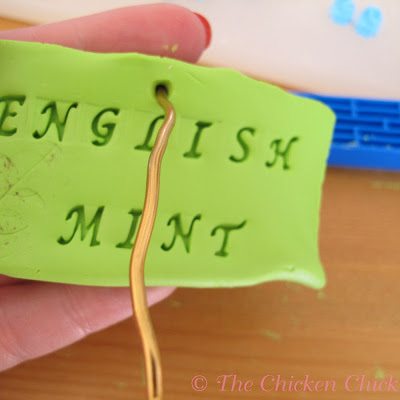
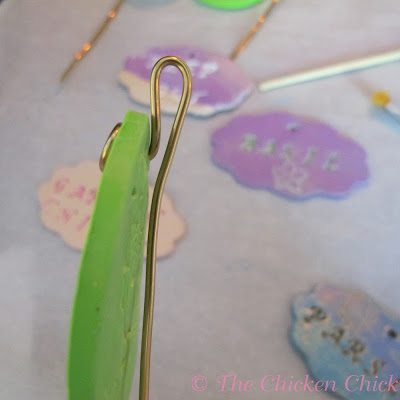
Make a hole in the top of each garden marker with the florist wire. The hole should be slightly larger than the wire itself.
Place the clay on parchment lined baking sheet and place in preheated oven. *It is very important that the oven temperature not exceed the manufacturer’s recommendation.*
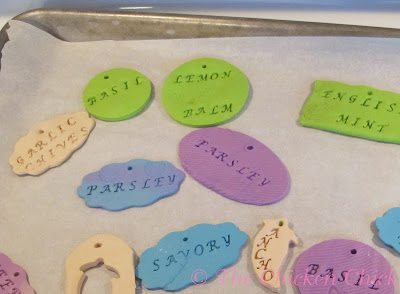
Bake for 15 minutes for thicknesses up to 1/4″. Remove from oven and cool completely.
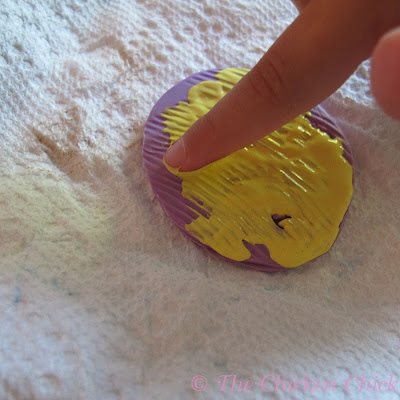
Painting the letters is optional. I think they look just as pretty with paint as without. Apply acrylic paint with either a brush, pressing the paint into the grooves, or with a finger (another job ideally suited for the kids). Wipe off excess paint with a paper towel and allow to dry. Baking the markers a second time after painting will adhere the acrylic paint permanently to the marker.
Cut an 8-10″ length of aluminum floral wire and insert into hole, twisting into any form desired.
Now they’re ready for use in the garden!
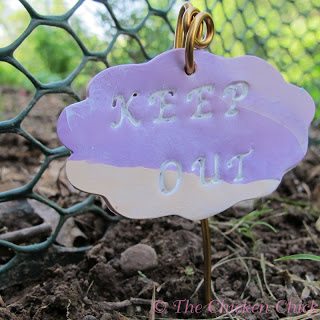
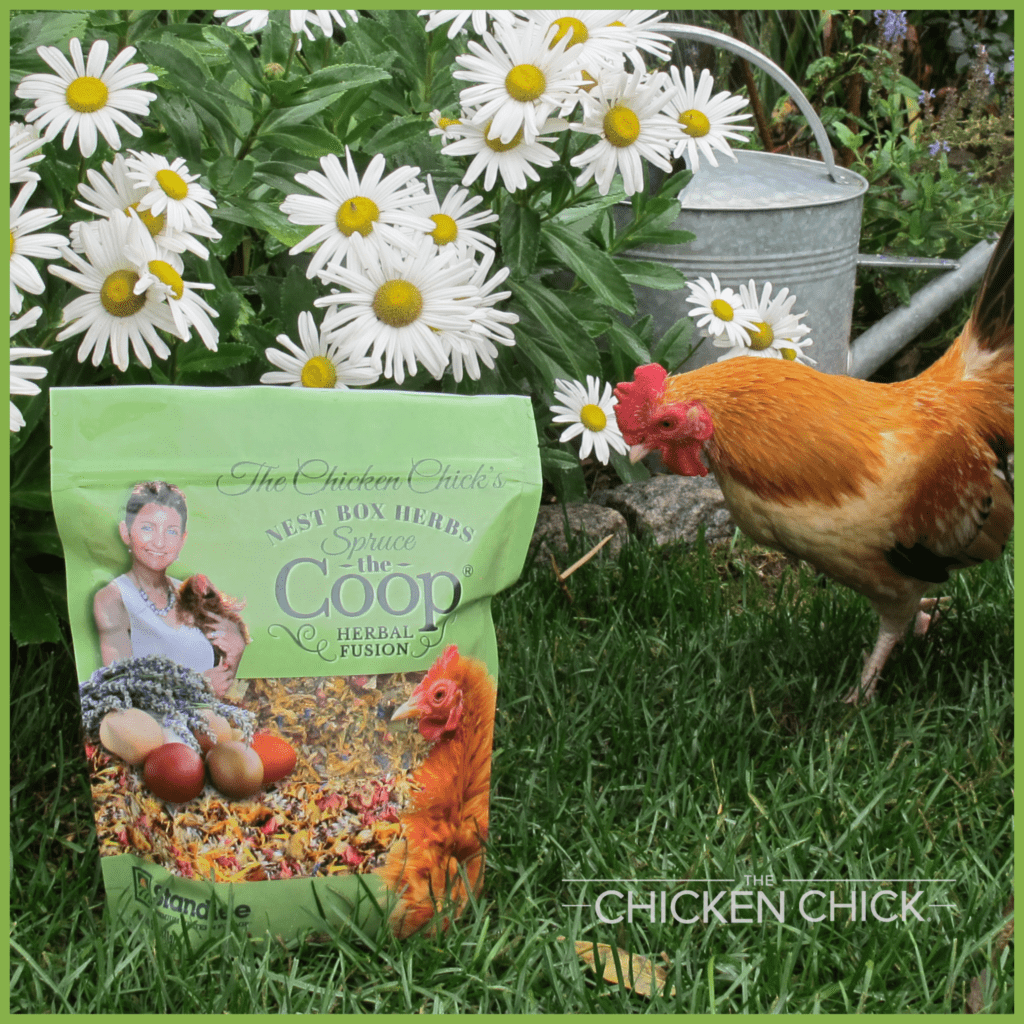
A friendly reminder for the residents of my backyard. ☺
Admiring the garden markers?
This post was shared with: Adorned from Above, Fluster Buster, The DIY Dreamer, The Dedicated House

Kathy Shea Mormino
Affectionately known internationally as The Chicken Chick®, Kathy Shea Mormino shares a fun-loving, informative style to raising backyard chickens. …Read on


shop my SPONSORS


Hand-made, polymer clay garden markers are fun and simple to create and add a pop of unexpected color and whimsy to any garden. This is a great rainy day project to do with children and can be incorporated into a homeschooling science lesson on the effects of heat on polymer clay.
DIY GARDEN MARKERS
SUPPLIES NEEDED
Polymer Clay
Aluminum floral wire (I used copper color)
Clay text embossing set (or a skewer)
craft clay machine (optional)
cookie cutters (optional)
acrylic paint and clear acrylic spray (optional)
parchment paper lined baking sheet
oven preheated to 375° F (follow manufacturer’s temperature recommendation)
LET’S MAKE IT!
Polymer clay needs to be ‘conditioned’ or softened in order to make it easier work with and to align the molecules in the clay in order to create a strong, hard finished product. The clay can be conditioned by hand in the same way bread dough is kneaded or run through a pasta machine on the widest setting. Roll out, fold, repeat at least 20 times (the kids love this part).
Roll out polymer clay to 1/8″-1/4″ thickness. Form the garden marker in any free-form shape or by using a cookie cutter.
Imprint the the name of the herbs/plants on the clay with the embossing letters or the blunt end of a skewer.
I pressed leaves from my herb garden into the clay for a fun effect.
Make a hole in the top of each garden marker with the florist wire. The hole should be slightly larger than the wire itself.
Place the clay on parchment lined baking sheet and place in preheated oven. *It is very important that the oven temperature not exceed the manufacturer’s recommendation.*
Bake for 15 minutes for thicknesses up to 1/4″. Remove from oven and cool completely.
Painting the letters is optional. I think they look just as pretty with paint as without. Apply acrylic paint with either a brush, pressing the paint into the grooves, or with a finger (another job ideally suited for the kids). Wipe off excess paint with a paper towel and allow to dry. Baking the markers a second time after painting will adhere the acrylic paint permanently to the marker.
Cut an 8-10″ length of aluminum floral wire and insert into hole, twisting into any form desired.
Now they’re ready for use in the garden!
A friendly reminder for the residents of my backyard. ☺
Admiring the garden markers?
This post was shared with: Adorned from Above, Fluster Buster, The DIY Dreamer, The Dedicated House


My husband is difficult to buy gifts for…always says he doesn't need gifts. I started getting things that could be used by the family…games, appliances, etc. I wanted to make hand-stamped silverware markers for our garden but don't have the money to invest in the materials needed. I saw these and they look great! I think my husband will really appreciate them.
I love working with polymore clay but, never thought of making garden markers love this idea. Theresa @ DearCreatives.com
Thanks for letting me know. I linked it up again. Not sure what the issue may have been.
If only I can find a way to keep my _husband_ from messing with the garden markers!
These turned out great! Heads Up – Your link on Fluster's Creative Muster Party is broken.