Ihad never considered keeping quail until a generous Facebook fan, (aka: enabler) Christa K, of Rose Shadow Ranch, offered me some hatching eggs. Being a card carrying hatch-a-holic, the answer was a resounding “YES Please!” Christa gave me the Cliff Notes version of how to hatch and raise quail and before I knew it, the eggs were at my doorstep. Given that Coturnix quail take an average of 16 days to hatch, I knew that accommodations would need to be made immediately.
My husband and I sketched out our blueprint on a napkin in a restaurant based on features I told him I wanted: smallish, low ceiling, good ventilation, predator proof, run underneath and removable droppings board. We both envisioned a coop that would be architecturally consistent with our Little Deuce Coop that my husband had built the previous winter. Some of what we hoped to achieve materialized and some did not, but we learned some things along the way and are ultimately very happy with the result. I believe the quail are too.
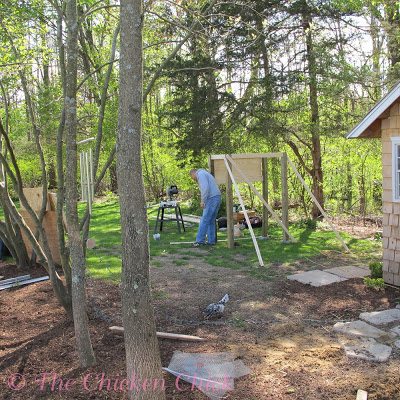
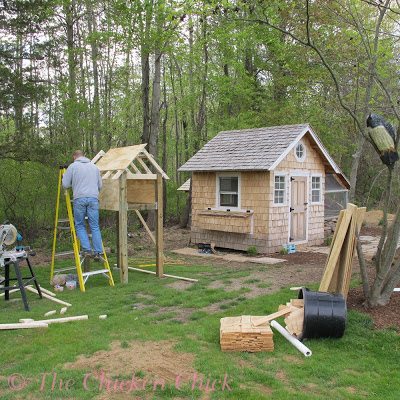
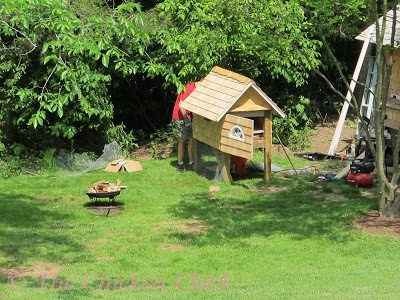
4/21/12: The location to the left of the Little Deuce Coop was chosen for its level ground and shade.
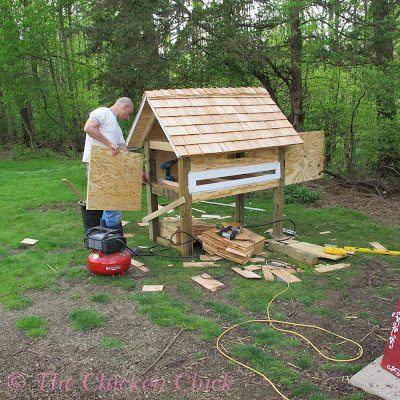
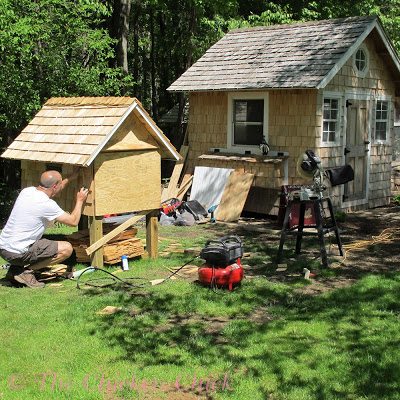
4/28/12: Construction begins.
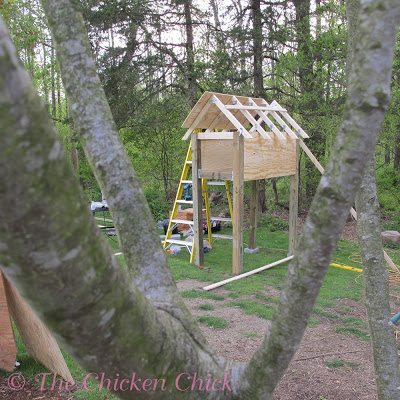
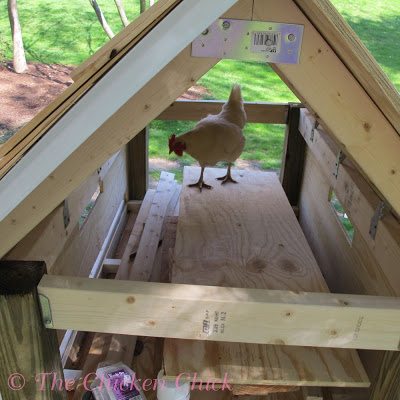
4/28/12: End of construction day one. The height was much too tall and it was cut down the next day.
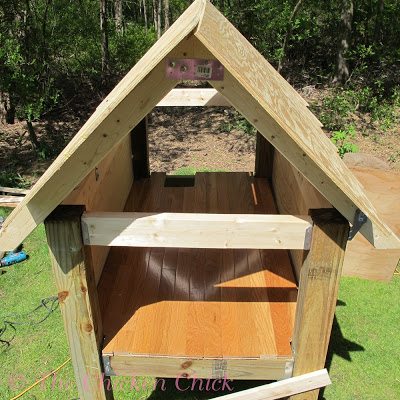
4/29/12: Leftover hardwood from our original house construction serves as the coop floor.
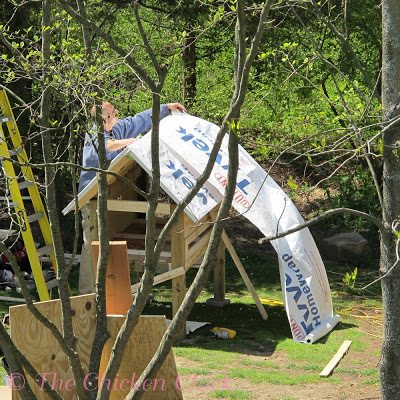
Leftover Tyvek from the Little Deuce Coop shores up the roof.
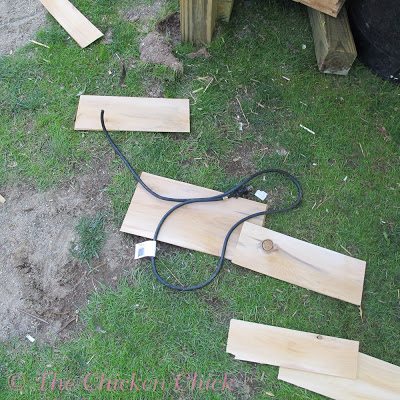
Small lack of concentration delays the project ever so slightly. That makes two coops built, two cords severed. (don’t look at me!)
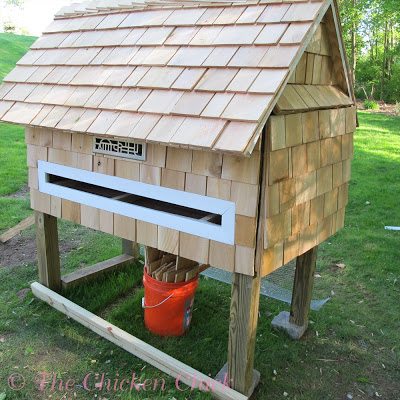
Droppings board access slot and framed. Ventilation holes cut on two sides.
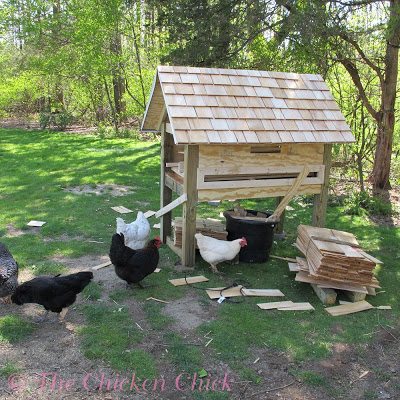
4/29/12: Roof finished with cedar shingles and Penelope inspects at the end of day 2.
5/5/12: Doors attached to front and back. Ventilation holes to be fitted with rust-resistant, decorative floor registers.
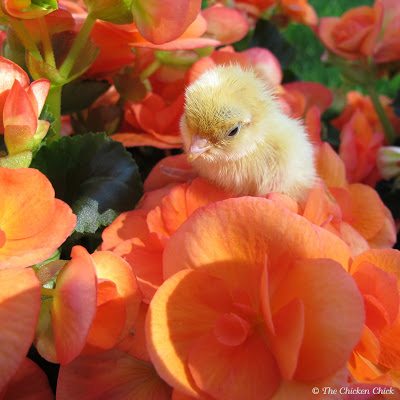
5/10/12: The quail hatched. Operation Quail Habitat goes into overdrive. Day old Coturnix quail eagerly await their new diggs.
5/12/12: The coop walls are shingled & circular saw is back in business with a new power cord
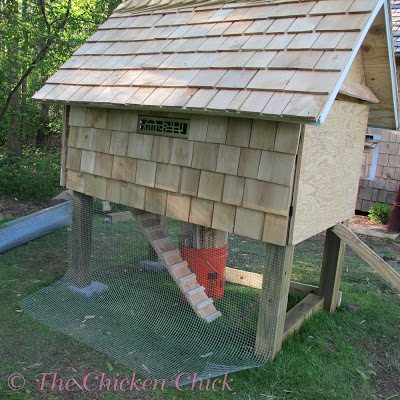
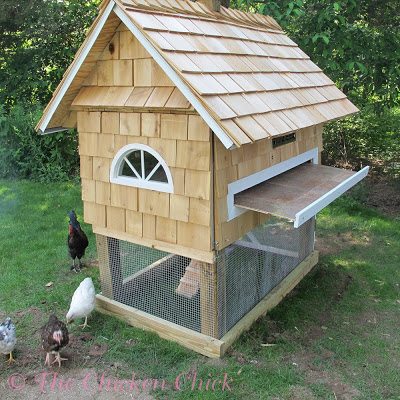
Access ramp installed (but not for long). Hardware cloth fitted for run underneath coop, apron dug & hardware cloth buried.
5/12/12: Day 3 of construction ends with all shingles in place.
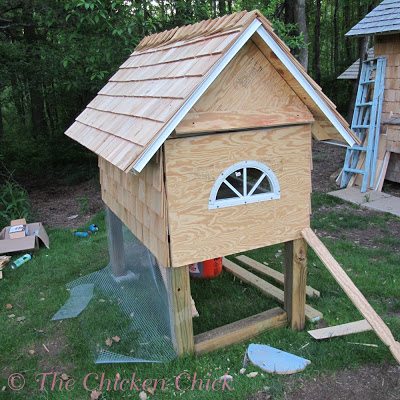
5/18/12: Playhouse window arrives & installed.
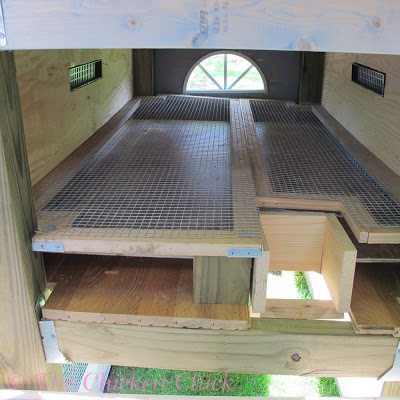
5/27/12: The inside construction begins. The plan was to have a wire floor over the slide-out droppings board.
5/27/12: In order for the suspended wire floor to be removable for cleaning it had to be hinged, which didn’t look or perform as hoped. It sagged and the quail found a way to climb under it but couldn’t get out of the droppings area. The pop door leading to the run also left a lot to be desired by way of design, aesthetics and performance. It sagged and had to be removed prior to removing the droppings board. (engineers: breathe at this point, it all works out in the end!)
5/27/12: The droppings board looked good and should’ve worked (in theory) but was difficult to remove due to the weird pop door access.Quail do not need traditional nest boxes. Although they do like privacy, often their eggs will be laid on the floor. When they are closer to laying age, I will make little birdhouse type nests for them but they need not be permanently affixed to the coop. Quail also do not roost at night, so no roosts were required. The run can be accessed by a hardware-cloth covered door at the back of the coop.
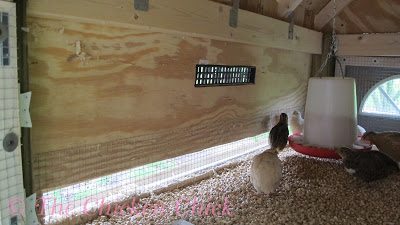
After living with the set-up for a while, we learned that while the quail were happy to go down the ramp to the run, they would not walk back up the ramp. Live and learn. They’re not chickens. They also cannot be allowed to range freely as chickens can because they will not return. We tore out the suspended floor and droppings board and made a ventilation window of the slot.
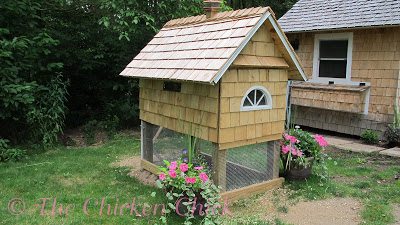
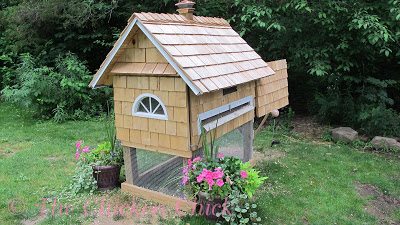
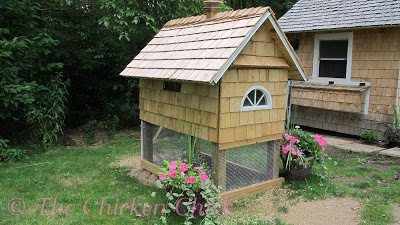
The finished coop.
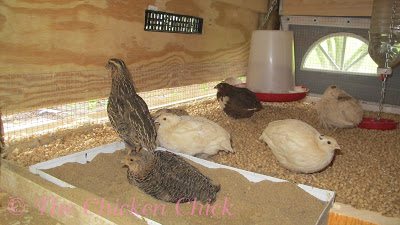
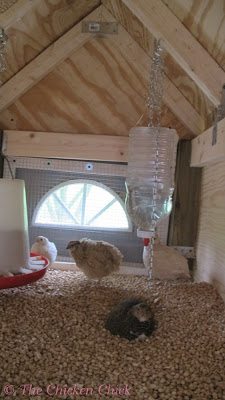
We added little thresholds to keep the bedding in place and a removable dust bath area. We suspended a homemade poultry nipple waterer that they took to like ducks to water.
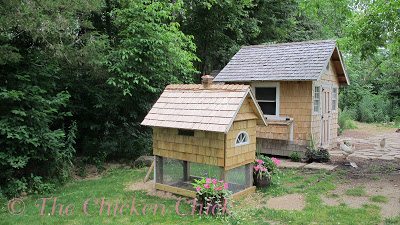
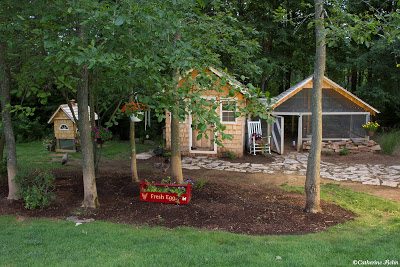
The Little Deuce Coop in the background and the Mini Me quail coop.
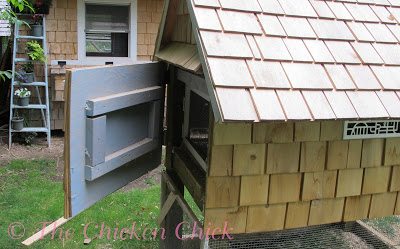
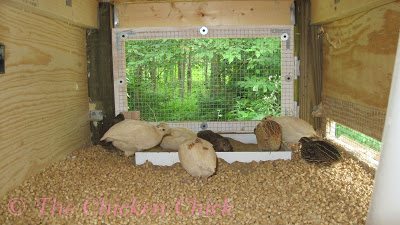
The last revisions were to add screen doors to both sides of the coop. This allows for excellent ventilation and lots of light to keep the egg layers working.
Occupants diggin’ their new house.
Room with a view.
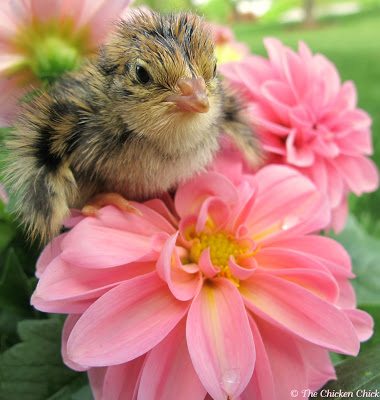
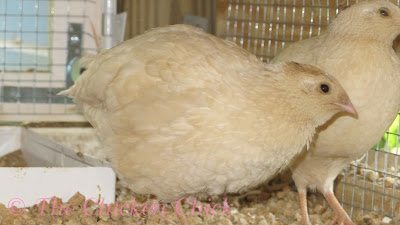
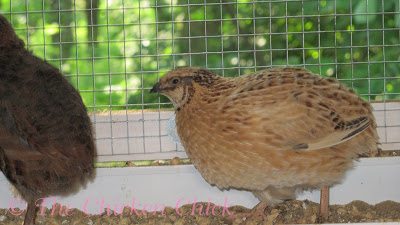
White Coturnix quail
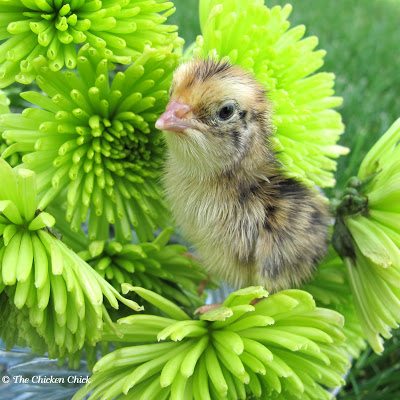
Female Tuxedo quail (don’t ask how I know that, just trust me)
View from our back deck
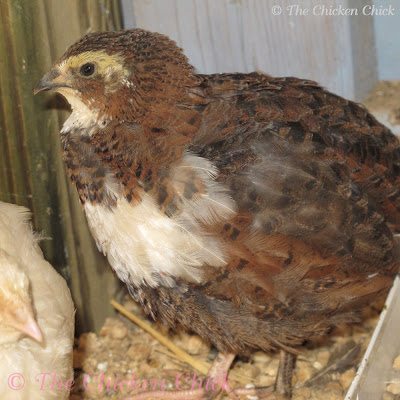
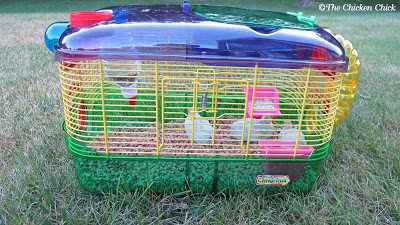
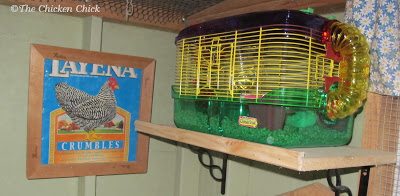
I don’t want my Button quail to feel left out…
They’re perfectly happy in a hamster cage that we keep on a dedicated shelf inside our big coop.
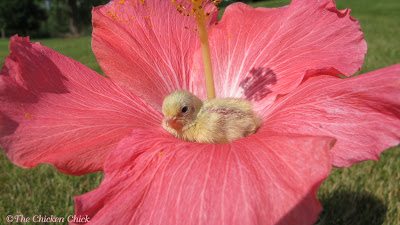
I asked for a quail volunteer for this photo shoot, but they’re not fond of sitting still.
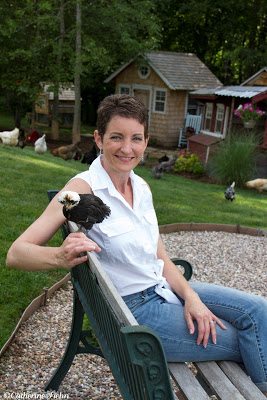
Kathy Shea Mormino
Affectionately known internationally as The Chicken Chick®, Kathy Shea Mormino shares a fun-loving, informative style to raising backyard chickens. …Read on


shop my SPONSORS
Ihad never considered keeping quail until a generous Facebook fan, (aka: enabler) Christa K, of Rose Shadow Ranch, offered me some hatching eggs. Being a card carrying hatch-a-holic, the answer was a resounding “YES Please!” Christa gave me the Cliff Notes version of how to hatch and raise quail and before I knew it, the eggs were at my doorstep. Given that Coturnix quail take an average of 16 days to hatch, I knew that accommodations would need to be made immediately.
My husband and I sketched out our blueprint on a napkin in a restaurant based on features I told him I wanted: smallish, low ceiling, good ventilation, predator proof, run underneath and removable droppings board. We both envisioned a coop that would be architecturally consistent with our Little Deuce Coop that my husband had built the previous winter. Some of what we hoped to achieve materialized and some did not, but we learned some things along the way and are ultimately very happy with the result. I believe the quail are too.
4/21/12: The location to the left of the Little Deuce Coop was chosen for its level ground and shade.
4/28/12: Construction begins.
4/28/12: End of construction day one. The height was much too tall and it was cut down the next day.
4/29/12: Leftover hardwood from our original house construction serves as the coop floor.
Leftover Tyvek from the Little Deuce Coop shores up the roof.
Small lack of concentration delays the project ever so slightly. That makes two coops built, two cords severed. (don’t look at me!)
Droppings board access slot and framed. Ventilation holes cut on two sides.
4/29/12: Roof finished with cedar shingles and Penelope inspects at the end of day 2.
5/5/12: Doors attached to front and back. Ventilation holes to be fitted with rust-resistant, decorative floor registers.
5/10/12: The quail hatched. Operation Quail Habitat goes into overdrive. Day old Coturnix quail eagerly await their new diggs.
5/12/12: The coop walls are shingled & circular saw is back in business with a new power cord
Access ramp installed (but not for long). Hardware cloth fitted for run underneath coop, apron dug & hardware cloth buried.
5/12/12: Day 3 of construction ends with all shingles in place.
5/18/12: Playhouse window arrives & installed.
5/27/12: The inside construction begins. The plan was to have a wire floor over the slide-out droppings board.
5/27/12: In order for the suspended wire floor to be removable for cleaning it had to be hinged, which didn’t look or perform as hoped. It sagged and the quail found a way to climb under it but couldn’t get out of the droppings area. The pop door leading to the run also left a lot to be desired by way of design, aesthetics and performance. It sagged and had to be removed prior to removing the droppings board. (engineers: breathe at this point, it all works out in the end!)
5/27/12: The droppings board looked good and should’ve worked (in theory) but was difficult to remove due to the weird pop door access.Quail do not need traditional nest boxes. Although they do like privacy, often their eggs will be laid on the floor. When they are closer to laying age, I will make little birdhouse type nests for them but they need not be permanently affixed to the coop. Quail also do not roost at night, so no roosts were required. The run can be accessed by a hardware-cloth covered door at the back of the coop.
After living with the set-up for a while, we learned that while the quail were happy to go down the ramp to the run, they would not walk back up the ramp. Live and learn. They’re not chickens. They also cannot be allowed to range freely as chickens can because they will not return. We tore out the suspended floor and droppings board and made a ventilation window of the slot.
The finished coop.
We added little thresholds to keep the bedding in place and a removable dust bath area. We suspended a homemade poultry nipple waterer that they took to like ducks to water.
The Little Deuce Coop in the background and the Mini Me quail coop.
The last revisions were to add screen doors to both sides of the coop. This allows for excellent ventilation and lots of light to keep the egg layers working.
Occupants diggin’ their new house.
Room with a view.
White Coturnix quail
Female Tuxedo quail (don’t ask how I know that, just trust me)
View from our back deck
I don’t want my Button quail to feel left out…
They’re perfectly happy in a hamster cage that we keep on a dedicated shelf inside our big coop.
I asked for a quail volunteer for this photo shoot, but they’re not fond of sitting still.











Hi, thanks for all the great info throughout your site! I’m waiting for my order of quail and am selecting housing now. Did your quail ever use the ramp? If not, how do you get them in each night? Thanks!
No, they didn’t use it.
What do you use for bedding in the coop?
I use sand. You can read about it here: http://bit.ly/2QNxsZJ