Spring is just around the corner and with many chicken-keepers waiting for delivery of day-old chicks, this a good time to take a look at some of the most common problems that occur in baby chicks. Some of these problems can arise in chicks that are hatched at home, too. In either case, it is a good idea to have your Chicken First Aid Kit stocked and ready for action before baby chicks arrive. The five most common problems in baby chicks are all easily treated.
Problem #1: Dehydration
One of the last things a chick does prior to hatch is absorb the egg yolk into its body through its belly button. The yolk is Mother Nature’s protein drink- it nourishes a chick for 2-3 days after absorption. The reason this is important in nature is because a clutch of eggs can take several days to hatch and the first chicks to hatch must sustain themselves until the hen is ready to venture out with them to find food. It is possible to ship baby chicks through the mail due to the nutrition provided by the yolk, however, chicks can still arrive at their destination dehydrated for various reasons.
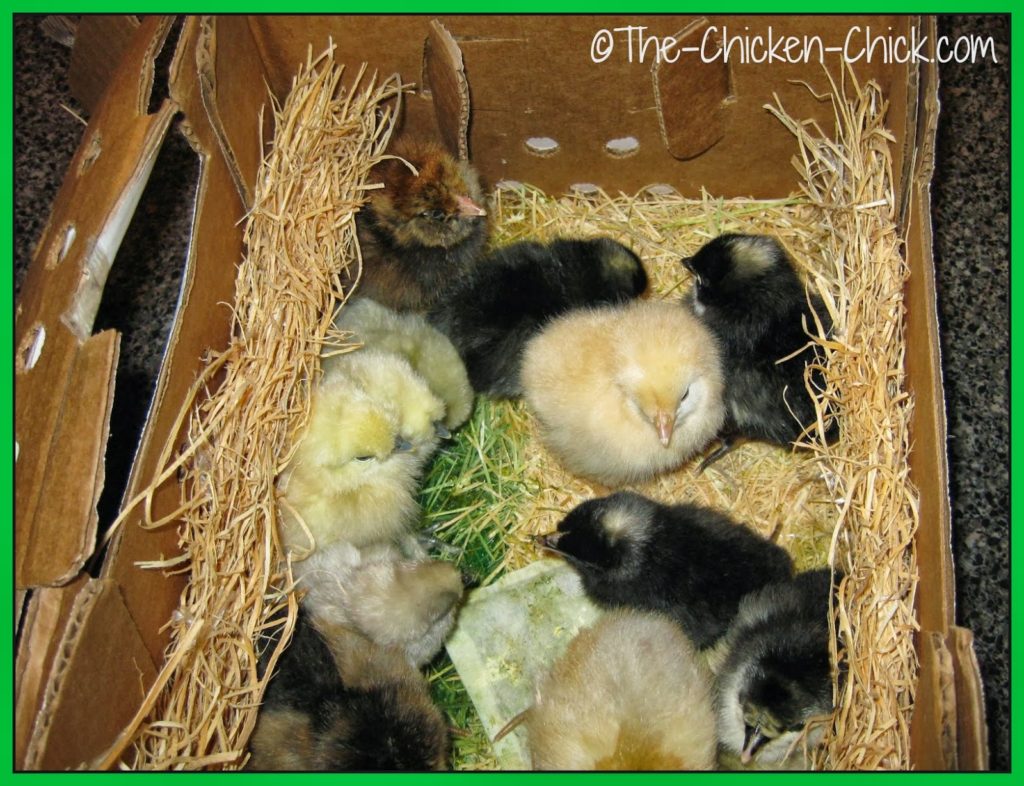
(These were my first chicks moments after I picked them up at the post office.)Dehydration Solution
Upon arrival, it’s helpful to quickly, gently dip each chick’s beak into the water to encourage them to drink. If chicks had a rough trip and look wilted, a vitamin/electrolytesolution can give them an energy boost and help re-hydrate them. A sports drink such as Gatorade will suffice in a pinch, but it’s better to use the vitamins & electrolytes in the water.
Problem #2: Pasty Butt
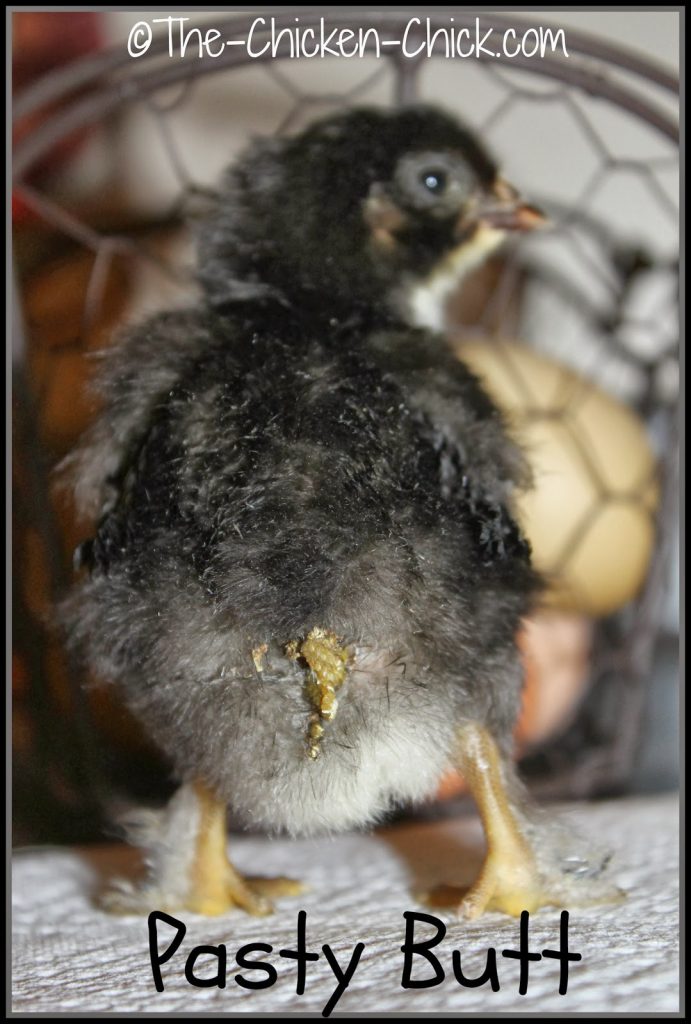
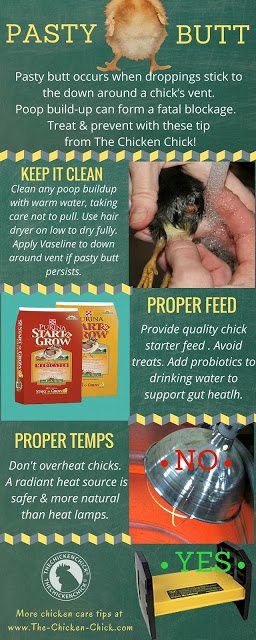
Pasty butt, aka:pasted vent or pasting-up is a condition where loose droppings stick to the down surrounding a chick’s vent. Pasty butt can be caused by stress from shipping, being overheated, too cold or from something they have eaten. The vent should not be confused with the chick’s belly button. The vent is the area on a chick where droppings and eggs exit the body. The belly button is not the same as the vent. Day old chicks may have their belly button area crusted over a bit and this scab should NOT be removed as it is a remnant of hatching, which will dry up and fall off on its own. Pulling it off can harm the chick, risk infection and even cause disembowelment. When droppings build up and form a blockage around a chick’s vent, chicks can die if it is not removed.
Pasty Butt Solution
All chicks should be checked for pasty butt upon arrival. If droppings are caked onto the vent area, they can be loosened with warm water on a damp washcloth or paper towel and gently removed. Extra care not to pull the droppings or down because the skin around the vent can tear. After cleaning and drying the vent area, the application of petroleum jelly or triple antibiotic ointment can prevent the droppings from sticking to the down. Olive oil is not recommended as it can become rancid.
If several chicks develop pasty butt after a few days in the brooder, the brooder may be too hot and the temperature should be adjusted. According to Gail Damerow’s book, The Chicken Health Handbook, sometimes the brand of feed poses a digestive problem for chicks. Pasty butt can be remedied by mixing scrambled eggs in with their starter feed and if that clears things up, change brands of feed.
Problem #3: Spraddle Leg
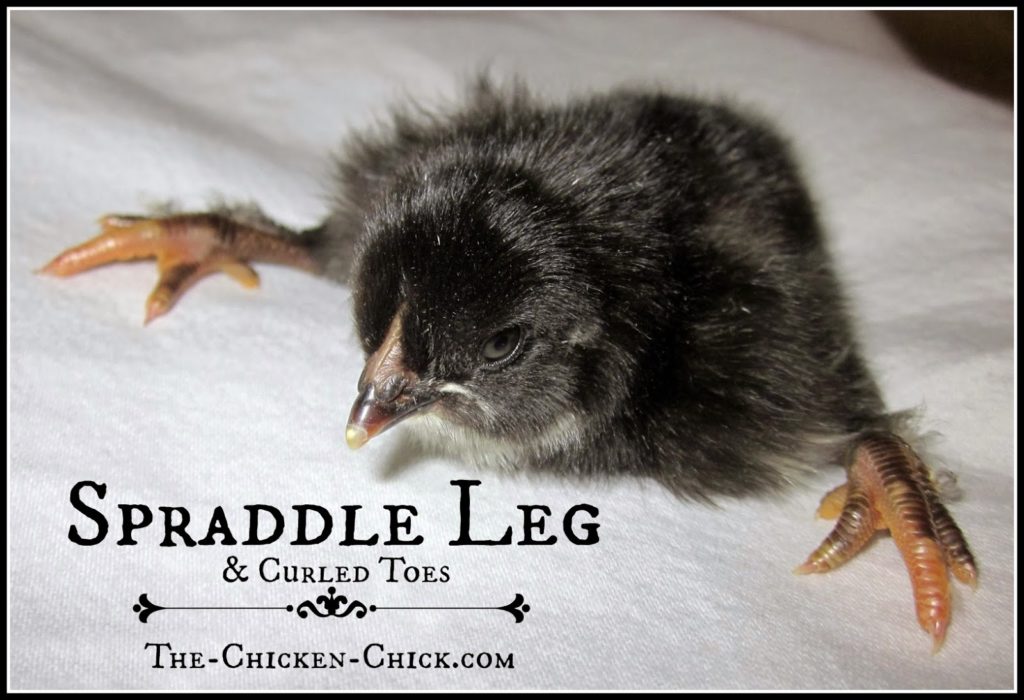
Spraddle leg, also known as splay leg or splayed leg is a deformity of the legs, characterized by feet pointing to the side, instead of forward. Spraddle leg makes walking difficult, if not impossible and can be permanent if left uncorrected. One cause of spraddle leg is slick floors that result in chicks losing their footing. The legs twist out from the hip and remain in that position unless corrected.
Other causes are: temperature fluctuations during incubation; a difficult hatch that makes legs weak; a leg or foot injury; brooder overcrowding; or a vitamin deficiency.
Chicks arriving with spraddle leg will be obvious and should be treated immediately. The sooner it’s addressed, the sooner the bones can heal in the proper position.
Spraddle Leg Solution
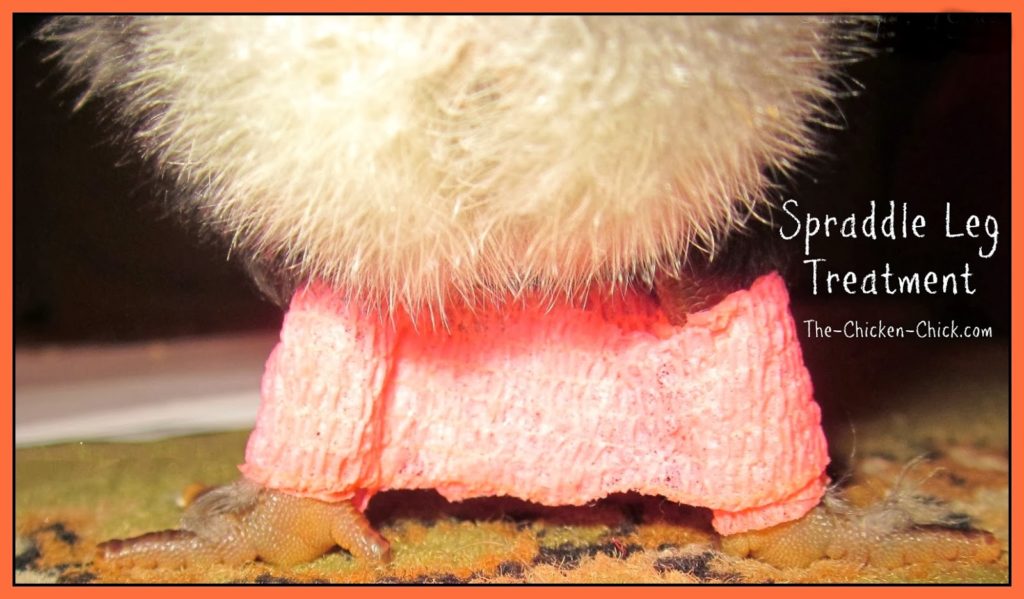
Some causes of spraddle leg cannot be avoided, but some can. One way to prevent spraddle leg is to avoid using newspaper or other slick surfaces for brooder bedding. Upon discovery, the legs should be hobbled (bound together in a particular way) and physical therapy provided until the chick can stand on its own. Much more about hobbling and therapy on my blog here.
Problem #4: Scissor Beak
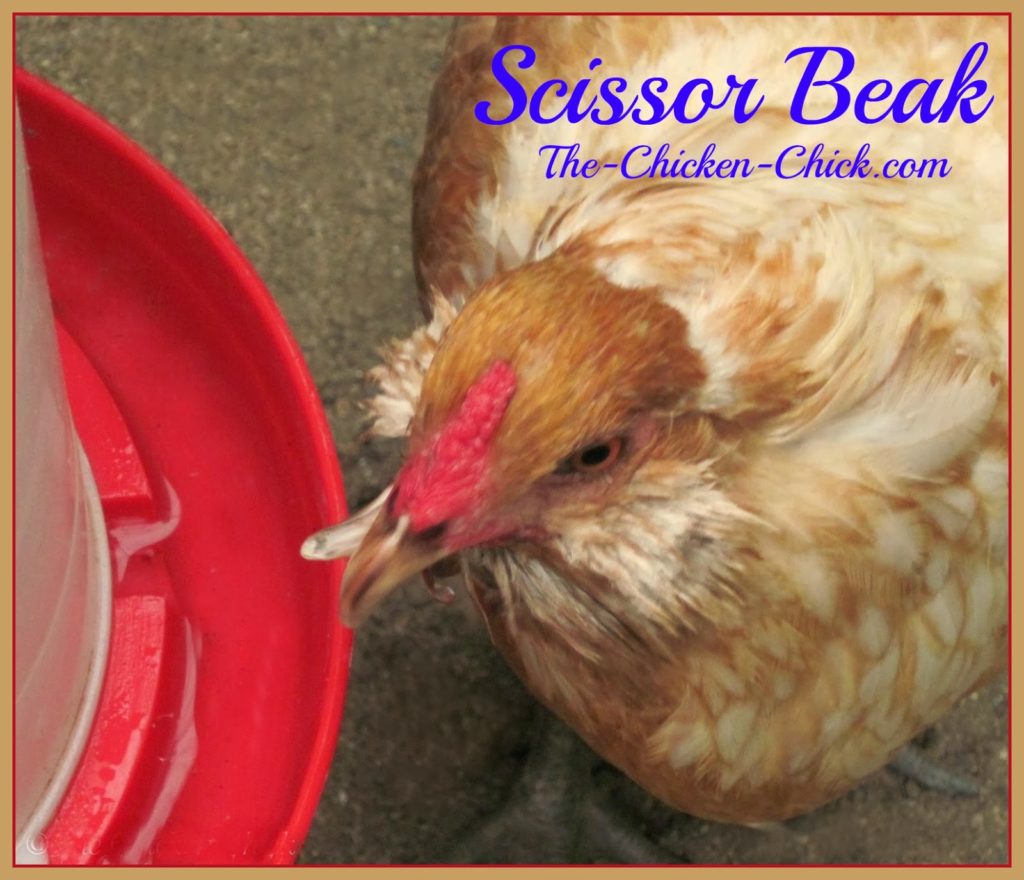
Scissor beak, aka: crossed beak or crooked beak, is a condition characterized by the top and bottom beak halves failing to align properly. It can be caused by genetics or the inability to maintain the beak’s length and shape by normal honing on rocks or other hard surfaces. Scissor beak is not an automatic bid for euthanasia; most chickens with scissor beak can live normal, happy lives with a few minor accommodations. Scissor beak in new chicks can be very subtle as with my Easter Egger, Ethel. It ordinarily worsens over time.
(Esther at 6 weeks old.)Scissor Beak Solution
There is no at-home fix for scissor beak, the only treatment is surgical and I have only heard of one instance in which it was performed. Baby chicks with scissor beak may have difficulty eating or sometimes other flock members will prevent them from accessing the feed. If that is the case, the chicken will need to be put in a safe place where only she can access the feed.
Crossed beaked chickens cannot pick up pieces of food using both halves of their beaks as a utensil, they adapt by scooping food into the bottom half of their beaks. I find that it helped to put Esther’s feed in a deep dish, raised up closer to chest level so it had less distance to travel to reach her tongue. This small adaptation is sometimes all it takes to help crossed-beaked chickens eat. Some chicks find it easier to eat wet feed that is the consistency of oatmeal. Grinding up feed in a coffee grinder and adding water to make a wet mash may help severely scissor-beaked chickens. More on this subject and trimming scissor beak here.
Problem #5:Coccidiosis
Coccidiosis is the most common cause of death in baby chicks. Coccidiosis (aka: cocci) is acommon intestinal disease, caused by several species of parasites that thrive in warm, wet conditions such as a brooder and is transmitted in droppings. The most common symptoms of cocci in chicks are: diarrhea, blood and/or mucous in droppings, lethargy, listlessness, pale skin color, loss of appetite and failure thrive/grow. Cocci can very quickly wipe out many chicks in the same brooder.
(Visit my article here to see a photo of abnormal droppings caused by coccidiosis.)
Coccidiosis Solution
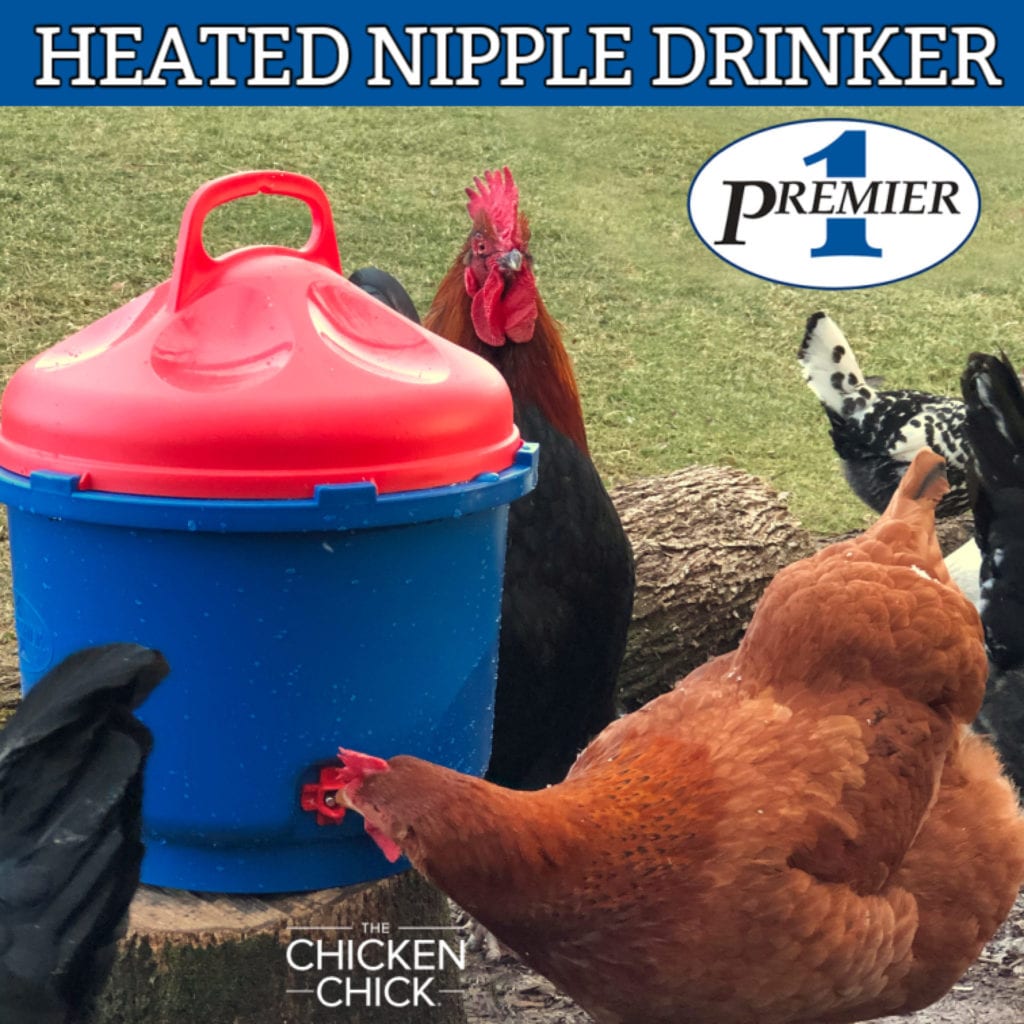
Prevention is the key to controlling coccidiosis. Keep brooders reasonably clean and as dry as possible. Keep waterers free from droppings and bedding. Using a riser or platform for traditional waterers can help keep droppings out of the water. A better choice would be to use poultry nipple waterers, which can be made or purchased. Learn about acquired immunity, innoculation and why you shouldn’t need medicated starter feed for chicks on my blog here. Treatment for an outbreak of coccidiosis can be found here.
Most other ailments and afflictions that can befall baby chicks such as respiratory illnesses and Marek’s disease usually don’t, so don’t worry unnecessarily about them. Keeping a clean brooder and clean water both go a long way towards keeping baby chicks healthy and happy. Much more information about raising baby chicks can be found here.
Kathy Shea Mormino
Affectionately known internationally as The Chicken Chick®, Kathy Shea Mormino shares a fun-loving, informative style to raising backyard chickens. …Read on


shop my SPONSORS
Spring is just around the corner and with many chicken-keepers waiting for delivery of day-old chicks, this a good time to take a look at some of the most common problems that occur in baby chicks. Some of these problems can arise in chicks that are hatched at home, too. In either case, it is a good idea to have your Chicken First Aid Kit stocked and ready for action before baby chicks arrive. The five most common problems in baby chicks are all easily treated.
Problem #1: Dehydration
One of the last things a chick does prior to hatch is absorb the egg yolk into its body through its belly button. The yolk is Mother Nature’s protein drink- it nourishes a chick for 2-3 days after absorption. The reason this is important in nature is because a clutch of eggs can take several days to hatch and the first chicks to hatch must sustain themselves until the hen is ready to venture out with them to find food. It is possible to ship baby chicks through the mail due to the nutrition provided by the yolk, however, chicks can still arrive at their destination dehydrated for various reasons.
(These were my first chicks moments after I picked them up at the post office.)Dehydration Solution
Upon arrival, it’s helpful to quickly, gently dip each chick’s beak into the water to encourage them to drink. If chicks had a rough trip and look wilted, a vitamin/electrolytesolution can give them an energy boost and help re-hydrate them. A sports drink such as Gatorade will suffice in a pinch, but it’s better to use the vitamins & electrolytes in the water.
Problem #2: Pasty Butt
Pasty butt, aka:pasted vent or pasting-up is a condition where loose droppings stick to the down surrounding a chick’s vent. Pasty butt can be caused by stress from shipping, being overheated, too cold or from something they have eaten. The vent should not be confused with the chick’s belly button. The vent is the area on a chick where droppings and eggs exit the body. The belly button is not the same as the vent. Day old chicks may have their belly button area crusted over a bit and this scab should NOT be removed as it is a remnant of hatching, which will dry up and fall off on its own. Pulling it off can harm the chick, risk infection and even cause disembowelment. When droppings build up and form a blockage around a chick’s vent, chicks can die if it is not removed.
Pasty Butt Solution
All chicks should be checked for pasty butt upon arrival. If droppings are caked onto the vent area, they can be loosened with warm water on a damp washcloth or paper towel and gently removed. Extra care not to pull the droppings or down because the skin around the vent can tear. After cleaning and drying the vent area, the application of petroleum jelly or triple antibiotic ointment can prevent the droppings from sticking to the down. Olive oil is not recommended as it can become rancid.
If several chicks develop pasty butt after a few days in the brooder, the brooder may be too hot and the temperature should be adjusted. According to Gail Damerow’s book, The Chicken Health Handbook, sometimes the brand of feed poses a digestive problem for chicks. Pasty butt can be remedied by mixing scrambled eggs in with their starter feed and if that clears things up, change brands of feed.
Problem #3: Spraddle Leg
Spraddle leg, also known as splay leg or splayed leg is a deformity of the legs, characterized by feet pointing to the side, instead of forward. Spraddle leg makes walking difficult, if not impossible and can be permanent if left uncorrected. One cause of spraddle leg is slick floors that result in chicks losing their footing. The legs twist out from the hip and remain in that position unless corrected.
Other causes are: temperature fluctuations during incubation; a difficult hatch that makes legs weak; a leg or foot injury; brooder overcrowding; or a vitamin deficiency.
Chicks arriving with spraddle leg will be obvious and should be treated immediately. The sooner it’s addressed, the sooner the bones can heal in the proper position.
Spraddle Leg Solution
Some causes of spraddle leg cannot be avoided, but some can. One way to prevent spraddle leg is to avoid using newspaper or other slick surfaces for brooder bedding. Upon discovery, the legs should be hobbled (bound together in a particular way) and physical therapy provided until the chick can stand on its own. Much more about hobbling and therapy on my blog here.
Problem #4: Scissor Beak
Scissor beak, aka: crossed beak or crooked beak, is a condition characterized by the top and bottom beak halves failing to align properly. It can be caused by genetics or the inability to maintain the beak’s length and shape by normal honing on rocks or other hard surfaces. Scissor beak is not an automatic bid for euthanasia; most chickens with scissor beak can live normal, happy lives with a few minor accommodations. Scissor beak in new chicks can be very subtle as with my Easter Egger, Ethel. It ordinarily worsens over time.
(Esther at 6 weeks old.)Scissor Beak Solution
There is no at-home fix for scissor beak, the only treatment is surgical and I have only heard of one instance in which it was performed. Baby chicks with scissor beak may have difficulty eating or sometimes other flock members will prevent them from accessing the feed. If that is the case, the chicken will need to be put in a safe place where only she can access the feed.
Crossed beaked chickens cannot pick up pieces of food using both halves of their beaks as a utensil, they adapt by scooping food into the bottom half of their beaks. I find that it helped to put Esther’s feed in a deep dish, raised up closer to chest level so it had less distance to travel to reach her tongue. This small adaptation is sometimes all it takes to help crossed-beaked chickens eat. Some chicks find it easier to eat wet feed that is the consistency of oatmeal. Grinding up feed in a coffee grinder and adding water to make a wet mash may help severely scissor-beaked chickens. More on this subject and trimming scissor beak here.
Problem #5:Coccidiosis
Coccidiosis is the most common cause of death in baby chicks. Coccidiosis (aka: cocci) is acommon intestinal disease, caused by several species of parasites that thrive in warm, wet conditions such as a brooder and is transmitted in droppings. The most common symptoms of cocci in chicks are: diarrhea, blood and/or mucous in droppings, lethargy, listlessness, pale skin color, loss of appetite and failure thrive/grow. Cocci can very quickly wipe out many chicks in the same brooder.
(Visit my article here to see a photo of abnormal droppings caused by coccidiosis.)
Coccidiosis Solution
Prevention is the key to controlling coccidiosis. Keep brooders reasonably clean and as dry as possible. Keep waterers free from droppings and bedding. Using a riser or platform for traditional waterers can help keep droppings out of the water. A better choice would be to use poultry nipple waterers, which can be made or purchased. Learn about acquired immunity, innoculation and why you shouldn’t need medicated starter feed for chicks on my blog here. Treatment for an outbreak of coccidiosis can be found here.
Most other ailments and afflictions that can befall baby chicks such as respiratory illnesses and Marek’s disease usually don’t, so don’t worry unnecessarily about them. Keeping a clean brooder and clean water both go a long way towards keeping baby chicks healthy and happy. Much more information about raising baby chicks can be found here.












I have one chick that is twice the size of the others! Is this hormones or maybe a different breed. We thought she was a white leghorn. They are about 4wks in this photo.
It’s likely a Cornish cross, which is a meat bird, not intended to live beyond a couple of months before being processed. They are not bred to live beyond that age.
One of my 6 chicks died overnight. Youngest one, about 2 months. So sad about it, looked on your site for information. Very informative site.
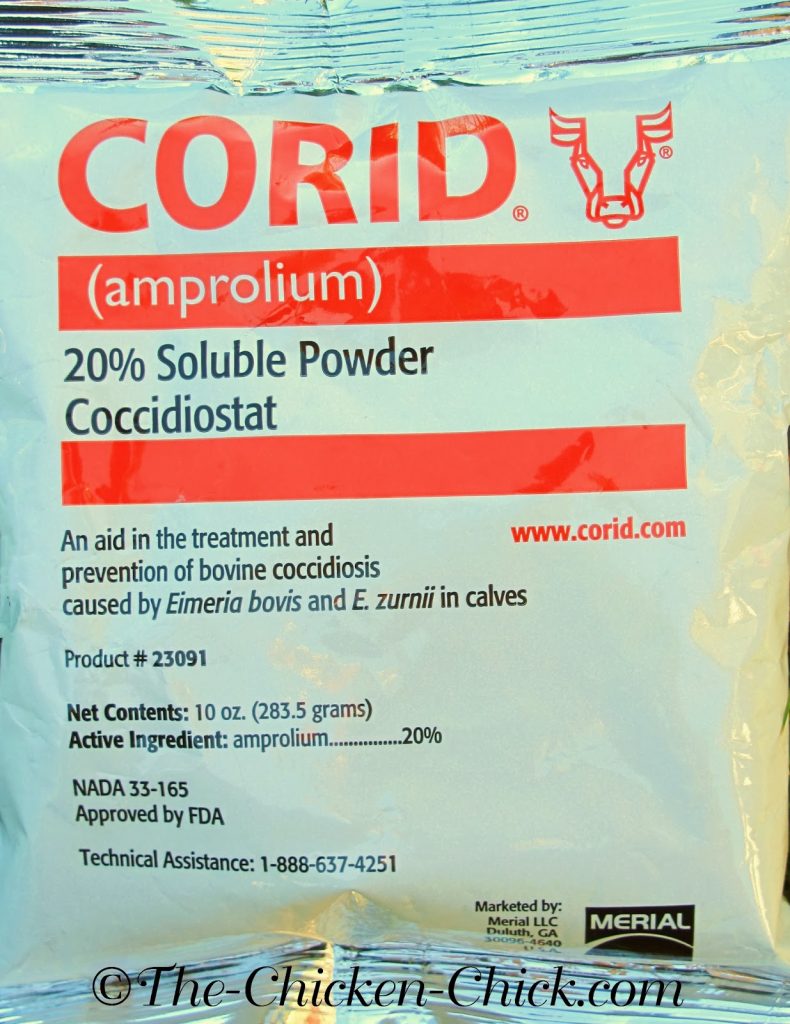
We have a baby chick about 10 days old. Shes all puffed up, legs not working properly now. Drinks with a dropper but it sounds gurgly. I read your article about treating for cocci with Corid. She has been eating medicated starter. Can I treat her with Corid if her food is changed?
It’s not coccidiosis. She needs to be put down. She is suffering.
My friend recently got 6 baby chicks. The other day he noticed that two of them had somehow broken their beaks. One, just the top beak. The other, both beaks are broken. Is there something he should be doing to take care of them & how can he prevent this from happening?
I don’t know how it happened, so I can’t suggest what the solution may be.
5 week old red sex link chick. Have 15 and all are doing well. Almost fully feathered. On 1 today, I noticed there seemed to be a dark area on its back under the feathers near the wings. Closer inspection, showed matted down underneath. None of the others have this. What could this be and how donI treat it? Does she need to be isolated from others? Could see no bugs or mites.
I’m not sure what you’re seeing, but I would not worry about it.